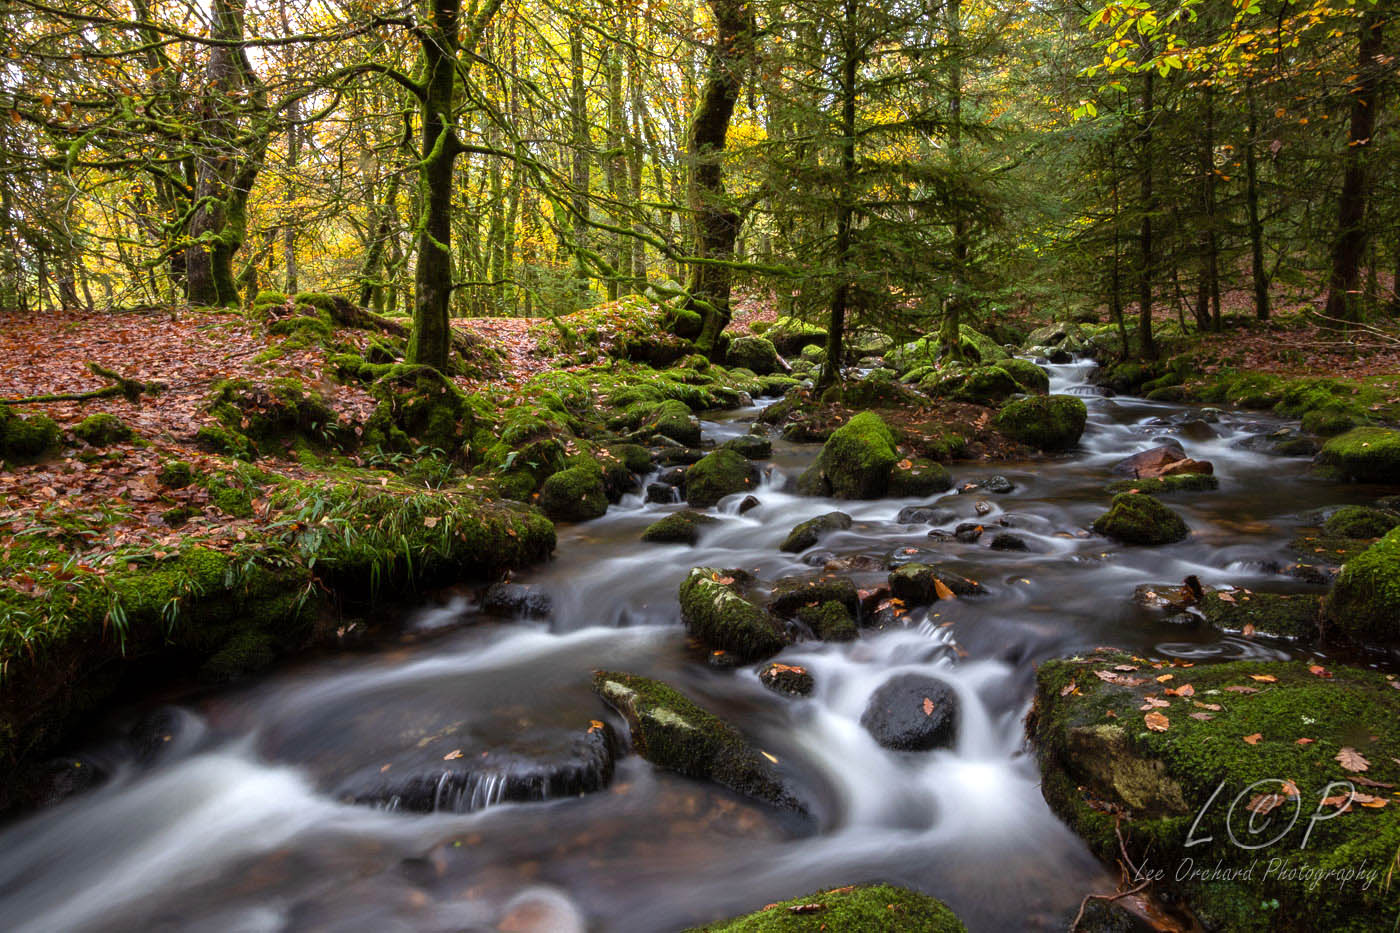
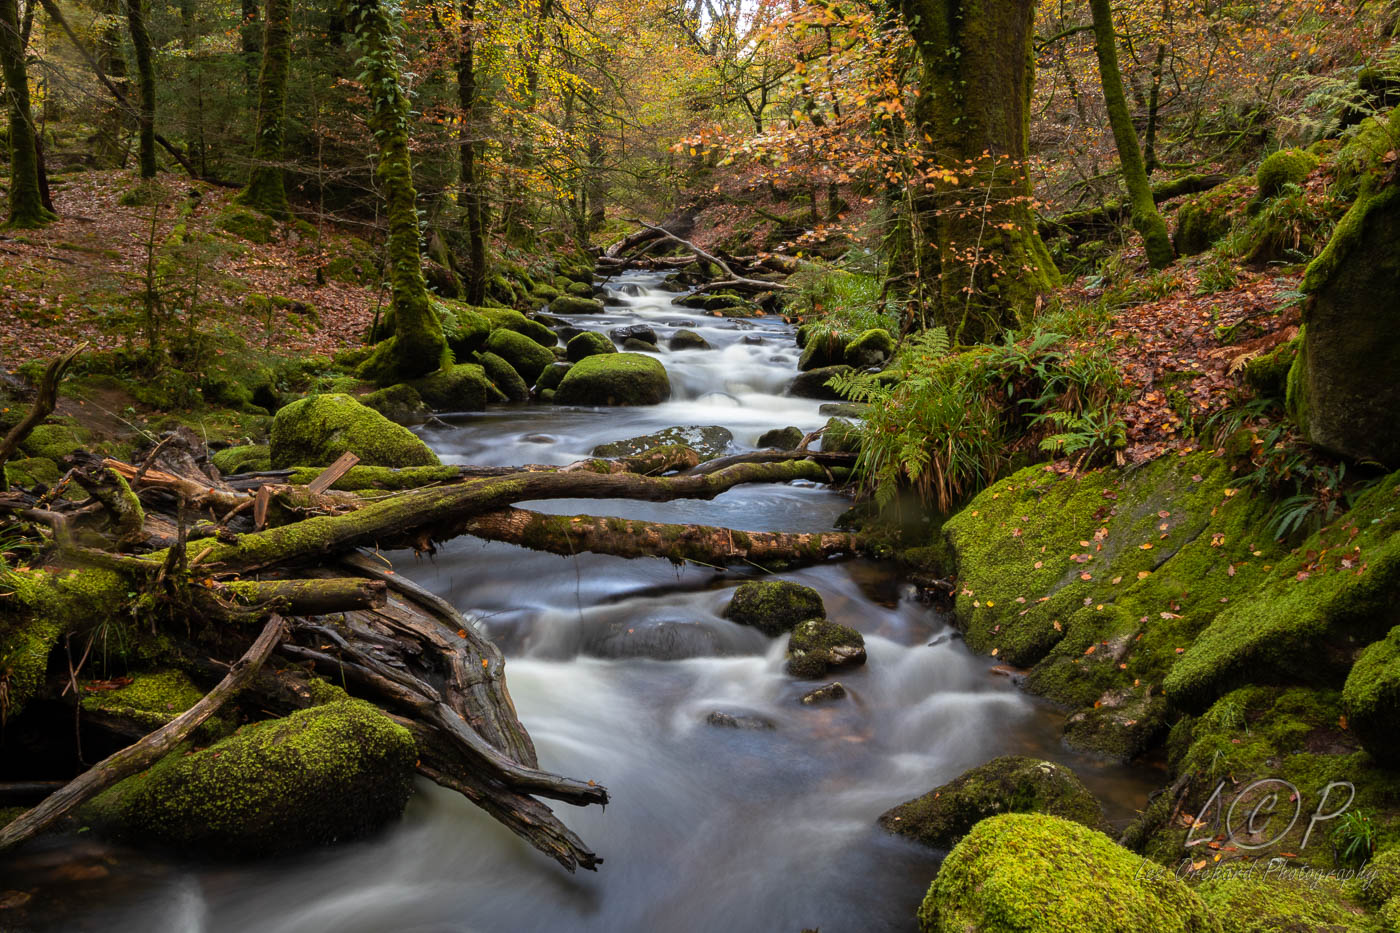
Tag: long exposure

New Waterfalls & Babbling Brook Workshop

New Waterfalls & Babbling Brook Workshop

I run a couple of different workshops on Dartmoor for people to improve their landscape photography.

I have now created a new workshop.

Waterfalls and Brooks on Dartmoor.

There are some great places on Dartmoor and some interesting waterfalls. Some of these cost money to see, but if you explore, you can find many smaller waterfalls and babbling brooks that give just as much pleasure.

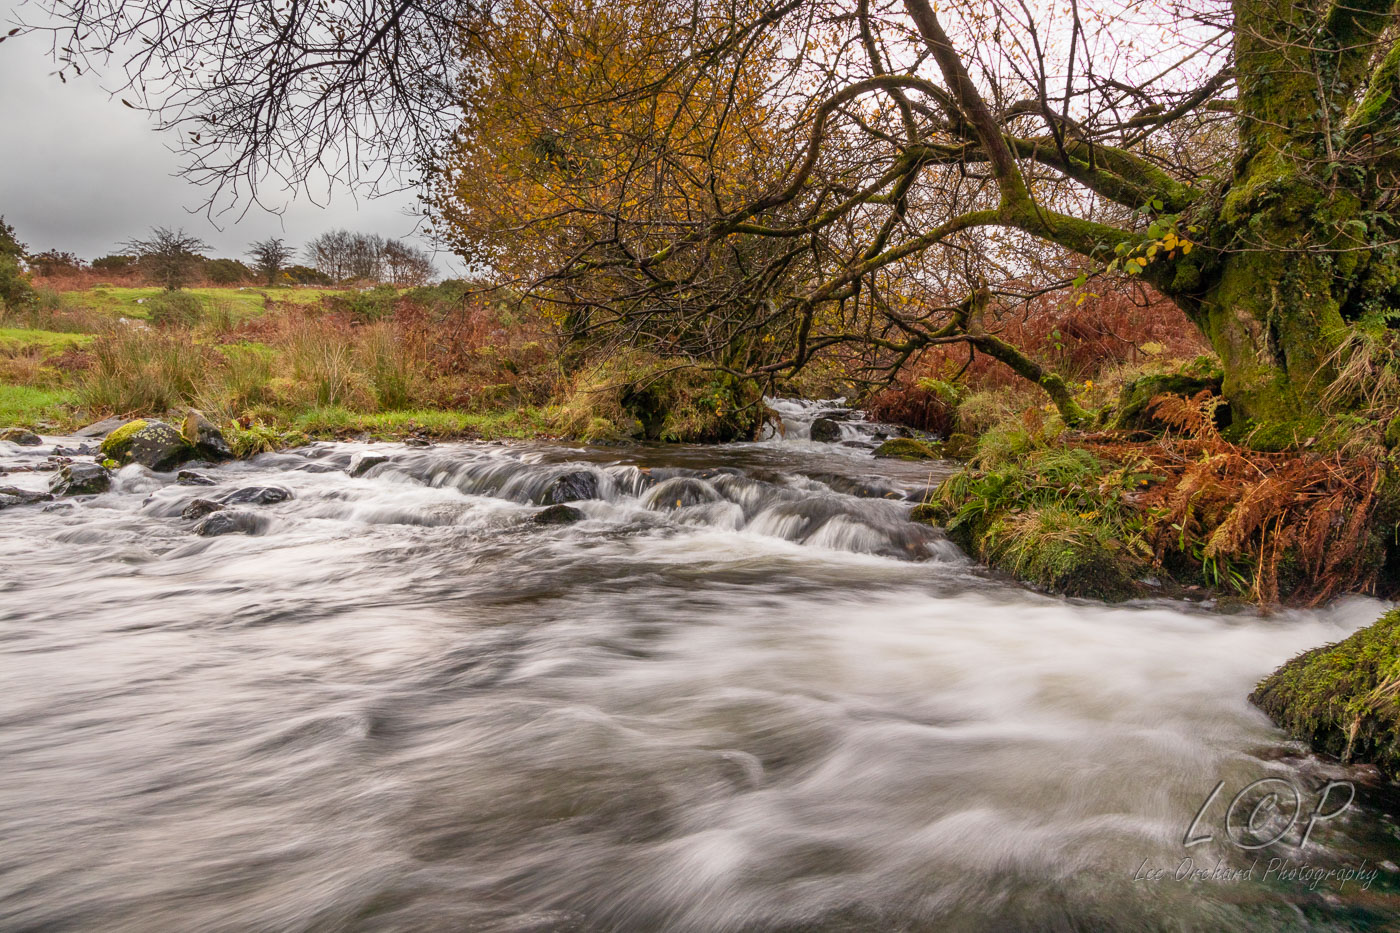
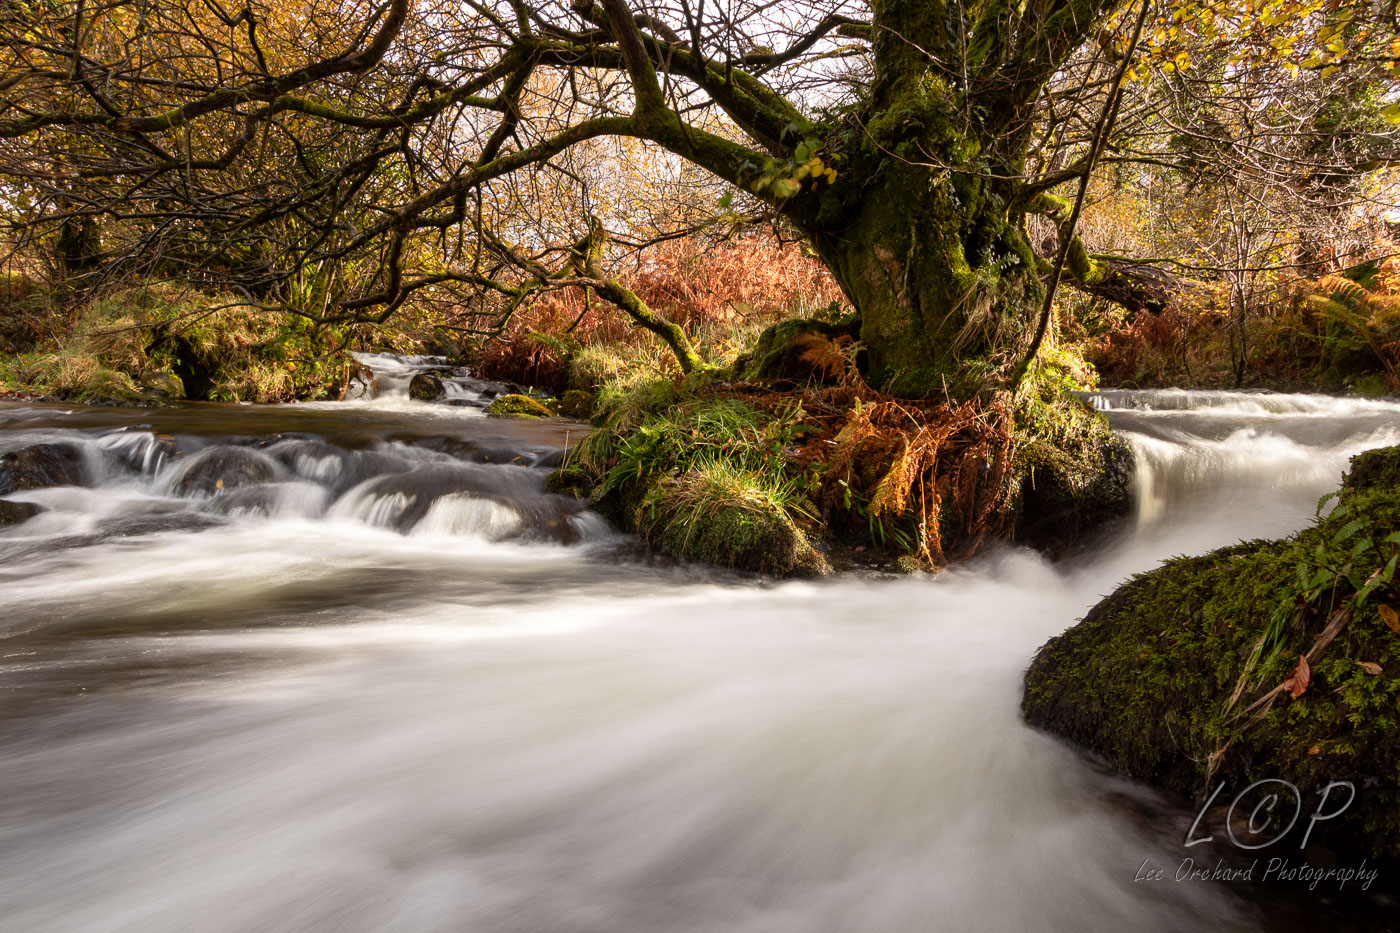
Small cascades, give great results

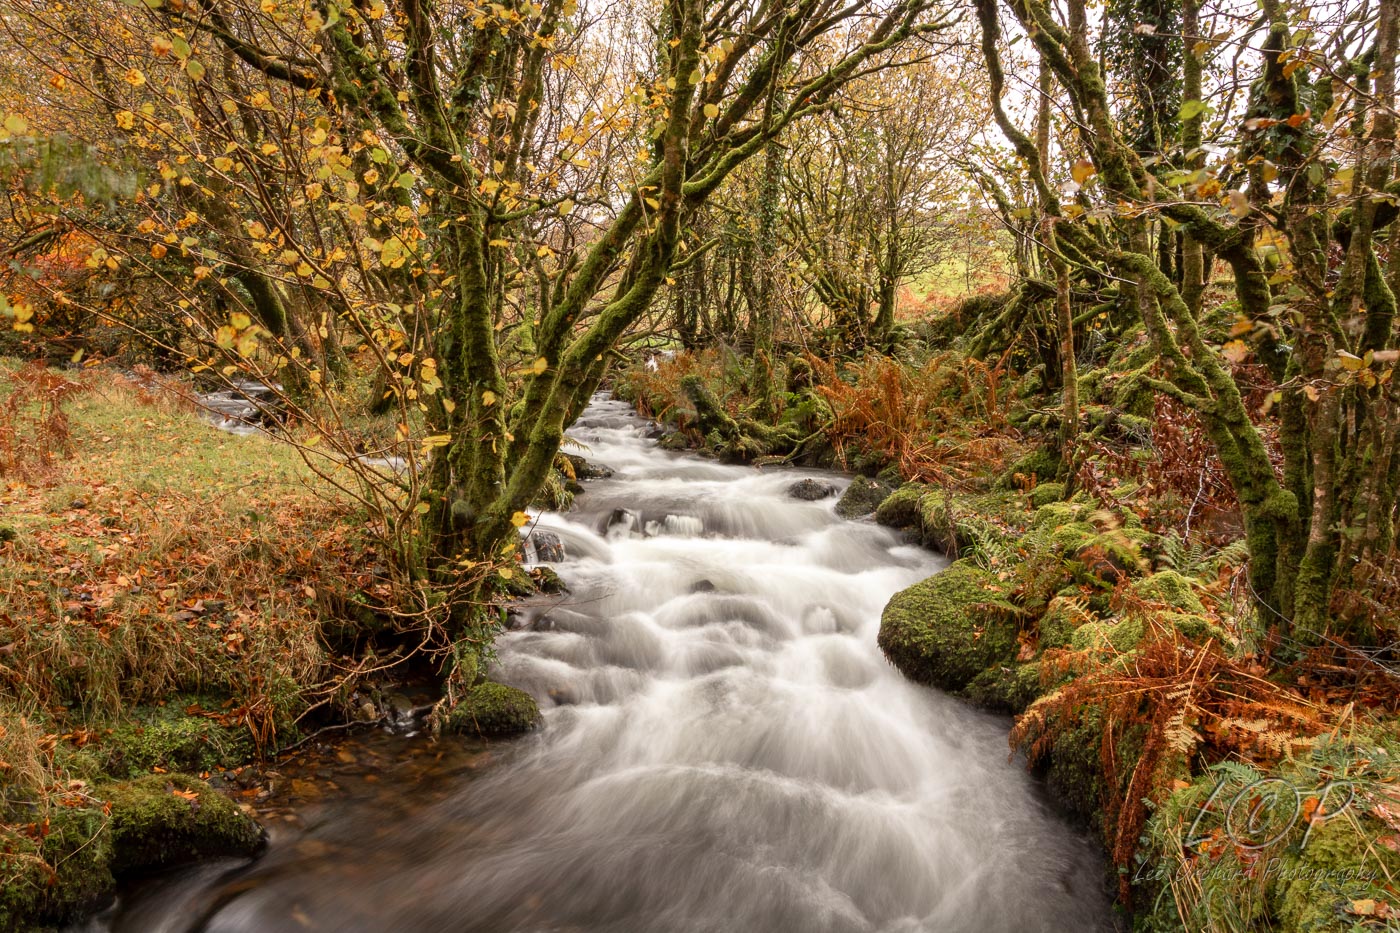
Small hidden flows through the undergrowth are a great find.

Red-a-ven Brook

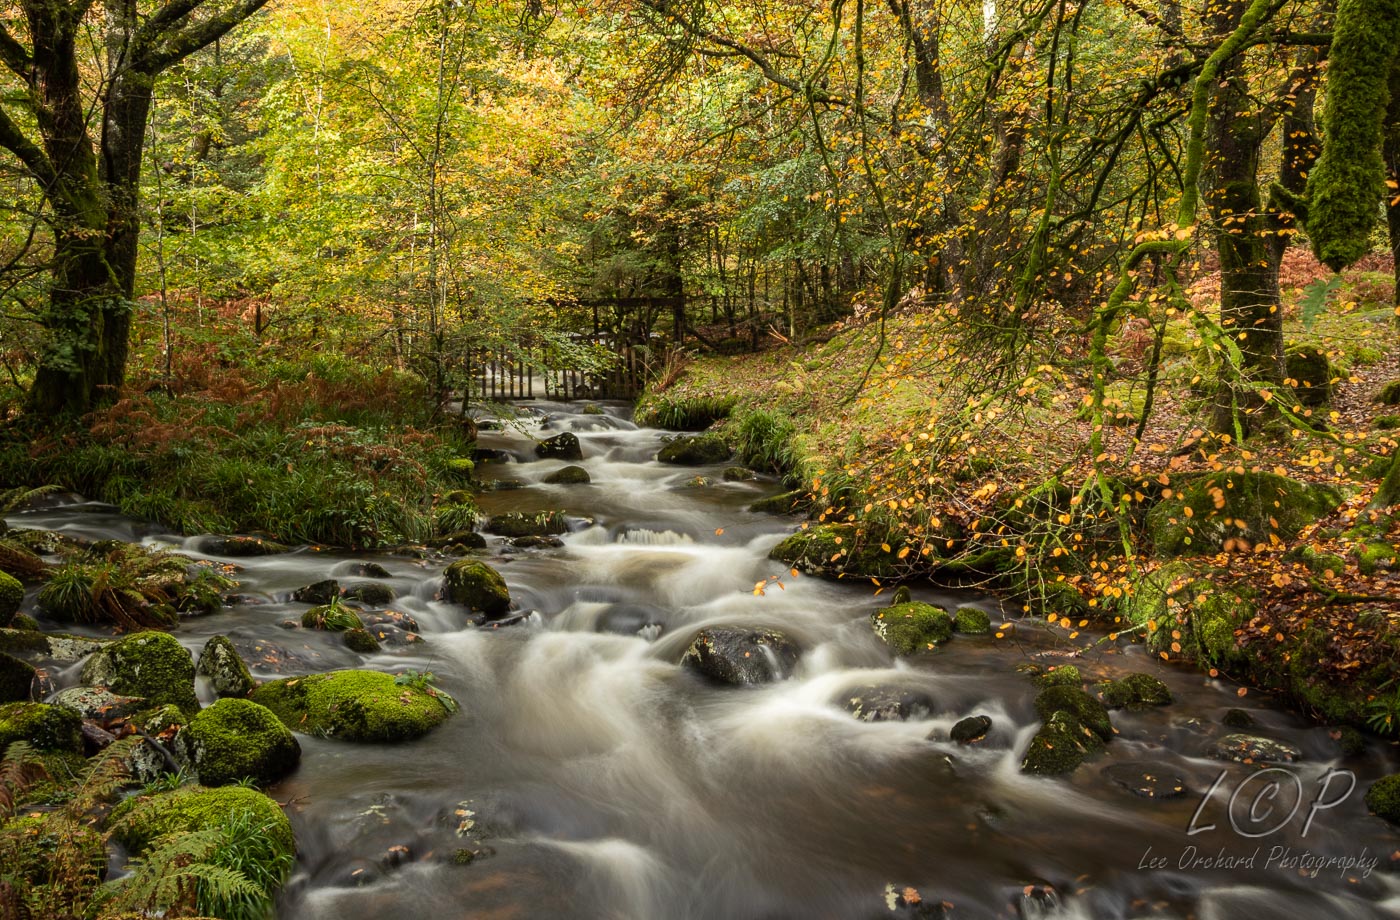
As are simple brooks with rocks

As you can see, the results speak for themselves and you even in the field previews look amazing

Behind the Scenes

There are so many lovely places around dartmoor, that can easily be explored.

River Meavy

For a 2 hour workshop photographing these lovely rivers, the cost is just £80

Autumn is short

Autumn is short

Autumn is a lovely time and it a time I want to photograph, but quite ofter miss out. So this year I’ve tried to make more of a effort.

So, last week I combined another D365 square, with some autumn colours.

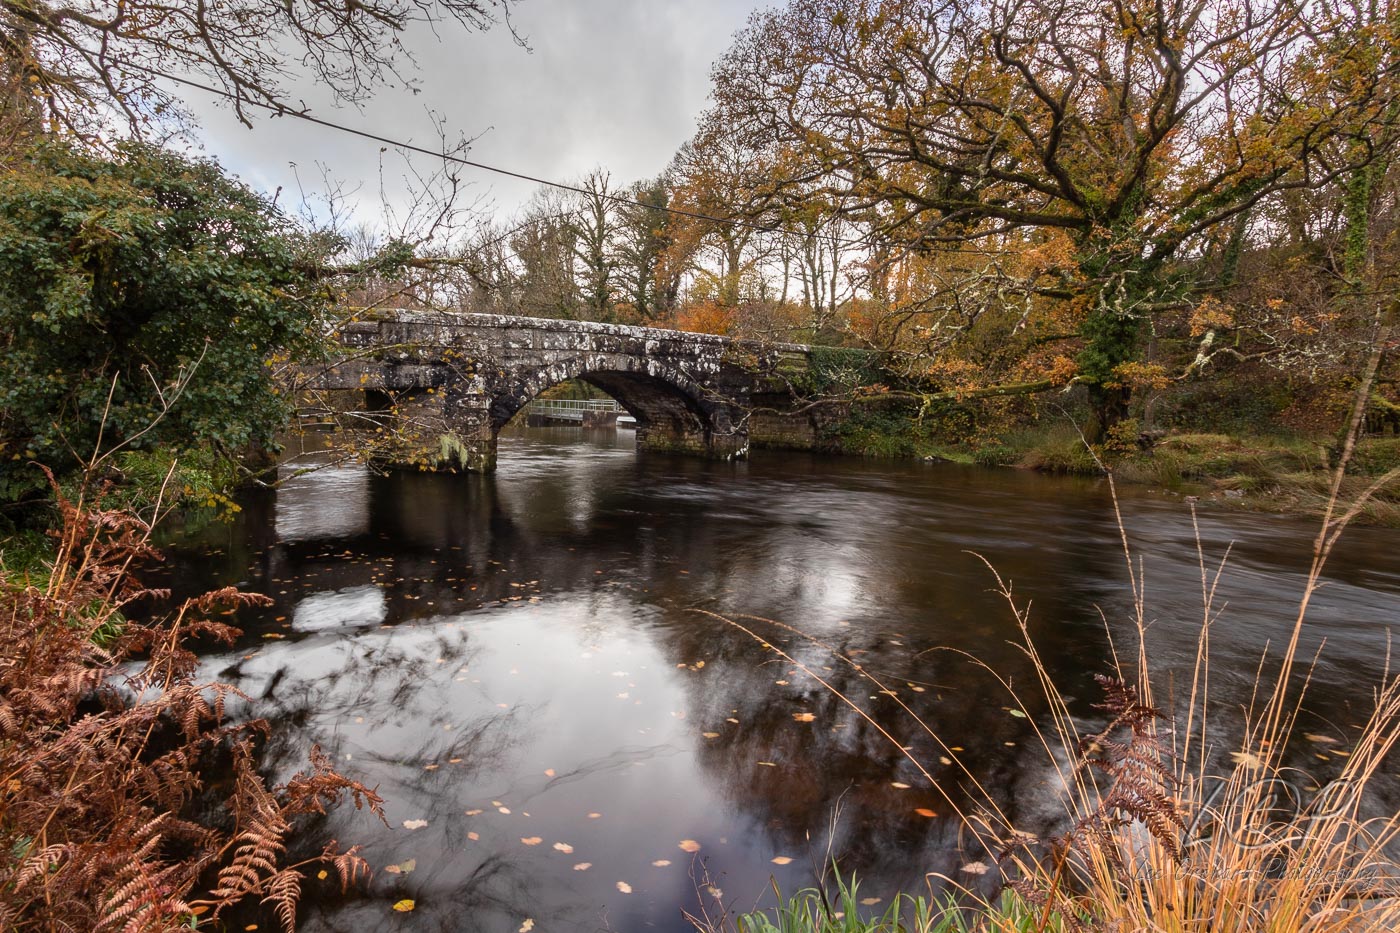
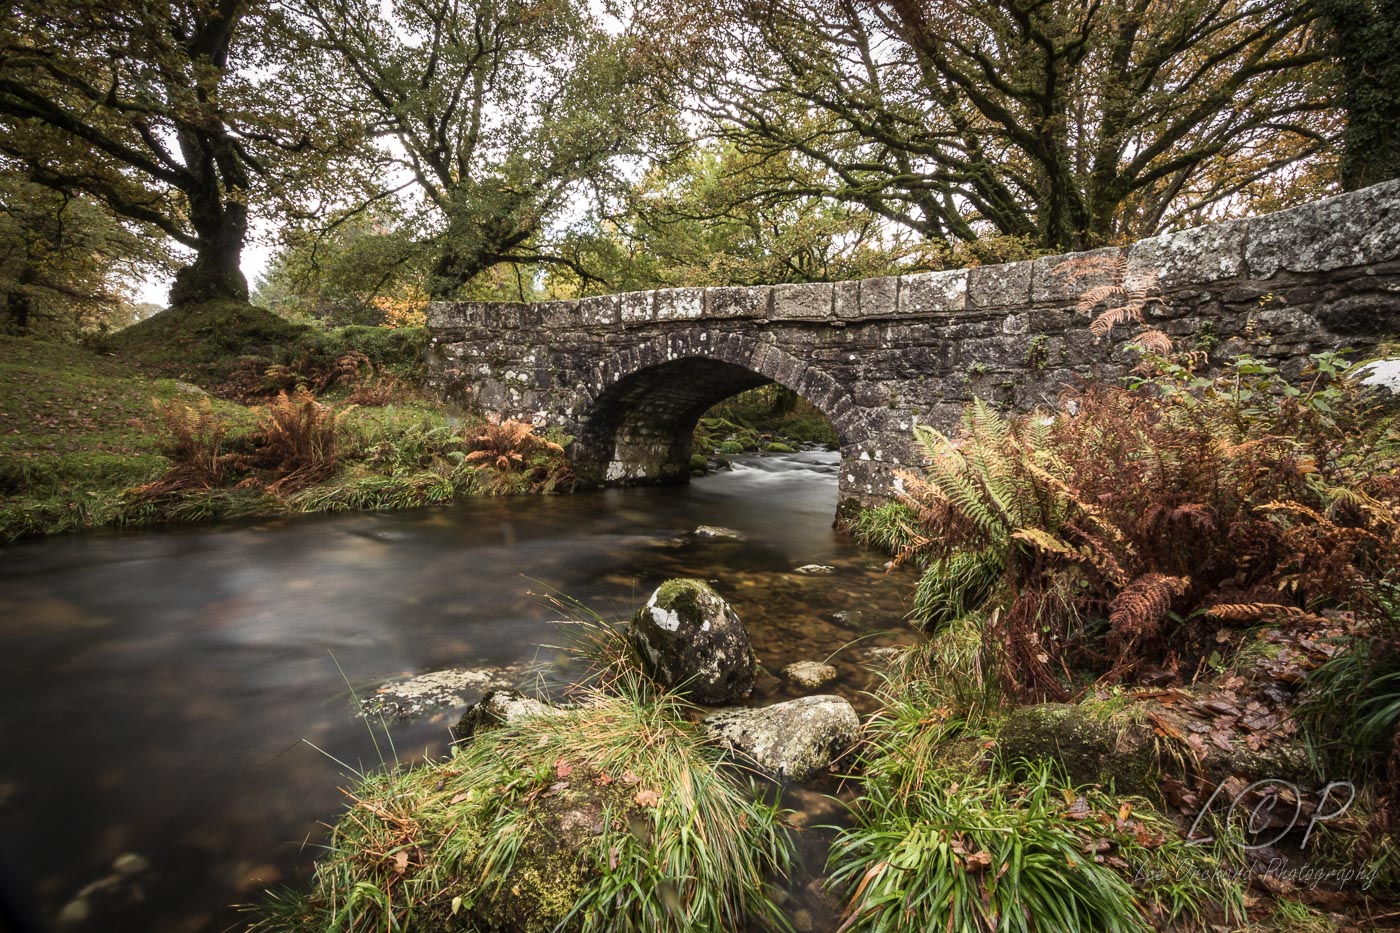
Although the main bridge was difficult to photograph from the intended view, the surrounding brooks were a photographers paradise.

Right next to the very small parking area was this from the road cross over it.

A slight change of positions gave you this

and a 5 minute walk (if even that), was this place.

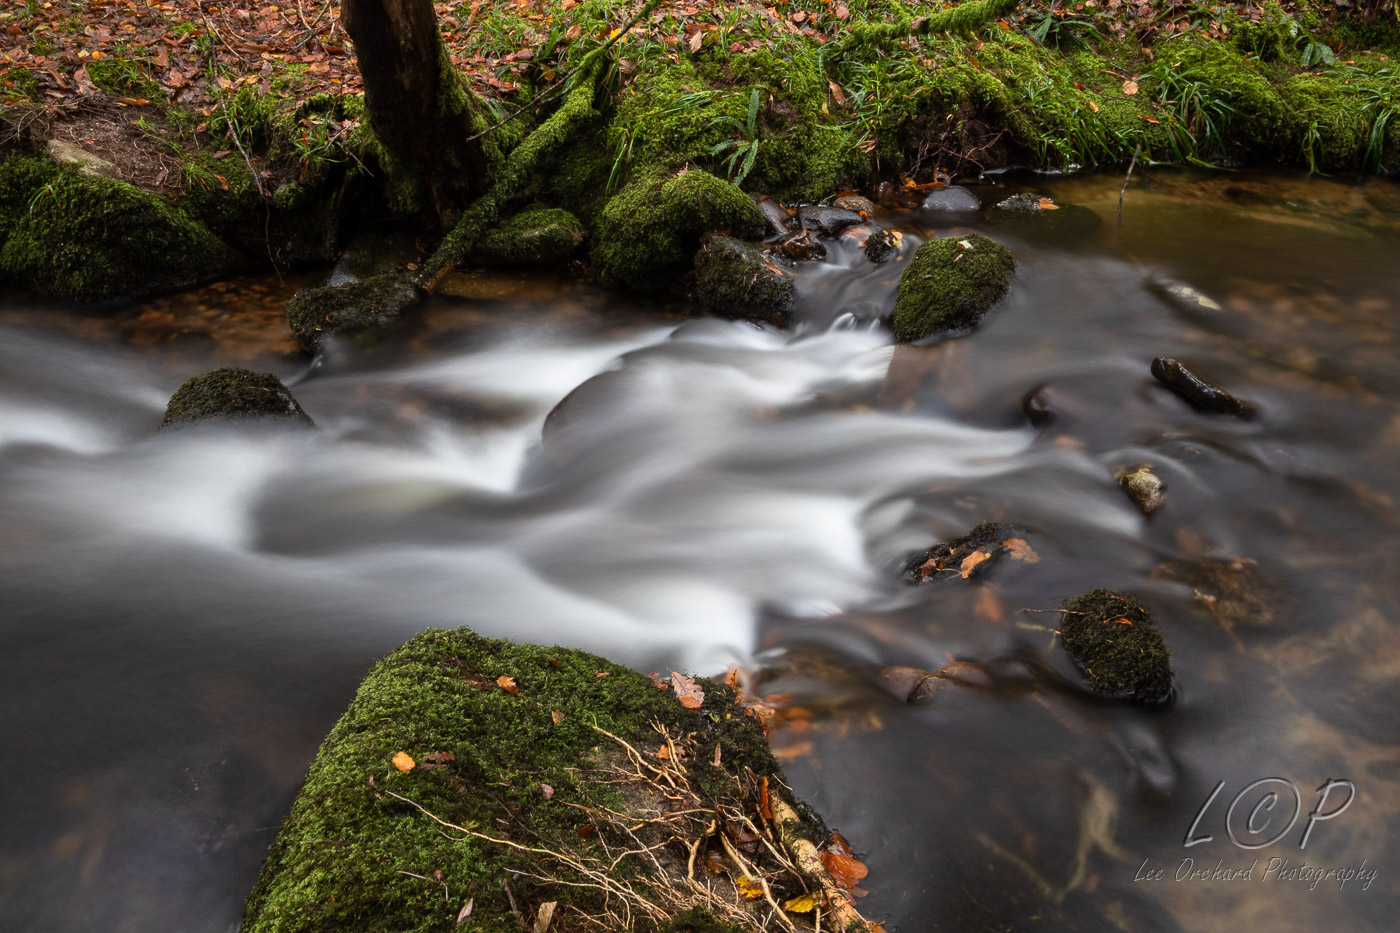
The river was very fast flowing and so not very long exposures was needed.

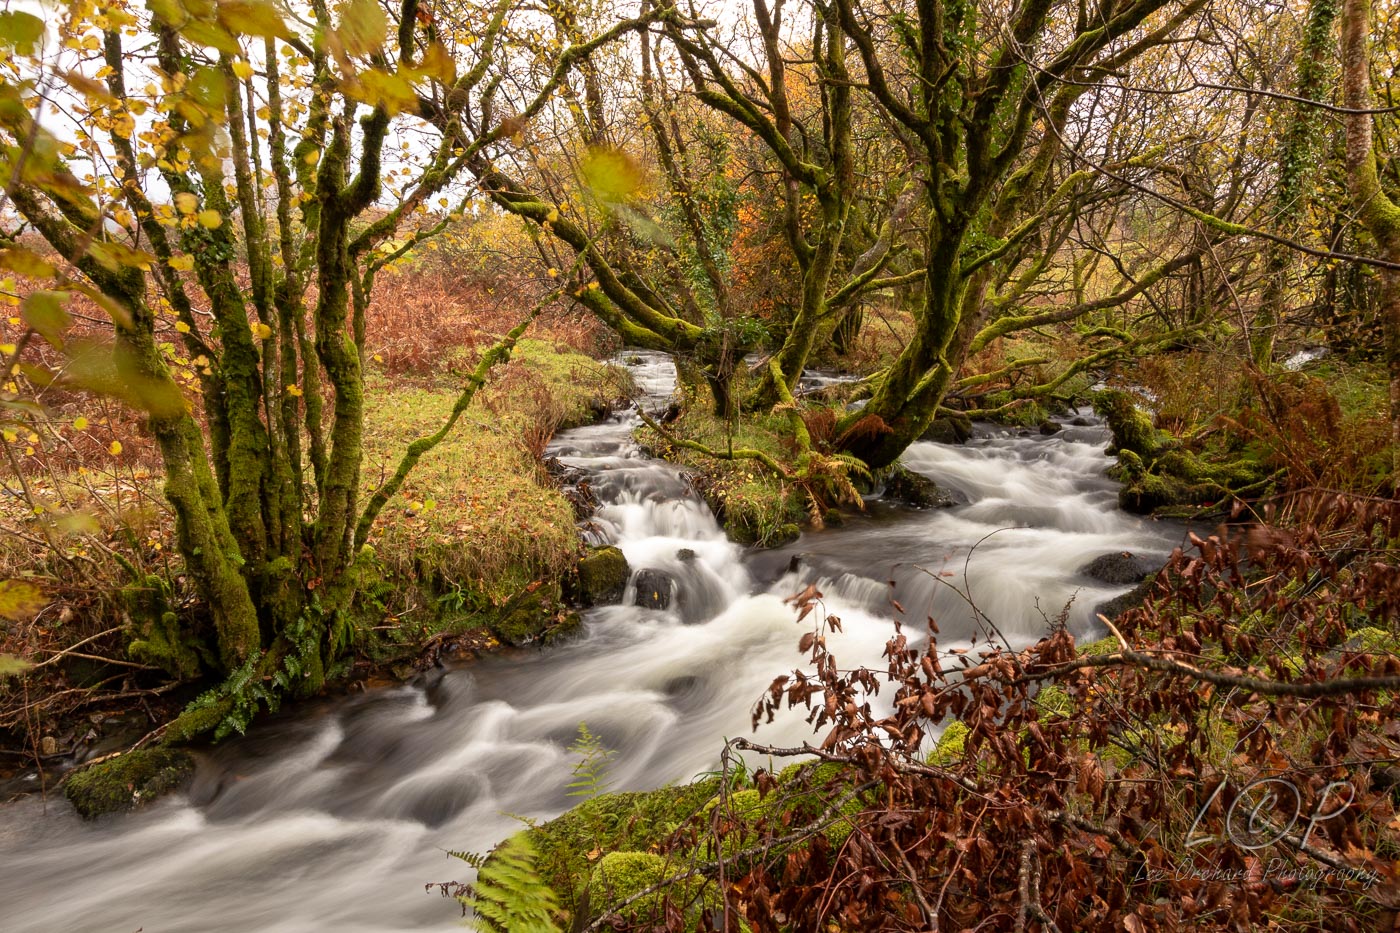
I wanted to capture the 2 streams joining and I wanted a low angle, so placed the tripod in the river, low down and took another shot.

There was more to explore, but the weather was against us again and time running out.

I hope to get one last chance at autumn soon.

* Some of these photos and more are available to buy as Prints and Framed photos on my PicFair shop (LeoPhotographyUK)

Dartmoor Rivers in Autumn

Dartmoor Rivers in Autumn

If you follow my posts (I hope someone does) and you know I recently visit Dartmoor, you’ll also know that at about this time last year I started exploring long exposure photography and struggled getting good result. You can read about it here > Long Exposure Photography (Part 1).

By the beginning of the year I was starting to get good results. I did a little more in the summer, but Autumn is really were this comes into its own.

I don’t tend to resist places very ofter, but whilst on a walk a couple of weeks ago, I found this lovely location. Using a Woolly Hat as a support and hoping the big tractor that past during these photos, would rattle the camera into the brook, I managed to get this lovely photo.

Now as we all know, autumn is a very short time of year, so finding good locations is a must and then hope for good weather and also hope the storms hasn’t blown the leaves off the trees!

Our recent trip to Burrator was really good weather, but after exploring the reservoir we revisited the above location, with tripod in hand for some more photos. It started raining!

So, this made photographing the river under the trees even trickier. It was darker and trying to keep the rain drops off the filter was very difficult. Needless to say, I didn’t always succeed and some photos had water droplet marks on them.

The wet conditions though did really make the colours pop!

It’s always lovely when you come home dry off the gear, download the photos and see what you have!

The exploring continues… look out for part 2.

* Some of these photos and more are available to buy as Prints and Framed photos on my PicFair shop (LeoPhotographyUK)

Long Exposure Photography (Part 3)

Long Exposure Photography (Part 3)

If you just found this on my blog, you need to read it from Part 1 to follow to understand my difficult start to long exposure photography.

1 week after my last disaster with the ND filter, I’d bitten the bullet and purchased a LEE filter adapter and ND9 filter, albeit secondhand but in good conditions and was heading back to the same location of lovely streams on Dartmoor.

This time it had to work, it must work…

The weather was lovely again and I retraced my steps to hopefully capture what I thought I was getting last time.

I’m pleased to say it did work and these were some of my results.

This one is one of my favourites

It had even rained in-between my visits and the run offs from the hills were in full flow.

This one was quite tricky to photograph.

So what have I learnt. Well I didn’t really work out why the Cokin filter had the cast, but just knew it couldn’t be right. Don’t buy cheap, even if it says it’s a photographic filter it might be a bit of plastic! Ask for recommendations, which I did and although I’d decided which filter system to go to, it’s good to get confirmation from other photographers and other options.

Finally, keep at it, keep experimenting and with time you should get to where you want to be!

Will I keep going with long exposure photography? Oh yes! I’m am now always looking to Waterfalls and Beaches with interesting scenes to photography.

You can follow my photographic journey on my blog and see my gallery of images here.

Long Exposure Photography (Part 2)

Long Exposure Photography (Part 2)

So, following on from Part 1, I knew that to take advantage of all these lovely places I was visiting and to improve my long exposure photography, something had to change.

I’d come to the conclusion that it was my filter, so on to eBay and purchase a new darker Cokin filter.

I’d researched some places on Dartmoor to photo and thought I’d give it all another go.

Things didn’t start too bad but definitely didn’t end well. I’ll explain why…

I was right about the place it was amazing!

So I set-up and took some photos. Sun was in the wrong place causing glare and flare! So moved around the stream finding better locations.

Secondly this was the first time I’d used my tripod and the moors and I hadn’t realised just how heavy it was to carry! 2.7kgs, that’s a lot when you have a lot of gear too. Carrying that to locations and up and down steep paths and sides of hills was tricky and it just got heavier in time.

I put all that aside and walked along the lovely river taking photos as a went. All on the view finder the images looked a lot better, not blown out, no orange tint, just a little darker, which is good.

I explored all along the stream, photographing the rapids and waterfalls. Brilliant, 150 photos of this lovely location. I’ll have some lovely photos. How wrong I was!

I had 150 photos that were destined to go no further than the bin! I was worse of than before!

They had strange lines on them, blurred edges, rainbow coloured blobs. The so called filter was definitely not photographic quality and probably nothing more than a bit of plastic. The photos went in the computer bin and the filter quickly followed to the bin aswell.

So, lesson again learnt, you get what you pay for. Time to find something decent and give it all another go.

If you want to now how this turned out, Read part 3!

Long Exposure Photography (Part 1)

Long Exposure Photography (Part 1)

Something I’ve always wanted to try long exposure photography. Visiting the beaches and moor has given me the opportunity to do this.

So at the end of last year I decided to give it a go. I had mixed results.

I found my old Cokin filters and adapter and collected my studio tripod and set off to the beach.

Firstly finding the right location and position is not as easy as it seems. The tide was either in the wrong place or there were no interesting rocks around. Plus I ended up with some very wet feet!

However I persevered.

I struggled though, I’d tried a few year ago and gave up and despite my best efforts everything still seemed to be bright and blown out. On editing the photos later I noticed a strange red/orange tint. This is why I’d stopped last time I’d tried it.

(The above took a lot of editing to get to this but you can see the tint.)

I’m not giving up this time though, so tried again on a different day. I’d found an amazing place and had to give it ago.

Once again, everything bright and orange tint. I was coming to the conclusion it must be my filter.

The final photos I took on this day were so bad that I resulted in turning them to black and white just to get something from them.

I was fed up, why was I having this problem, watching youtube videos I was doing everything right and they clicked the shutter and got great photos. Something had to change…

Read part 2 to find out what I did.