Where we live we can quite easily get cut off with the snow, or water for that matter and did after the snow! So, we have to be a bit careful when we go in search of snow photos. Dartmoor can be hazardous at the best of times, and snow just adds an extra danger element.
So, sensibly we avoided Dartmoor on the snowy days, but did preempt it knowing that it sometimes get snow on higher ground when other areas don’t. This happened the day before the big snow.
We visited Dartmoor in the snow a few times before, but have to judge it well. We headed to an area that we knew well and had easy access. However, it was an uphill drive and we couldn’t quite make the car park we wanted, so set the car in another and started walking.
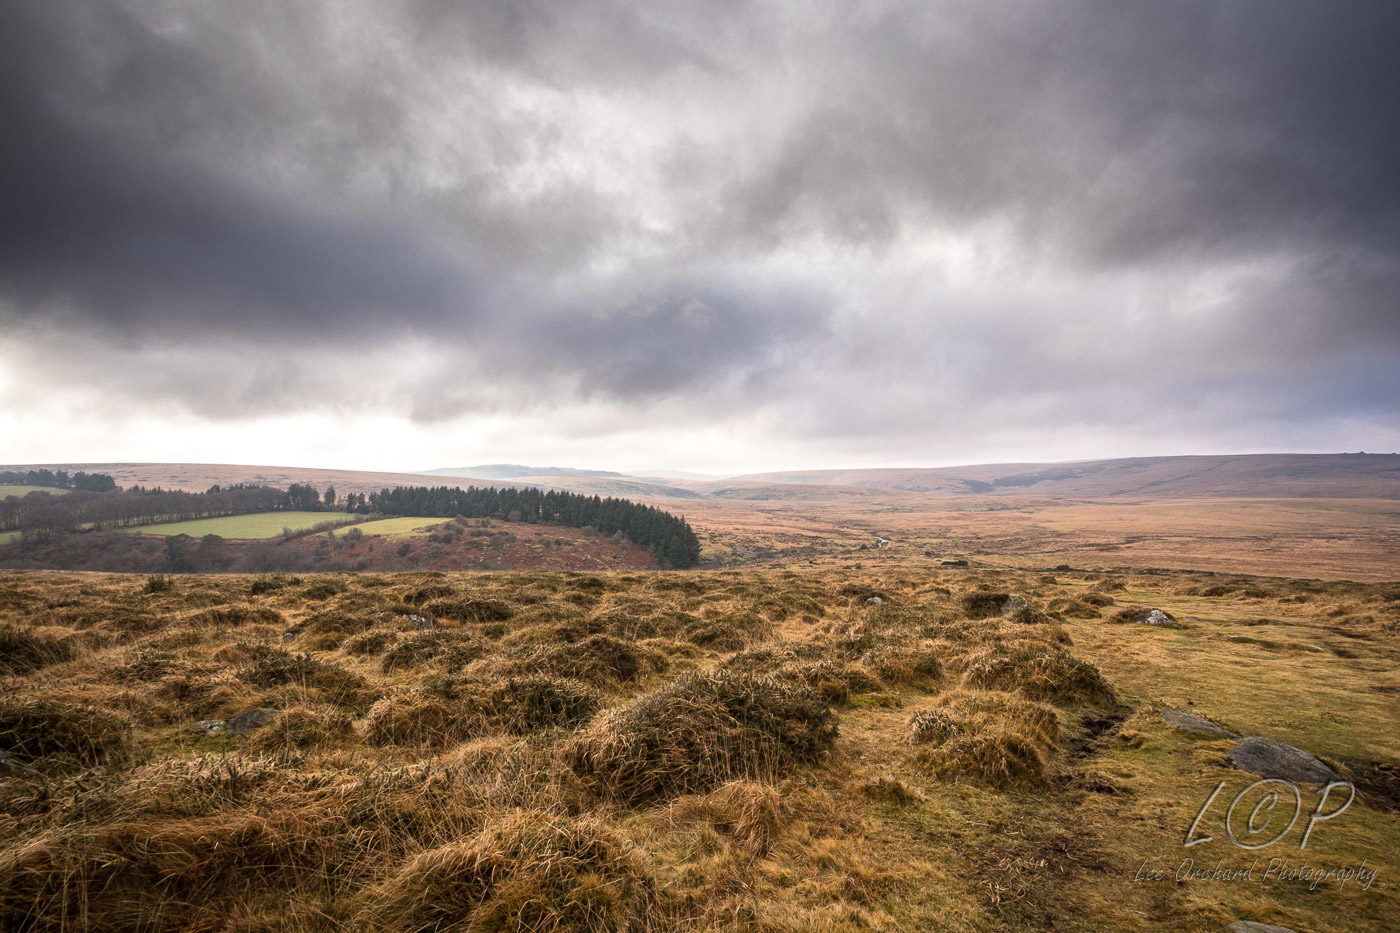
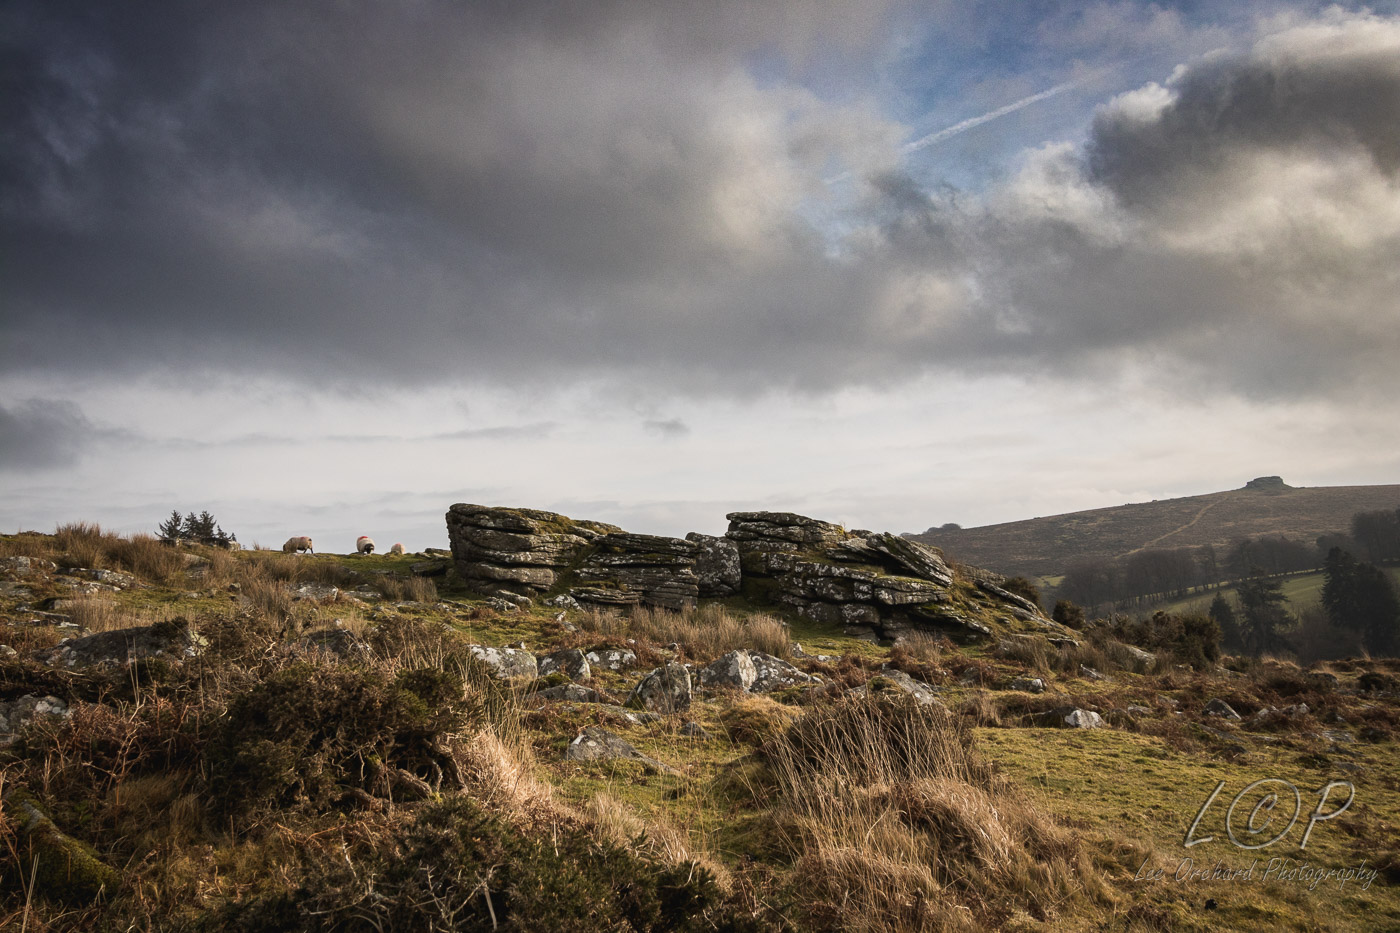
Wow, amazing views…
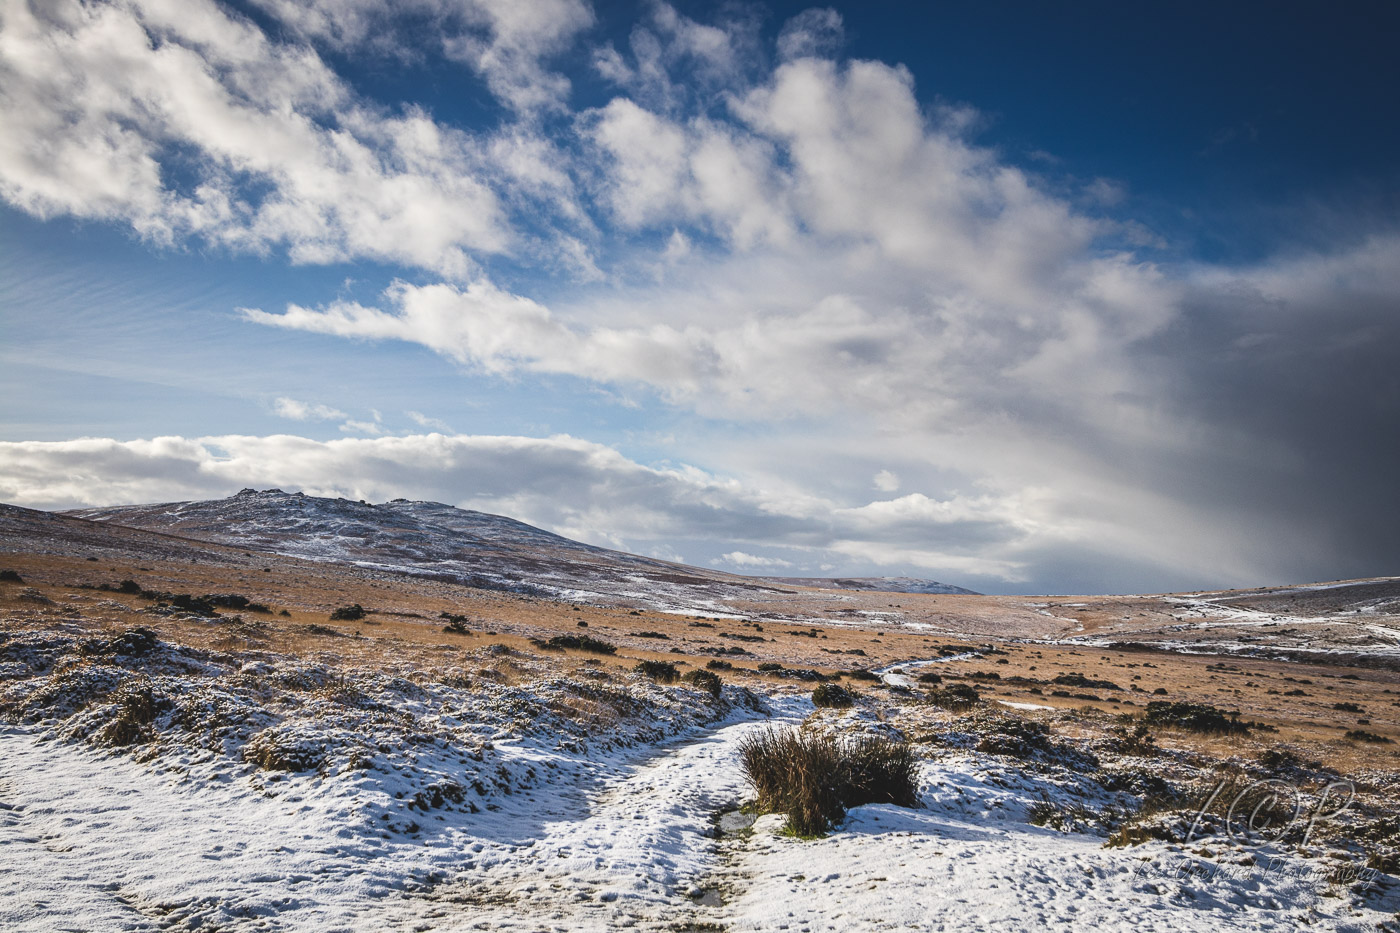
As you can see, it was only on the highest ground and the going wasn’t too bad
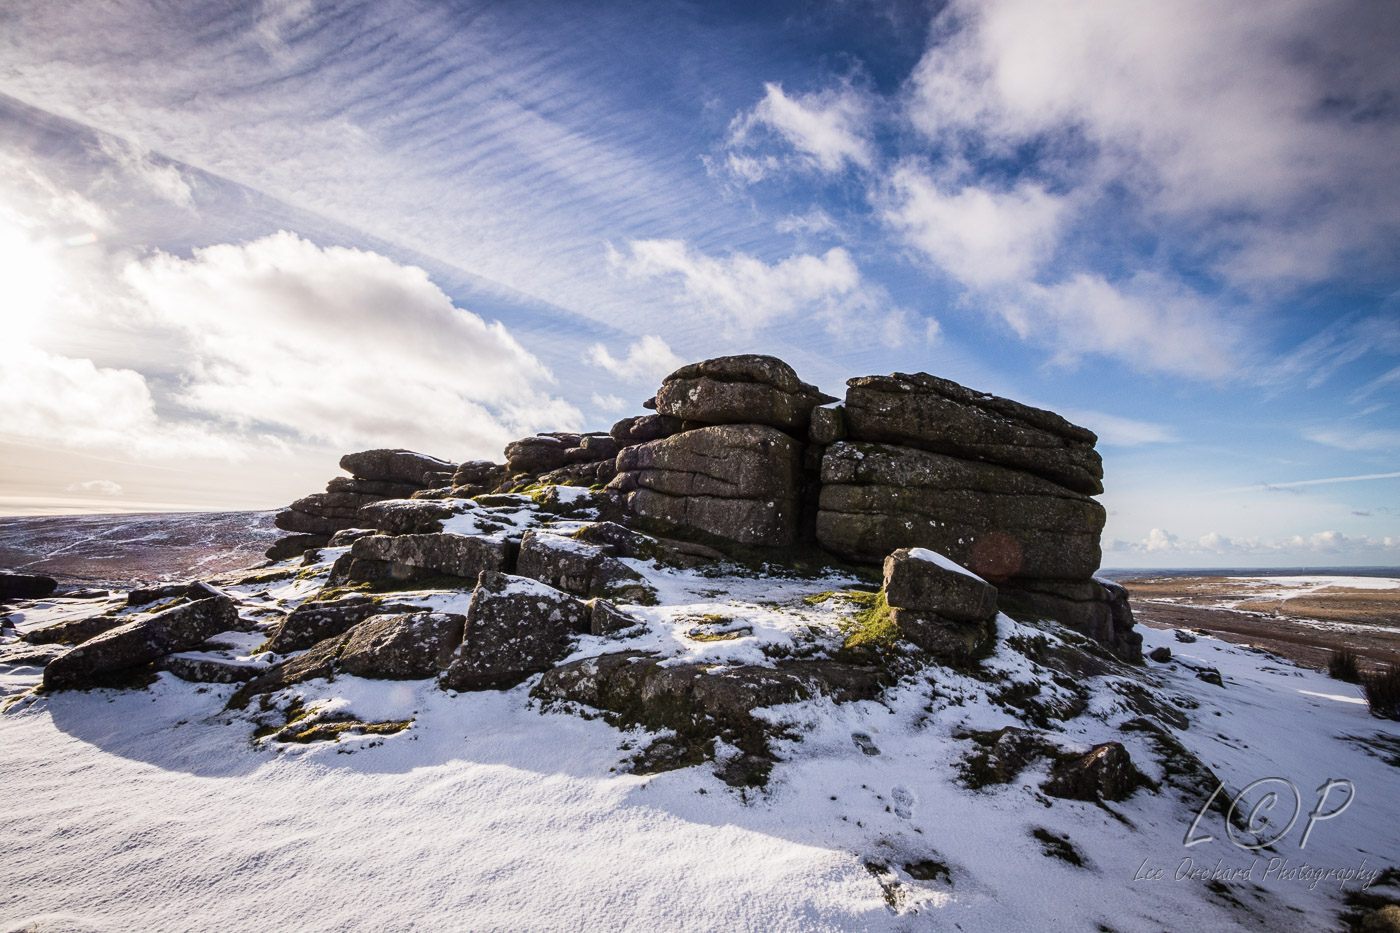
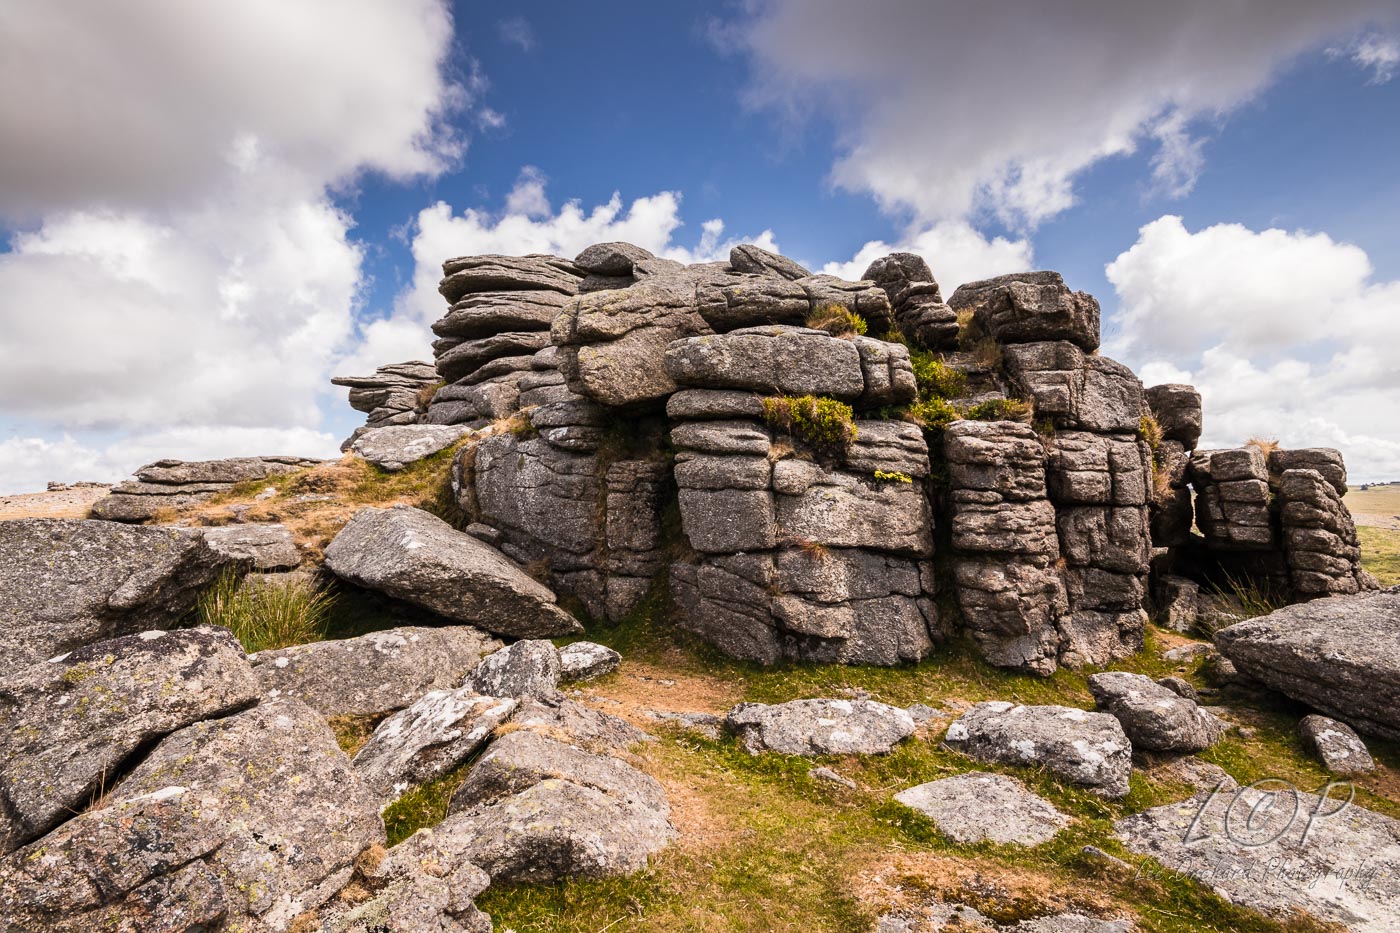
Geting to the top of this tor was quite easy and it looked lovely
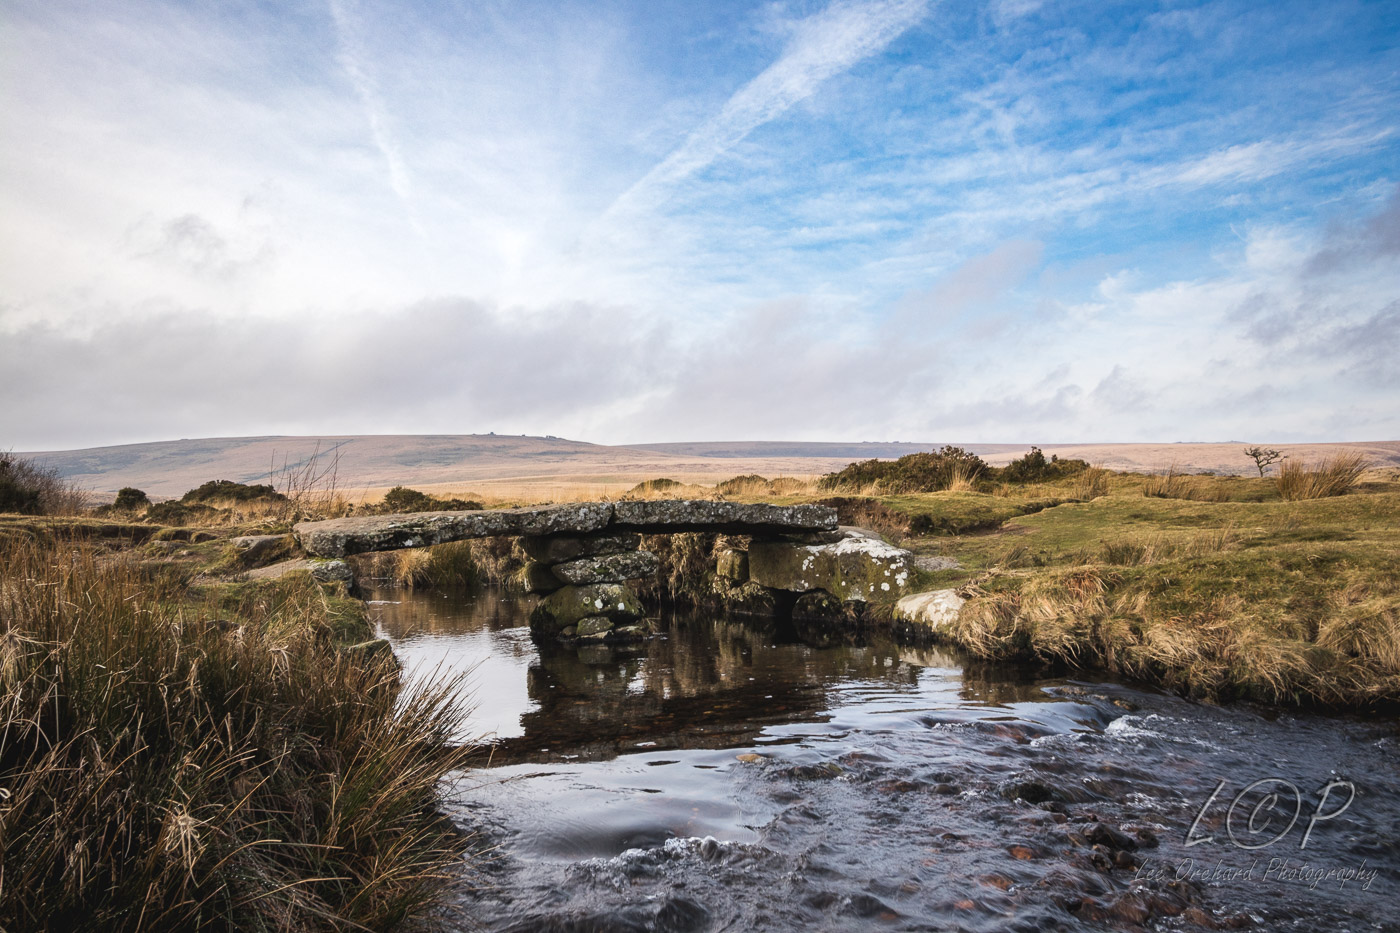
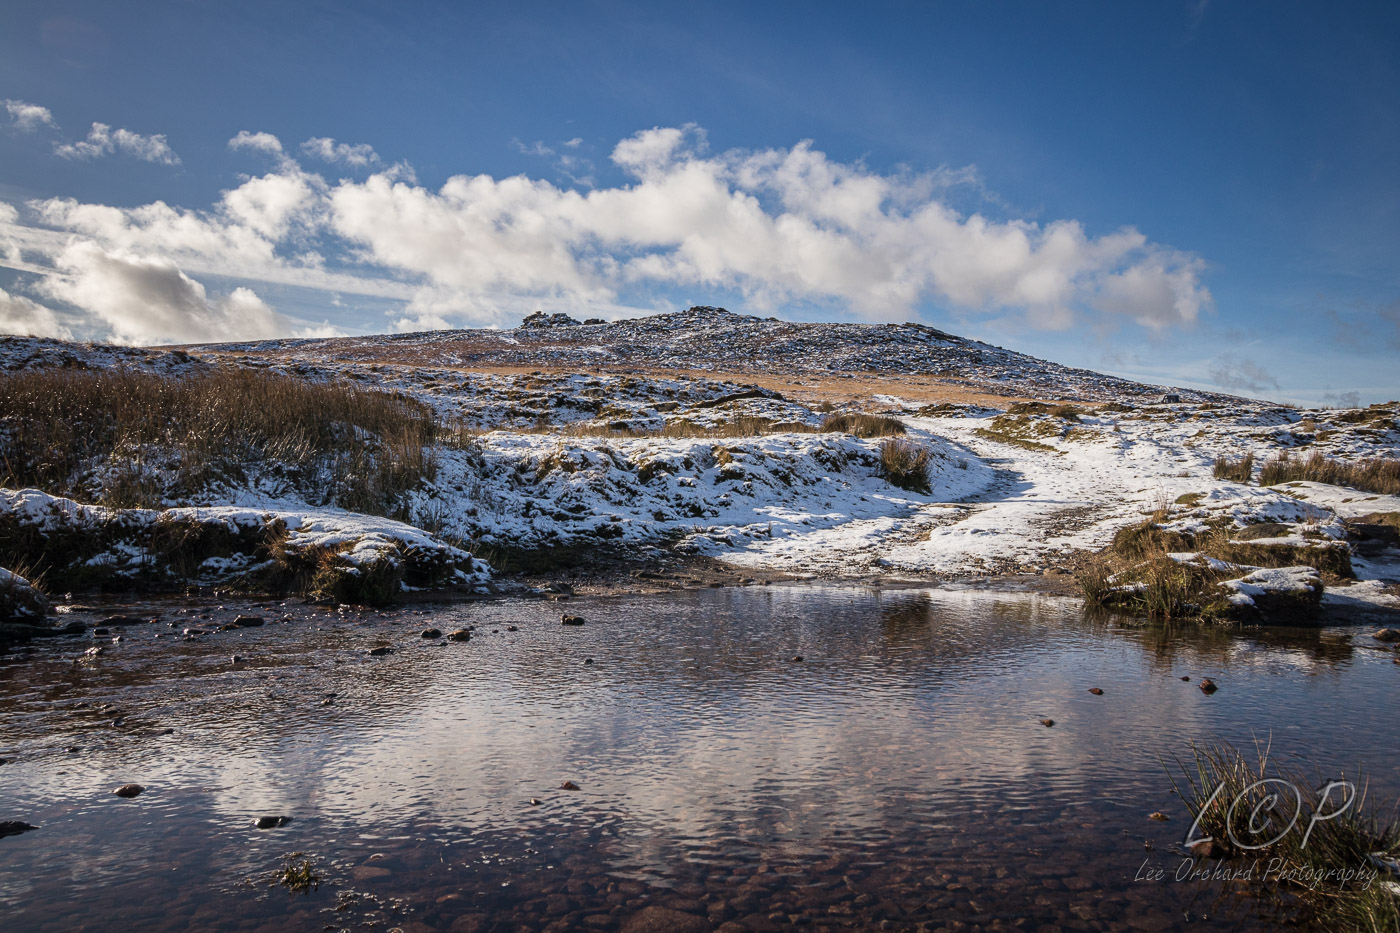
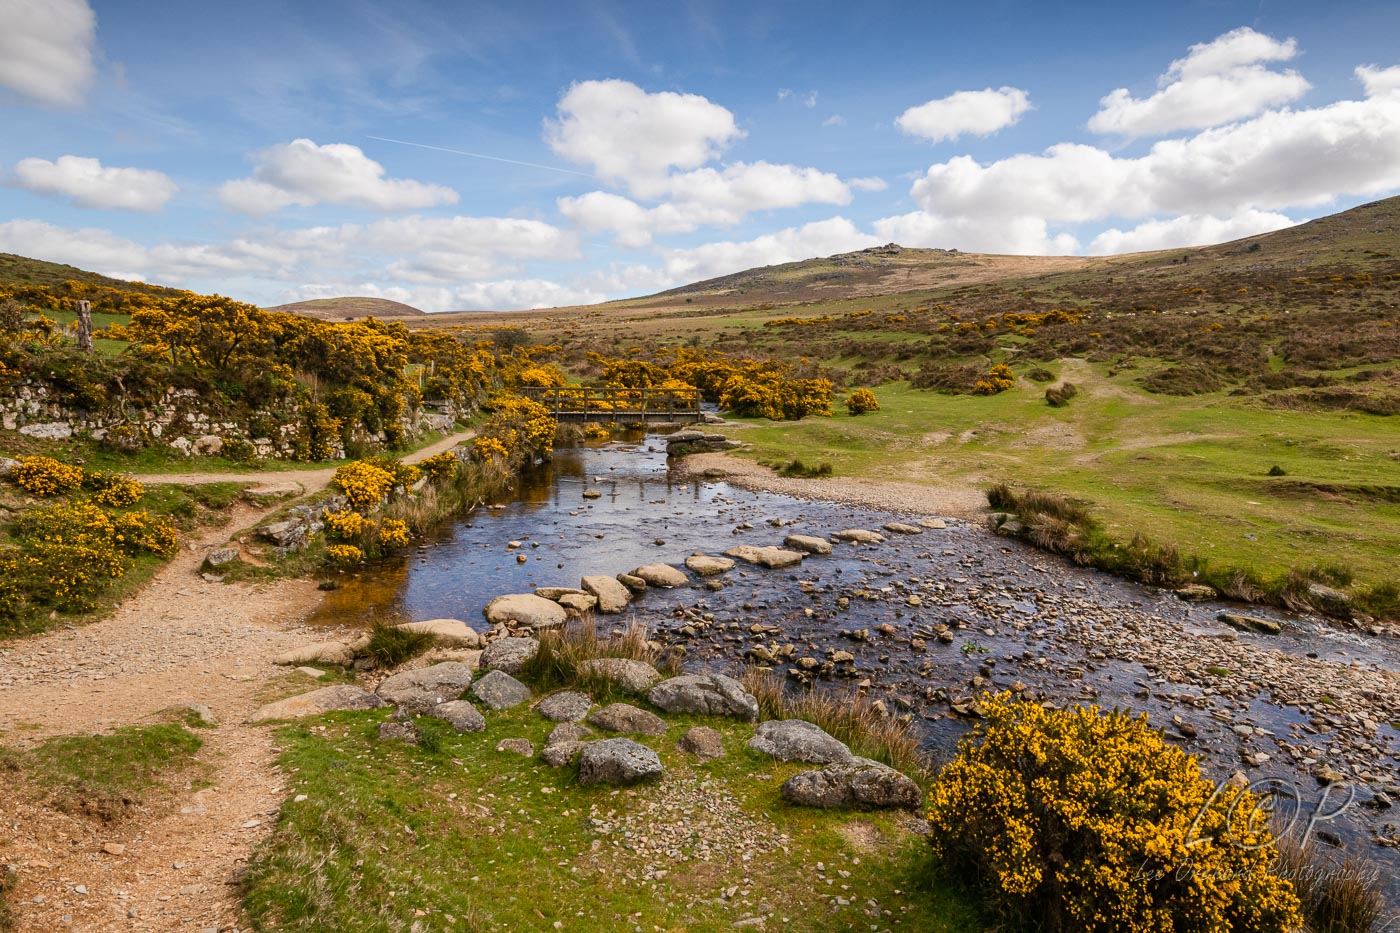
We decided to head further and got to a ford, which offered loa wonderful reflection.
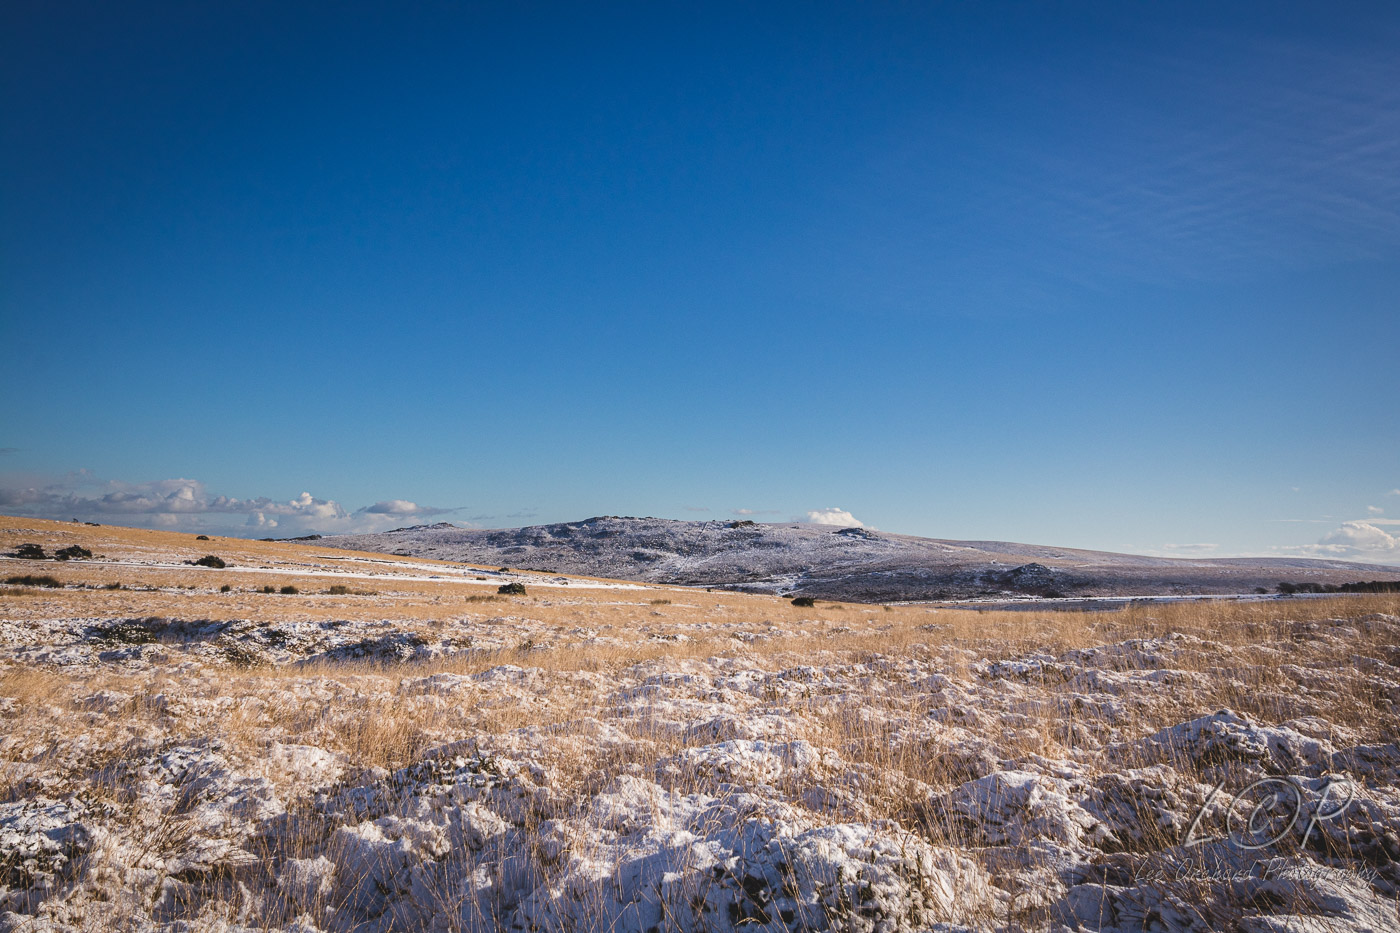
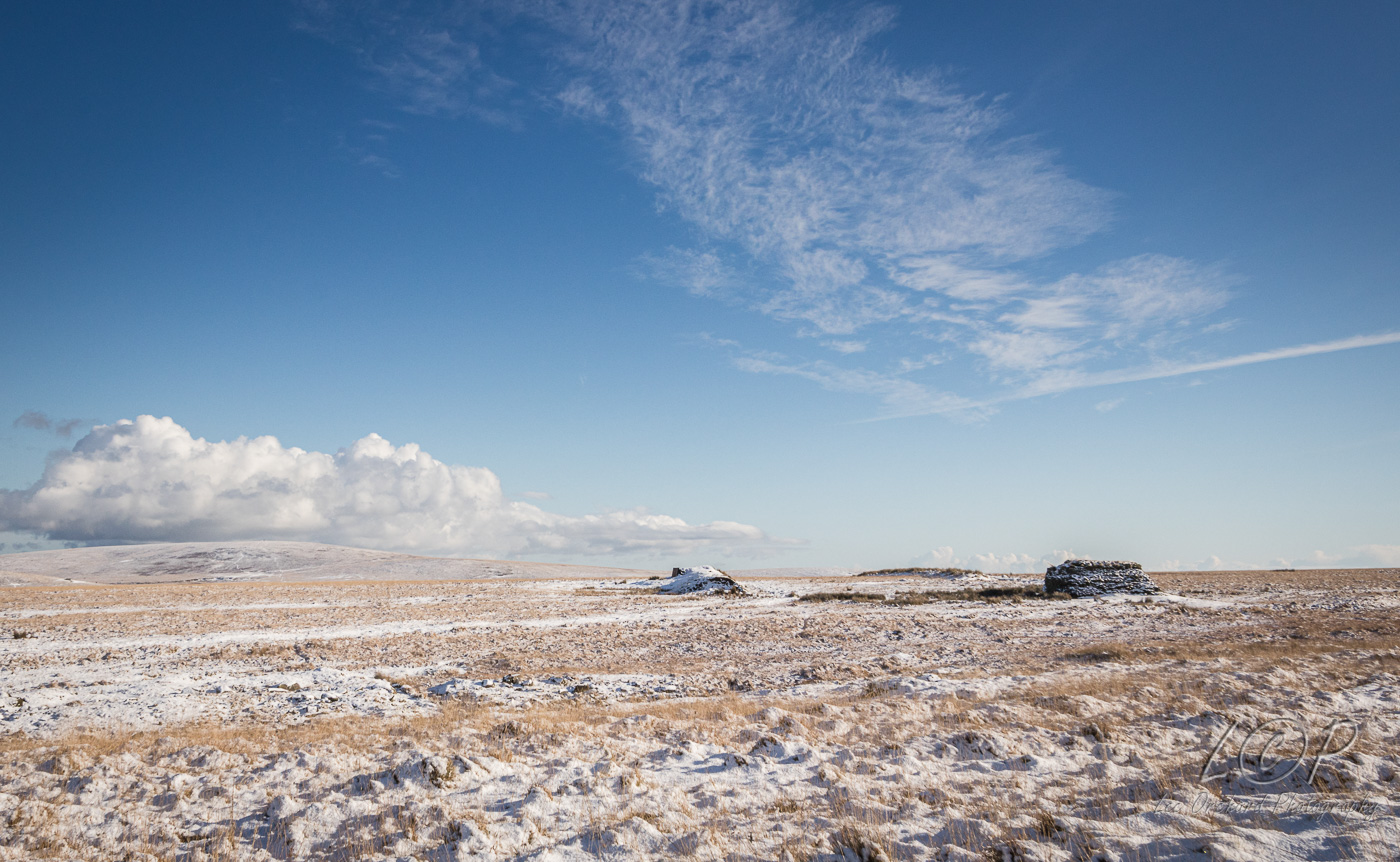
This area is quite flat which is good in the snowy, and give wide views to tors further afield.
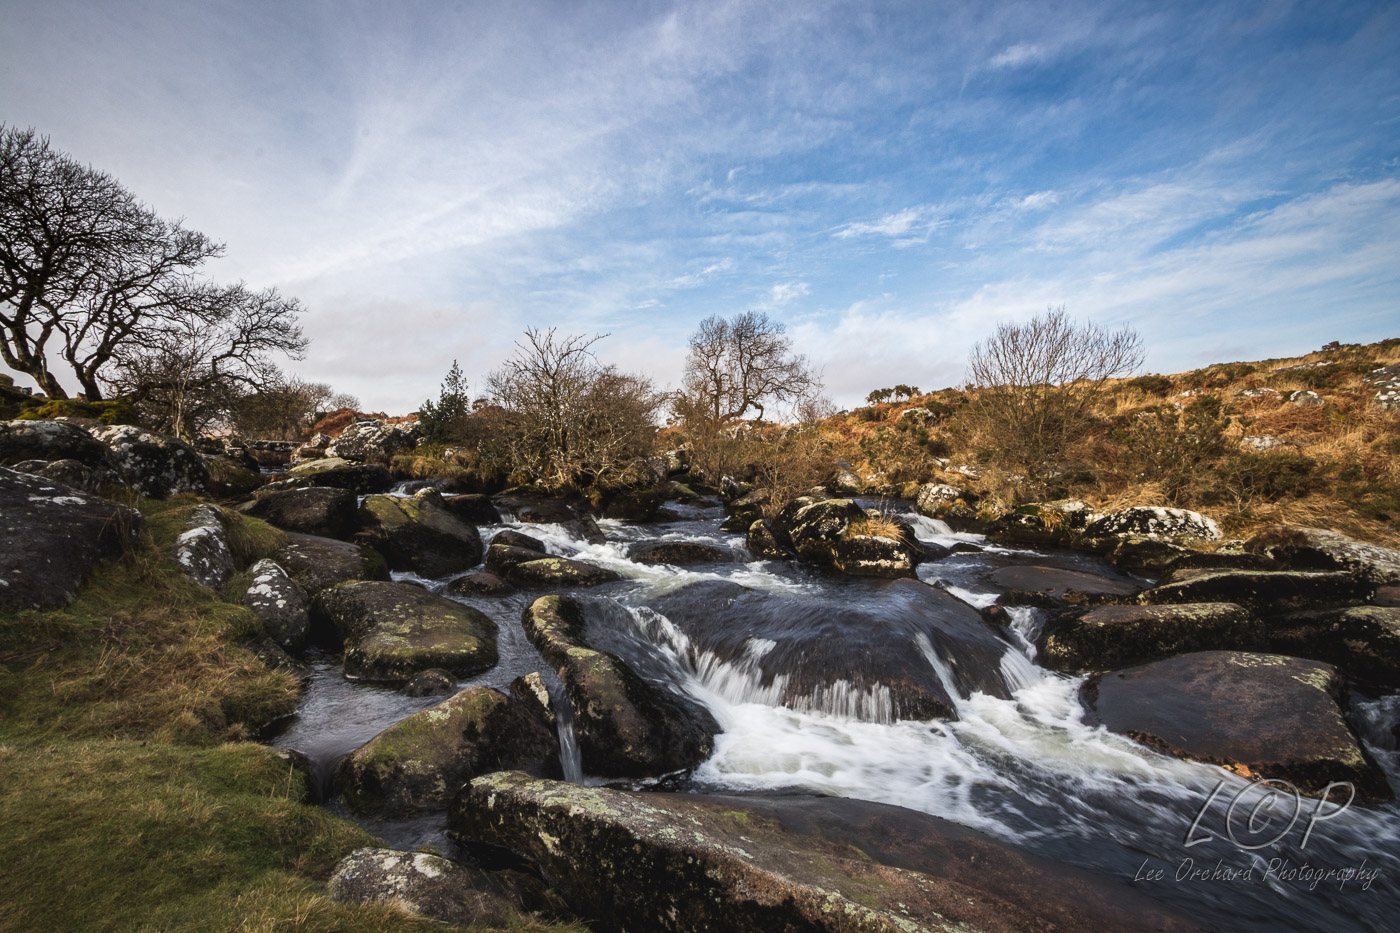
The skies were a mixture of different clouds and a lovely blue, crisscrossed with lots of contrails from aircraft.
So, until the next time, we’ll miss the snow on Dartmoor.
If that statement mean nothing to you, then you could be missing out.
We explore Dartmoor on a very regular basis. When we moved to Devon nearly 8 years ago, we had wanted to explore Dartmoor and the Coastal Path. A chance meeting one day by myself with a person on the top of Higher Tor in Belstone, really changed the way we were going to visit Dartmoor.
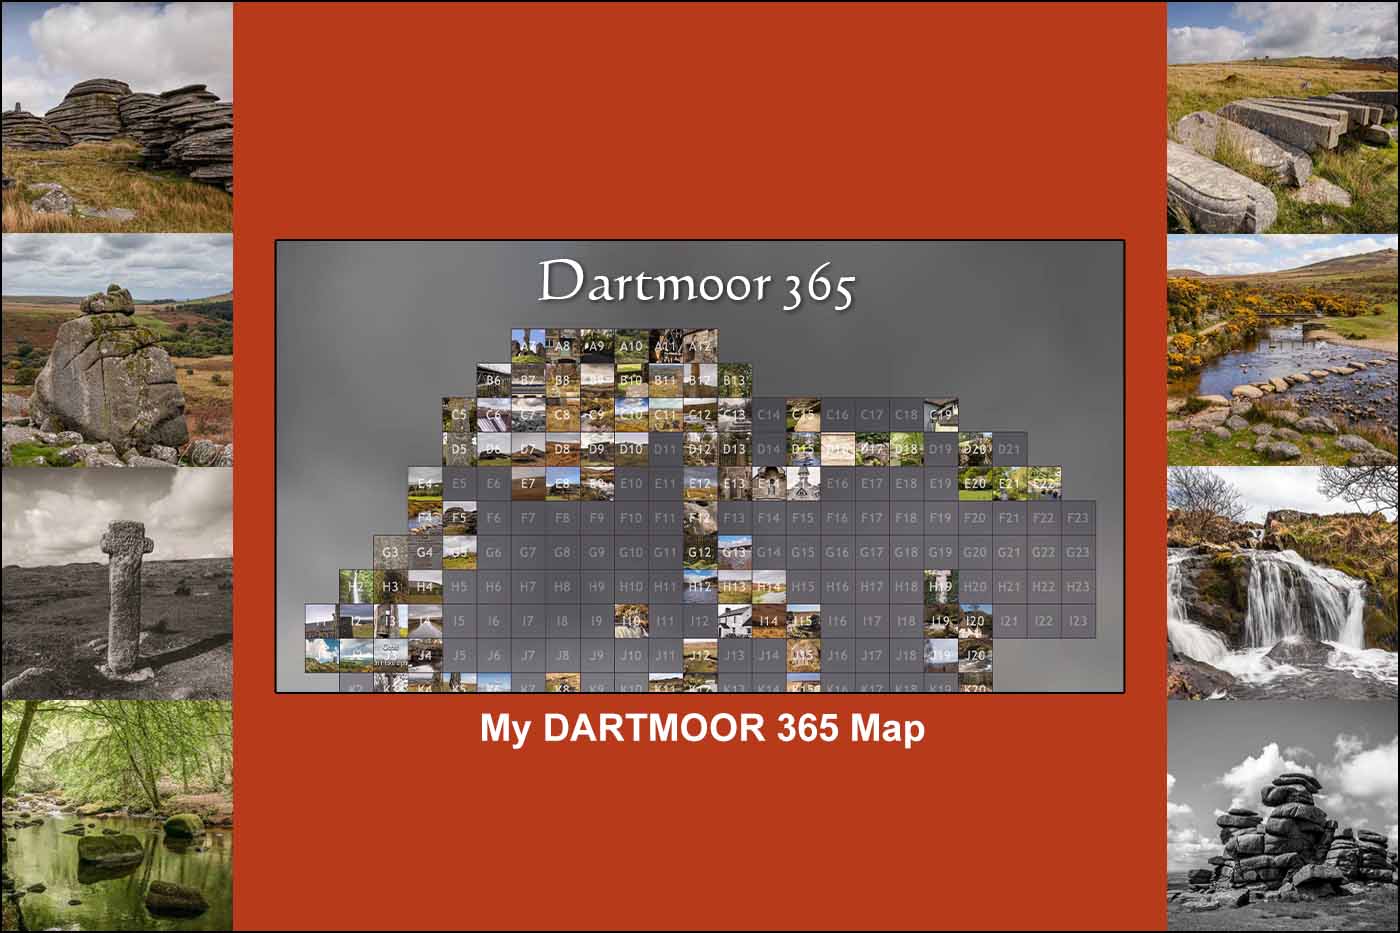
They had in there hand a red book. When I asked what it was, they said it’s called Dartmoor 365 by John Hayward. He had split Dartmoor into 365 squares, written about and drawn something of interest in each. I was intrigued and ordered a book as soon as I got home!
The book splits the squares into an alpha/numerical grid. Wow, this makes exploring Dartmoor more meaningful and interesting.
I was then hooked and our adventure began!
C10
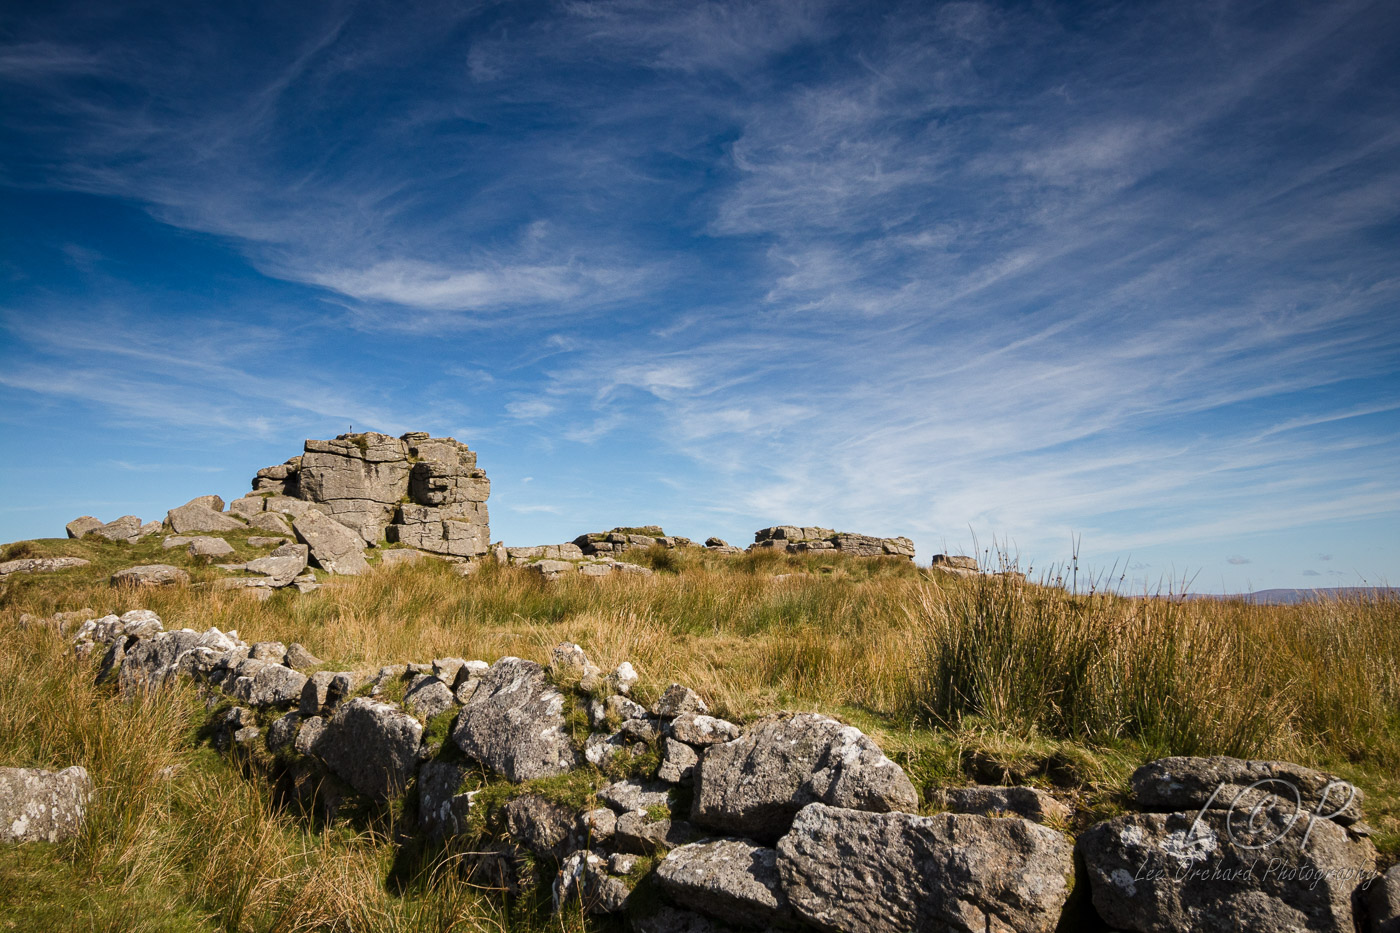
Irishman’s Wall (Where I met the people)
To date we have visited and crossed off 93 squares
B9
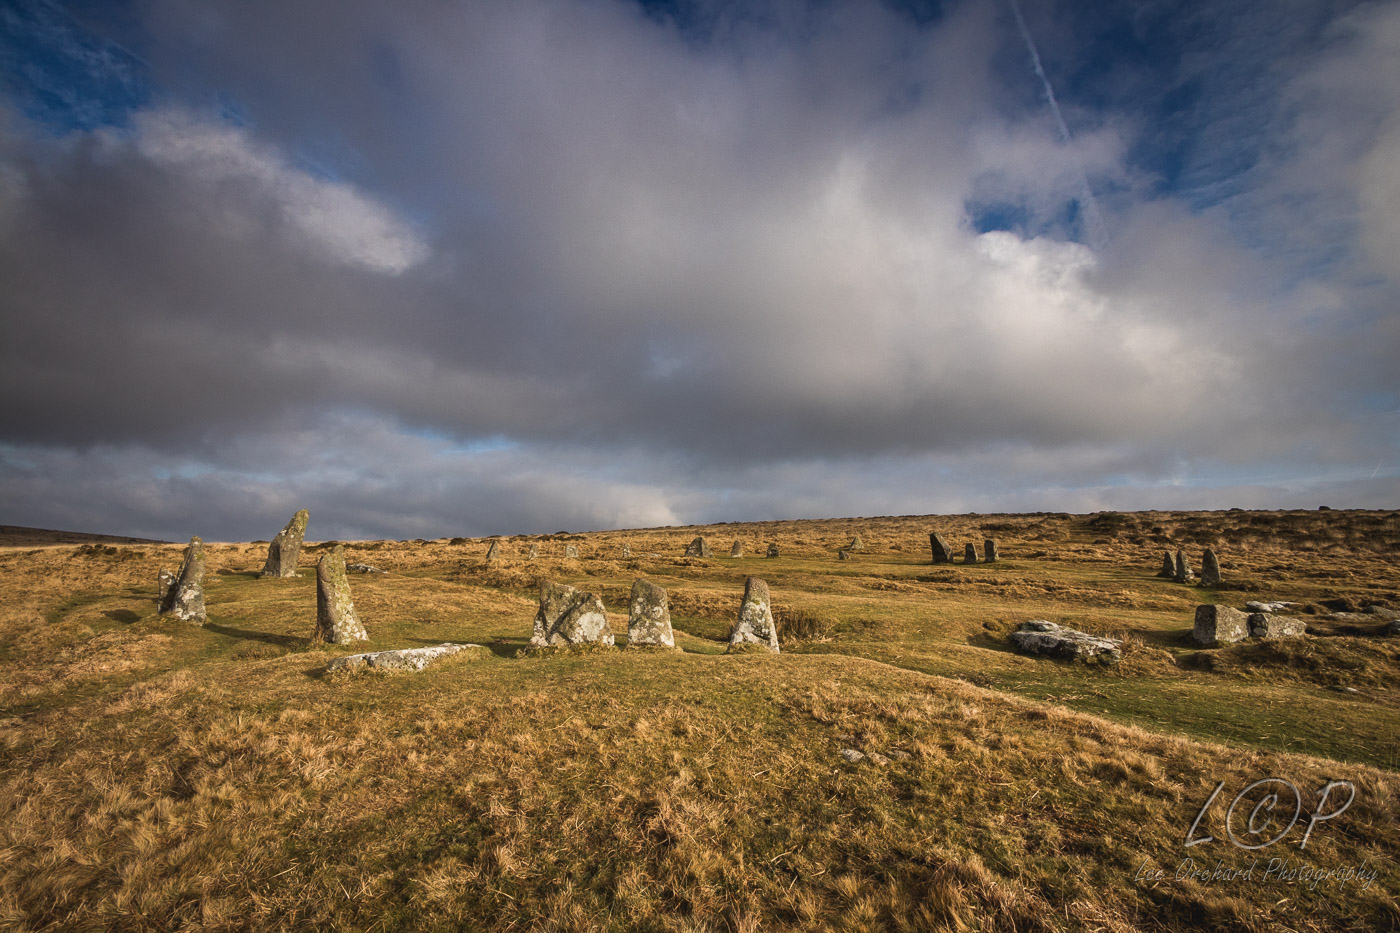
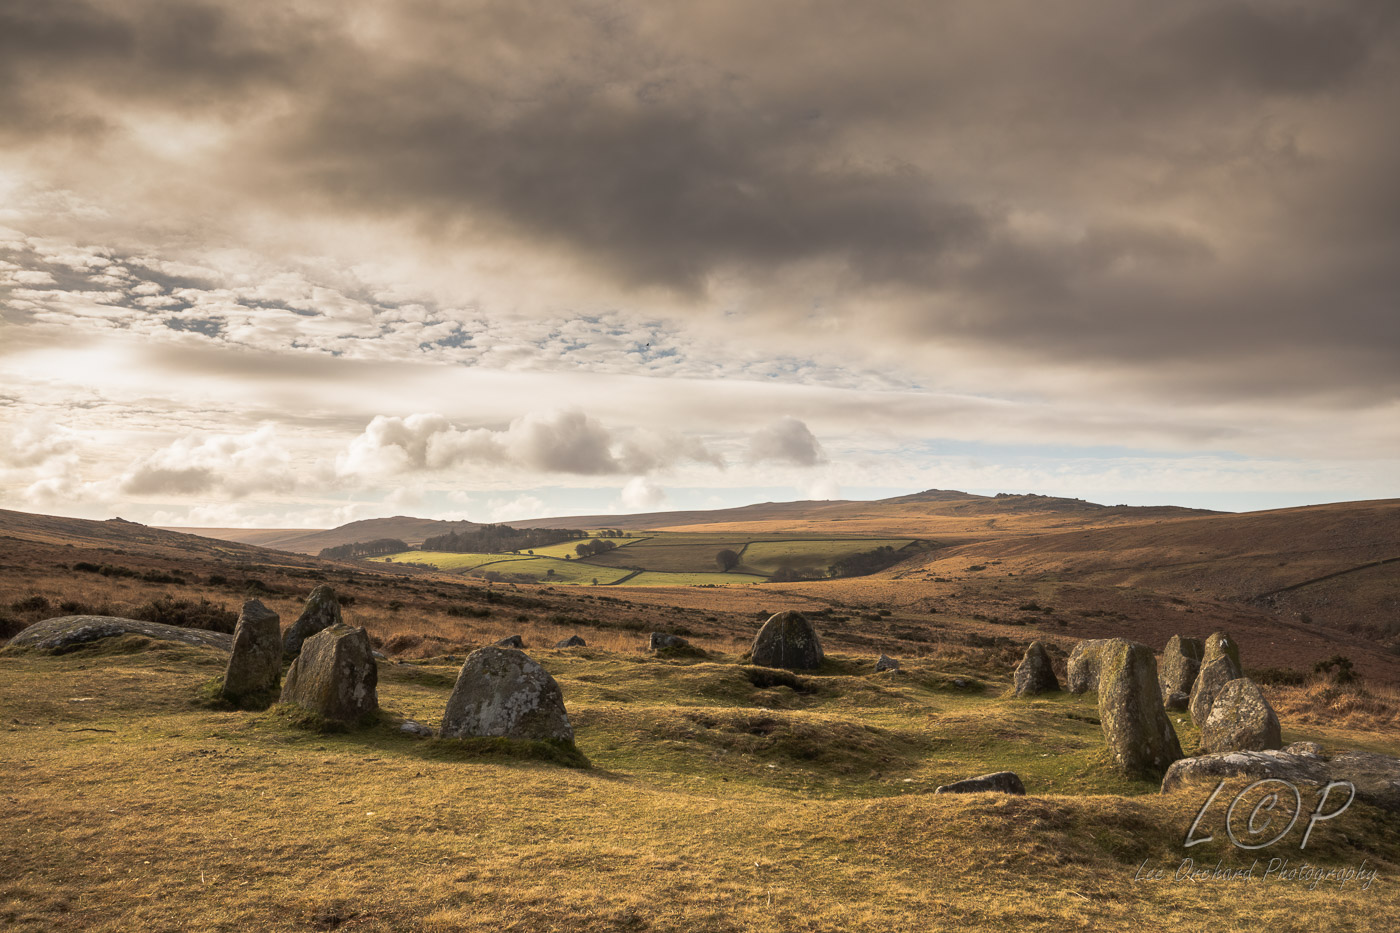
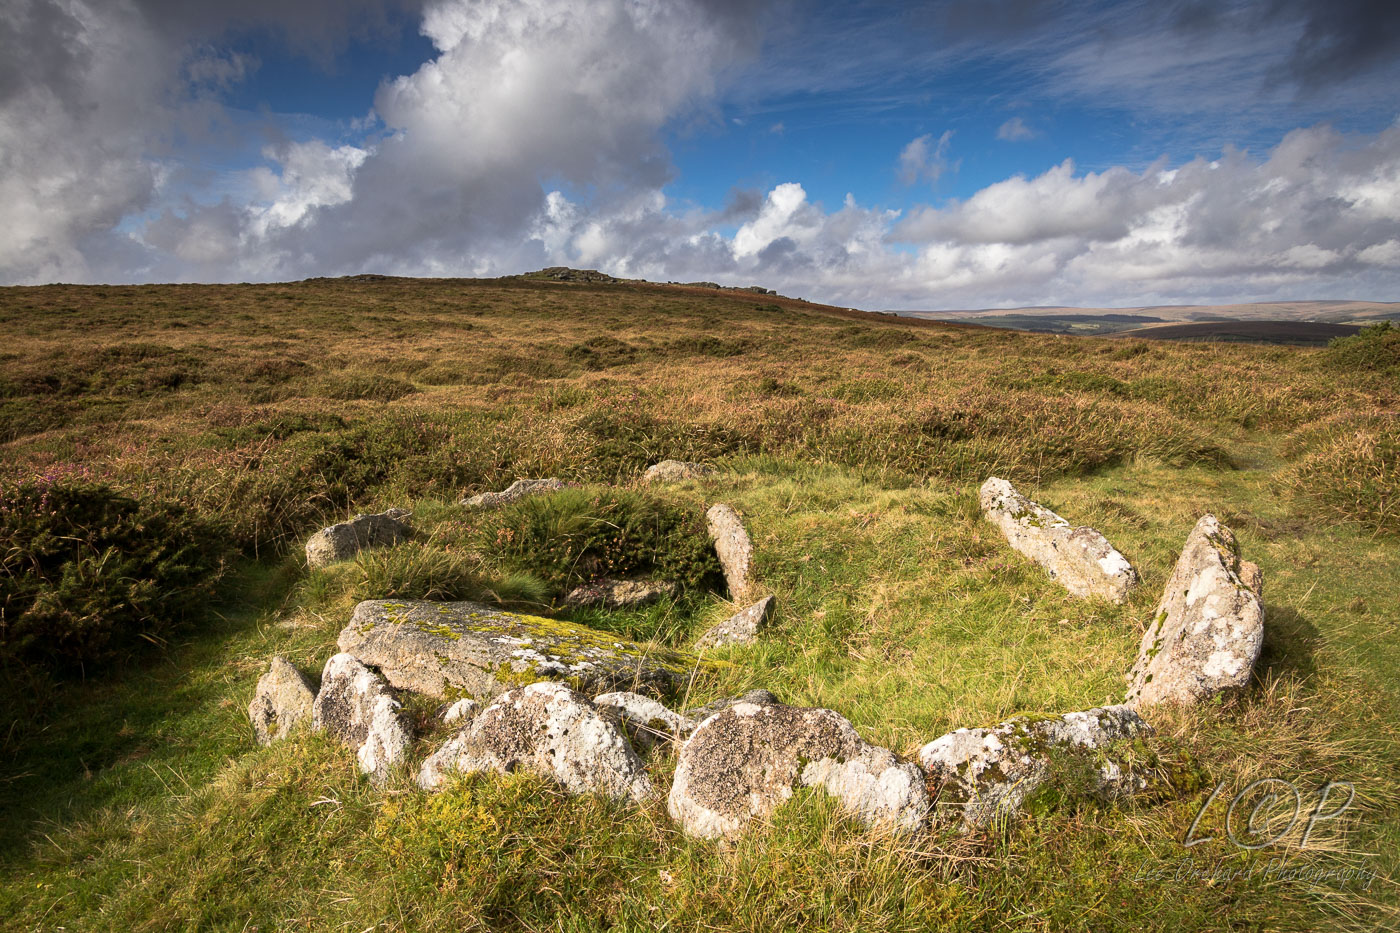
Nine Maidens
G5
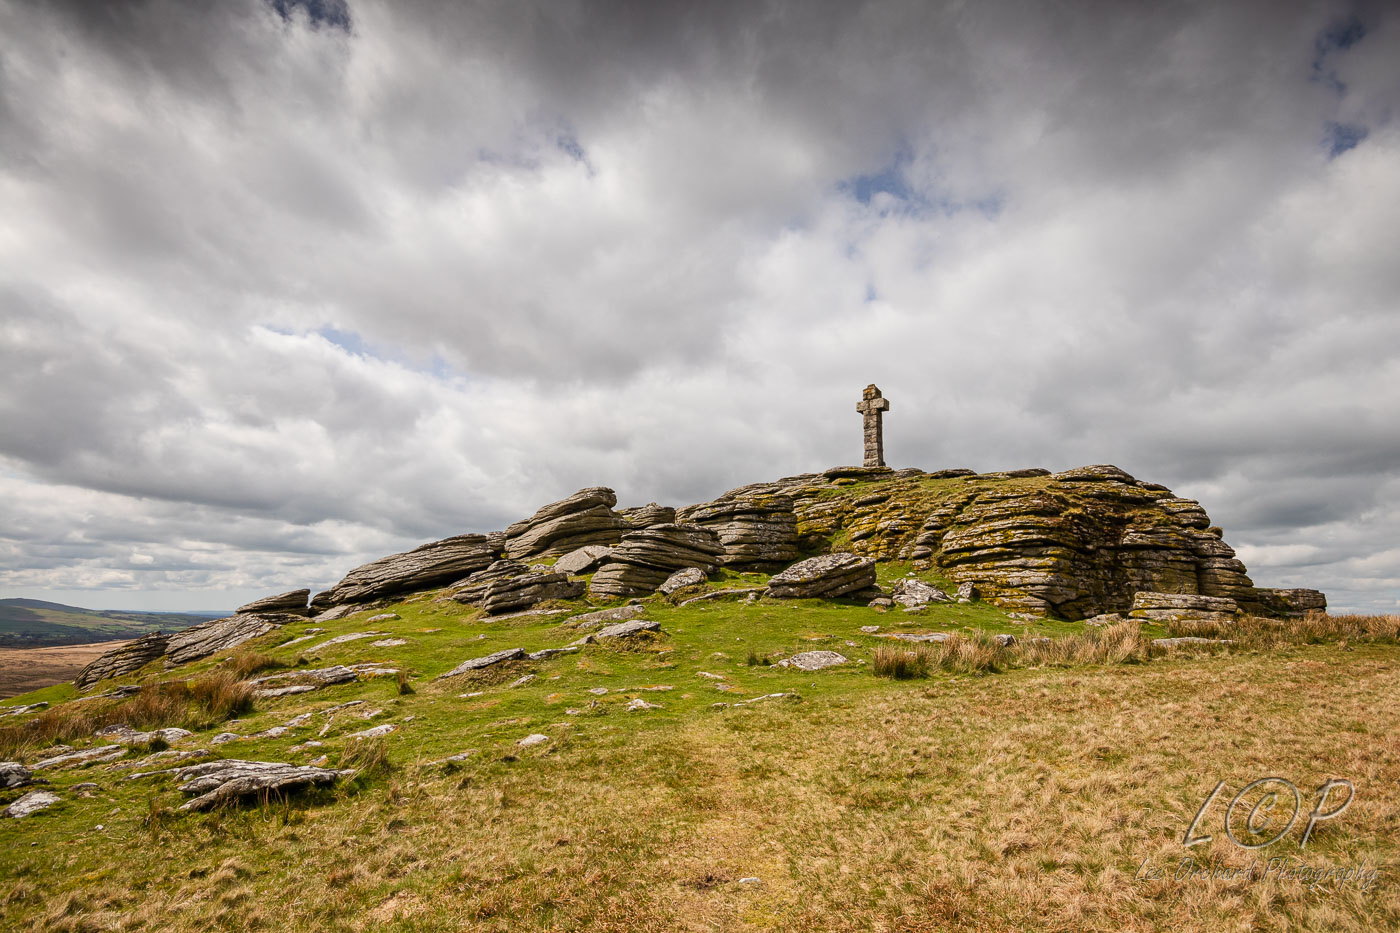
Widgery Cross
N14
‘The Money Pit’
It has ‘man-made’ (human-made) points of interest as well as natural ones.
O8
South Hessary Tor
L11
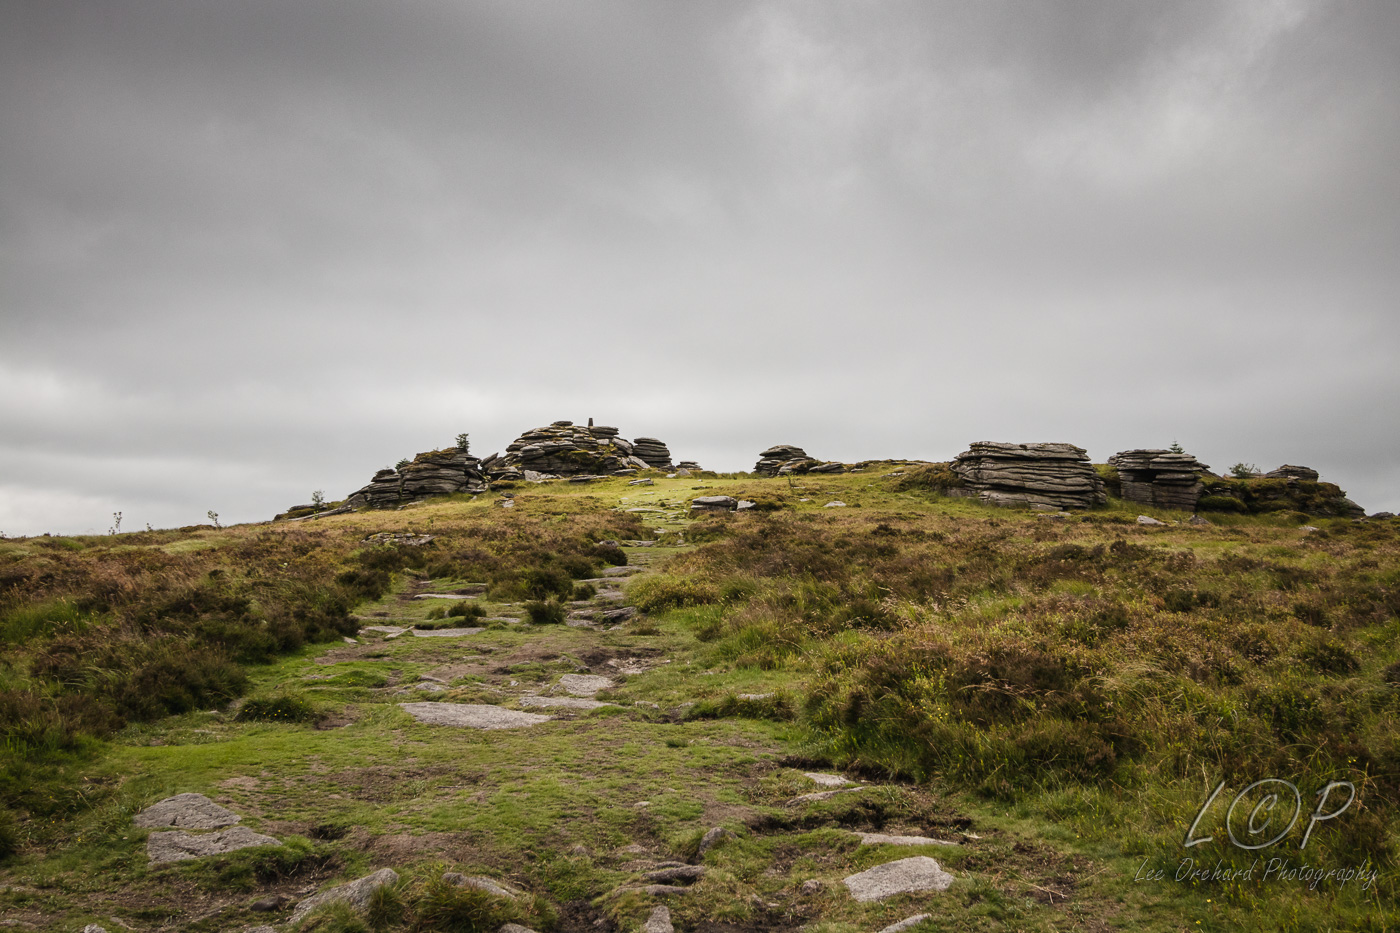
Bellever Tor
It has everything from Tors, to Bridges, Signpost to Stone Circles.
The book provides a basic maps for which you can cross off the squares as you visit them. Whether you cross them off just by being in the square, seeing the item, or photographing the item as closes to the books drawing is up to you. I prefer the latter and have created my own webpage to cover my progress.
Being the coded I am, I’ve enjoyed doing this and have 3 versions. Square visited in cross off, an Image Maps, show thumbnails of the photos and a page my by years that the square was first visited. All of the squares are clickable to display the photo I took to represent that square.
On my walks I quite ofter talk to people about what we are doing and the book and it’s surprising the amount of people who don’t know. I fact, I’d say we have only spoken to about 2 or 3 people who know about it.
So if like me, you like Dartmoor, but haven’t got the book, get it and get exploring!
Last year, when visiting Lake Viaduct, I wrote about a choice of return route. We could have headed to Rattlebrook Railway area, or up over Sourton Tors.
We chose the Tors and it was a great choice!
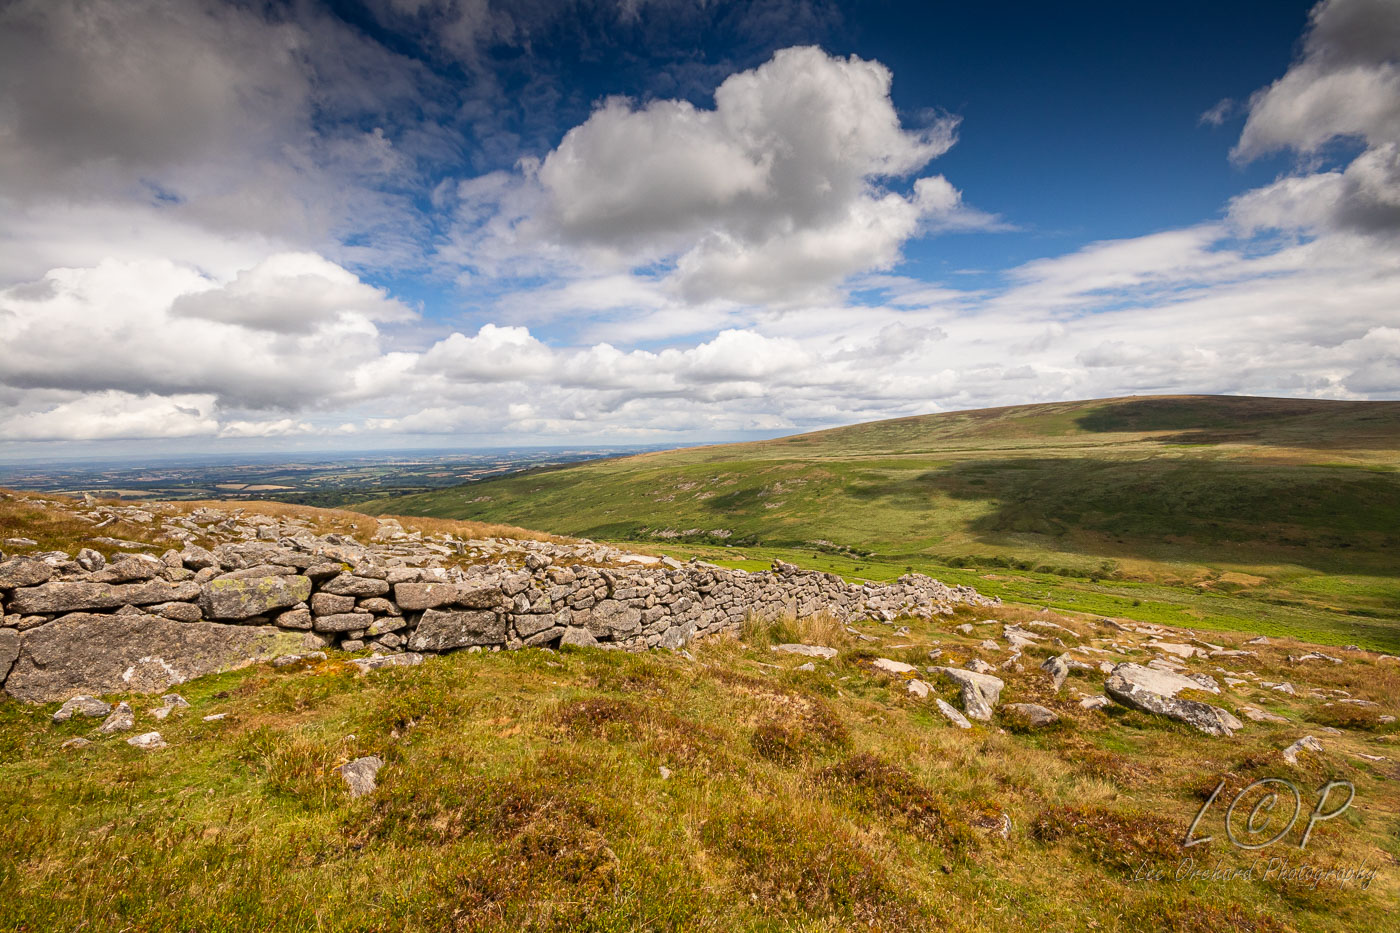
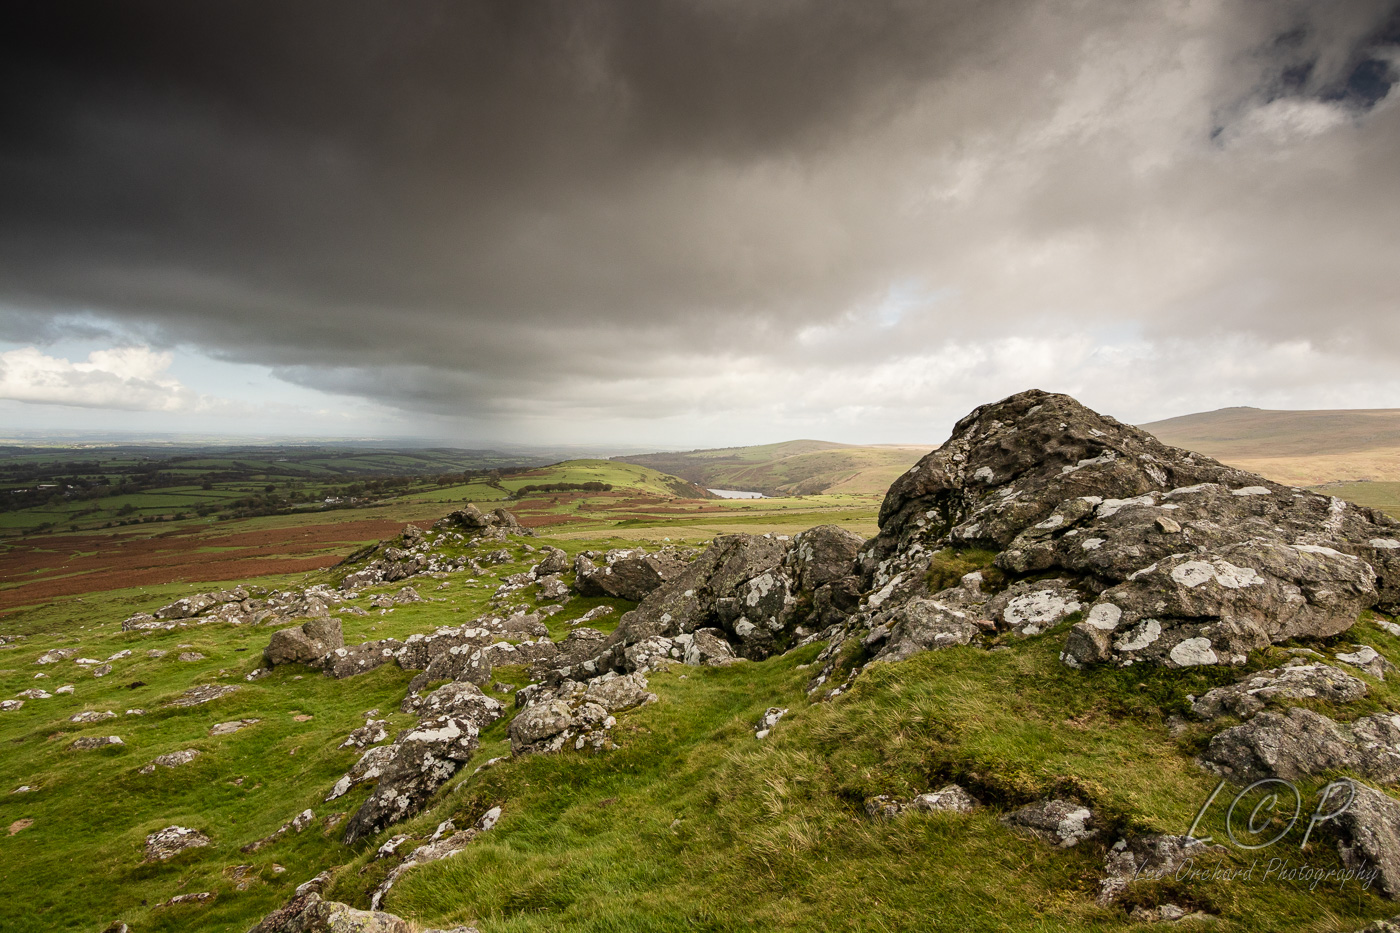
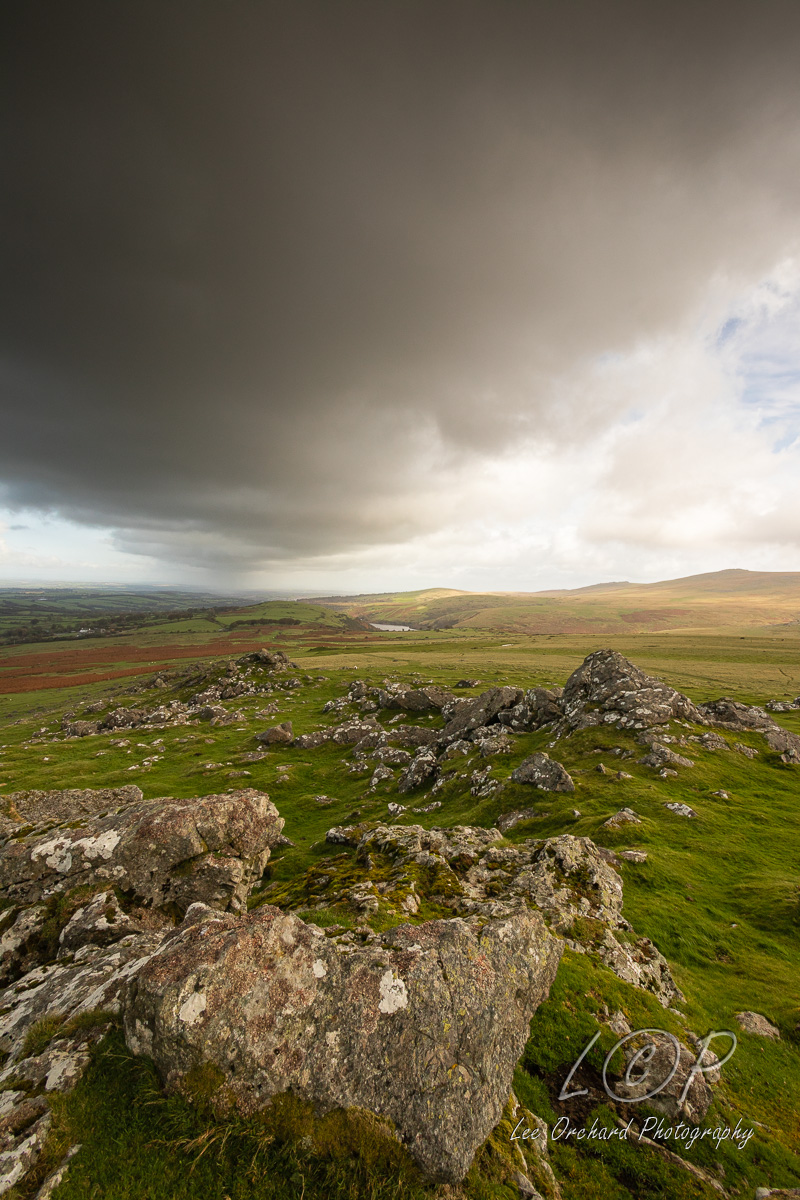
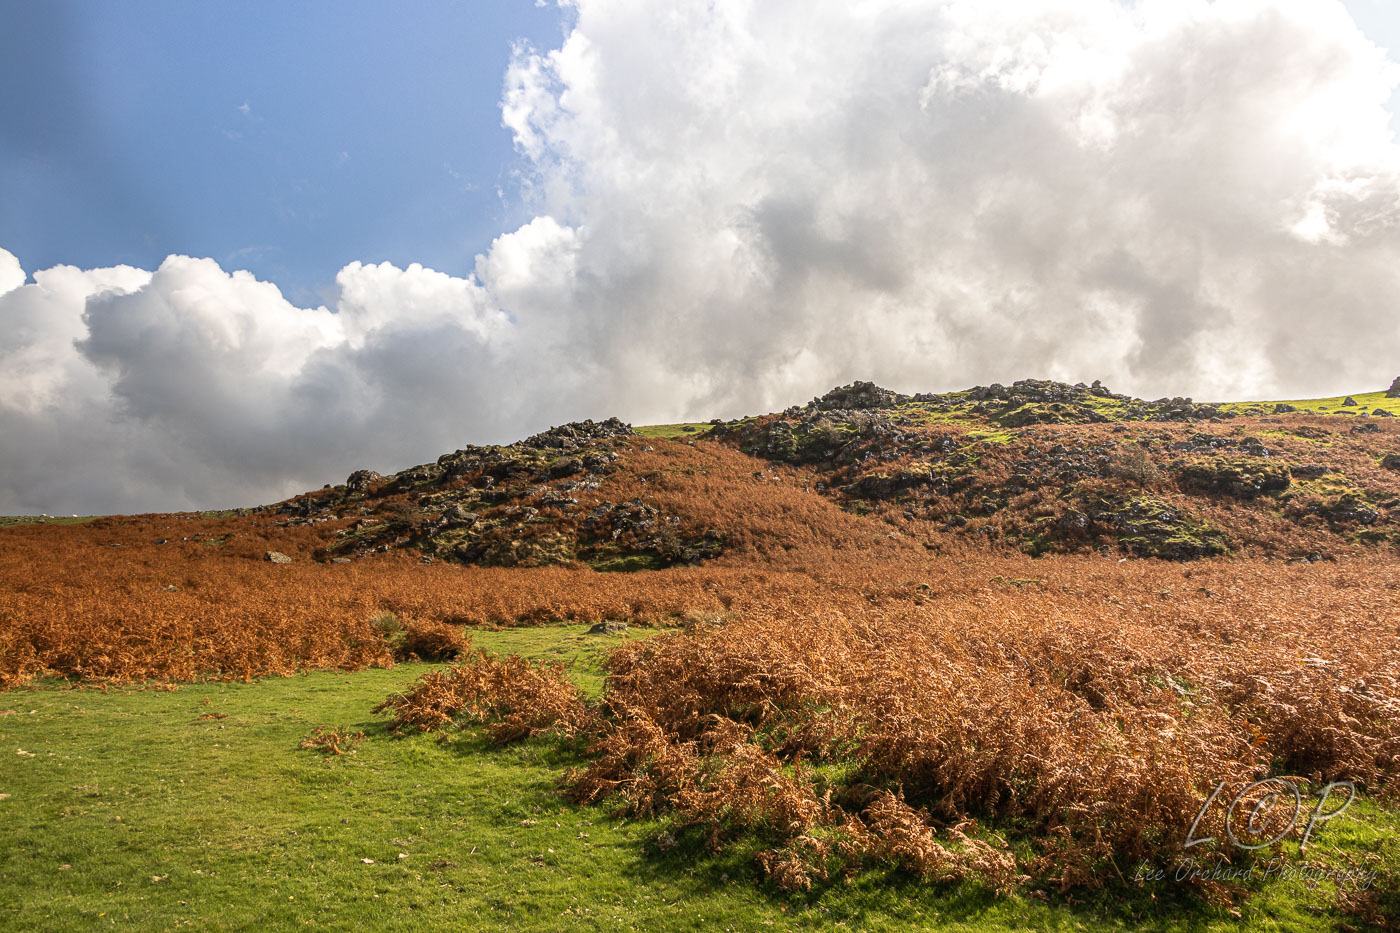
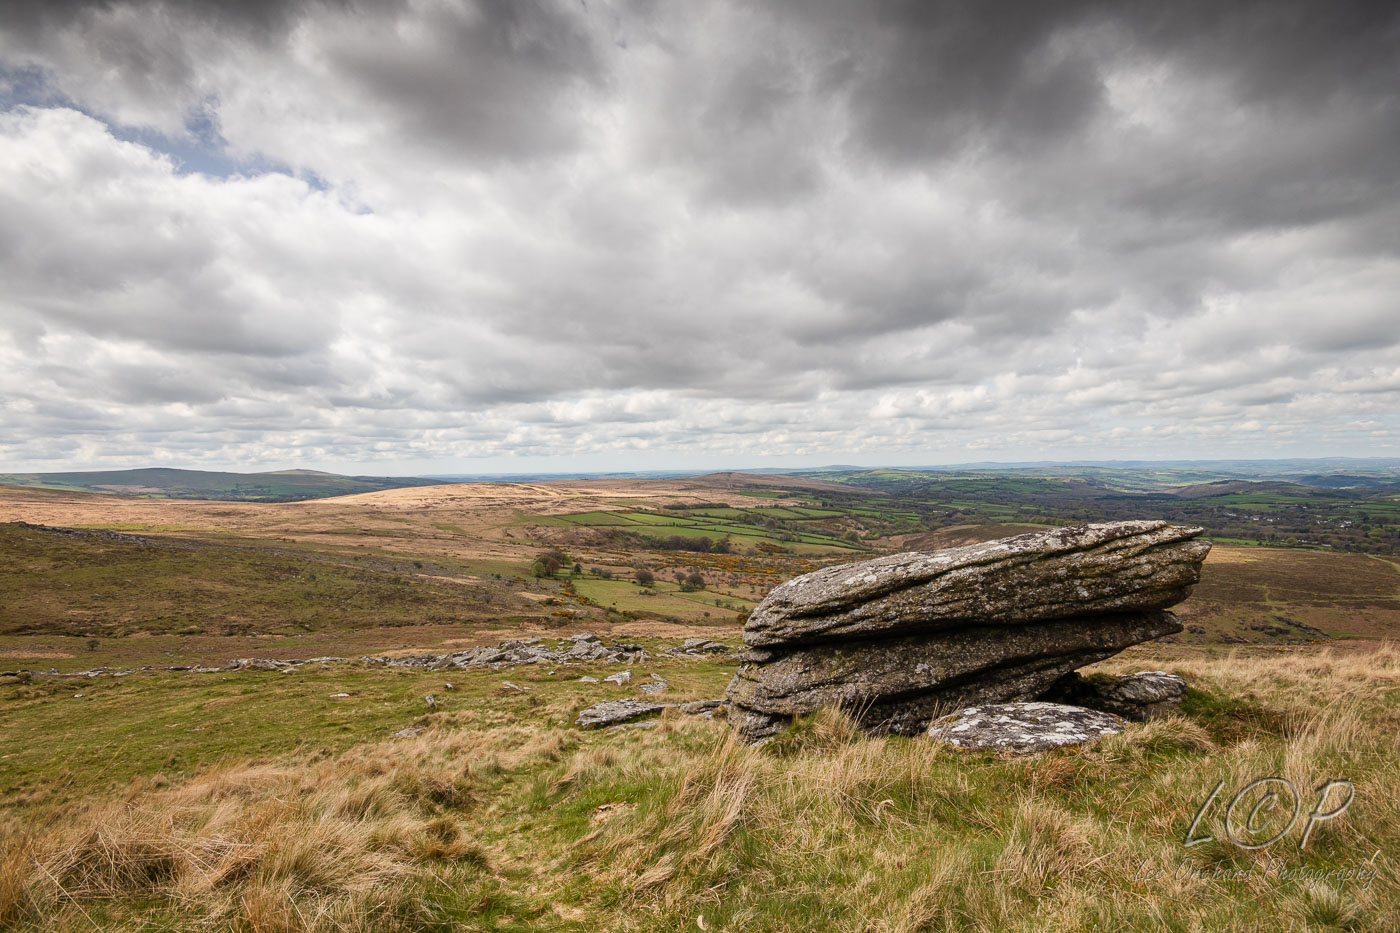
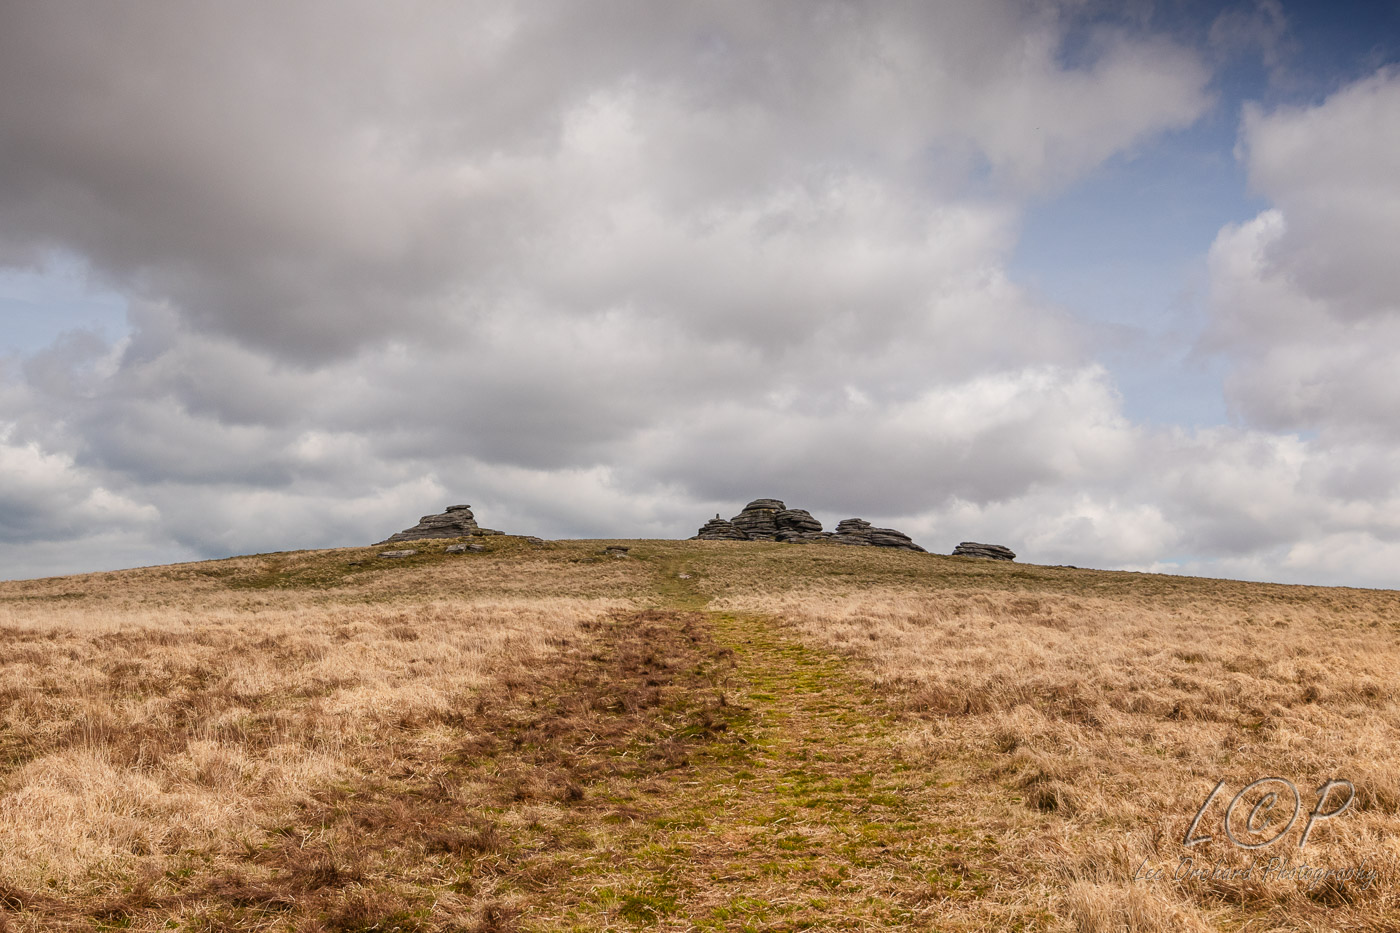
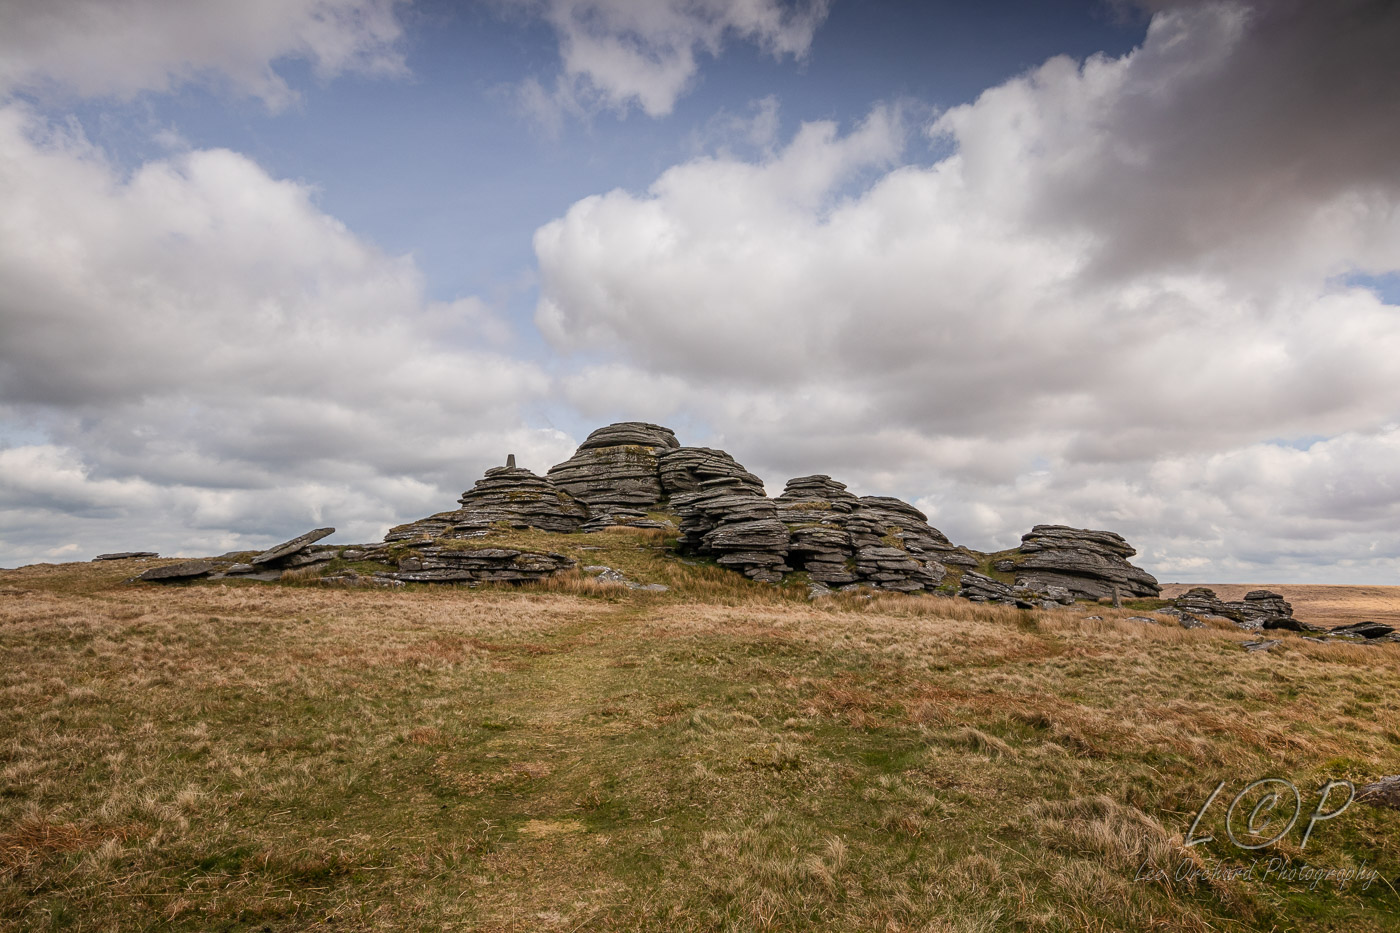
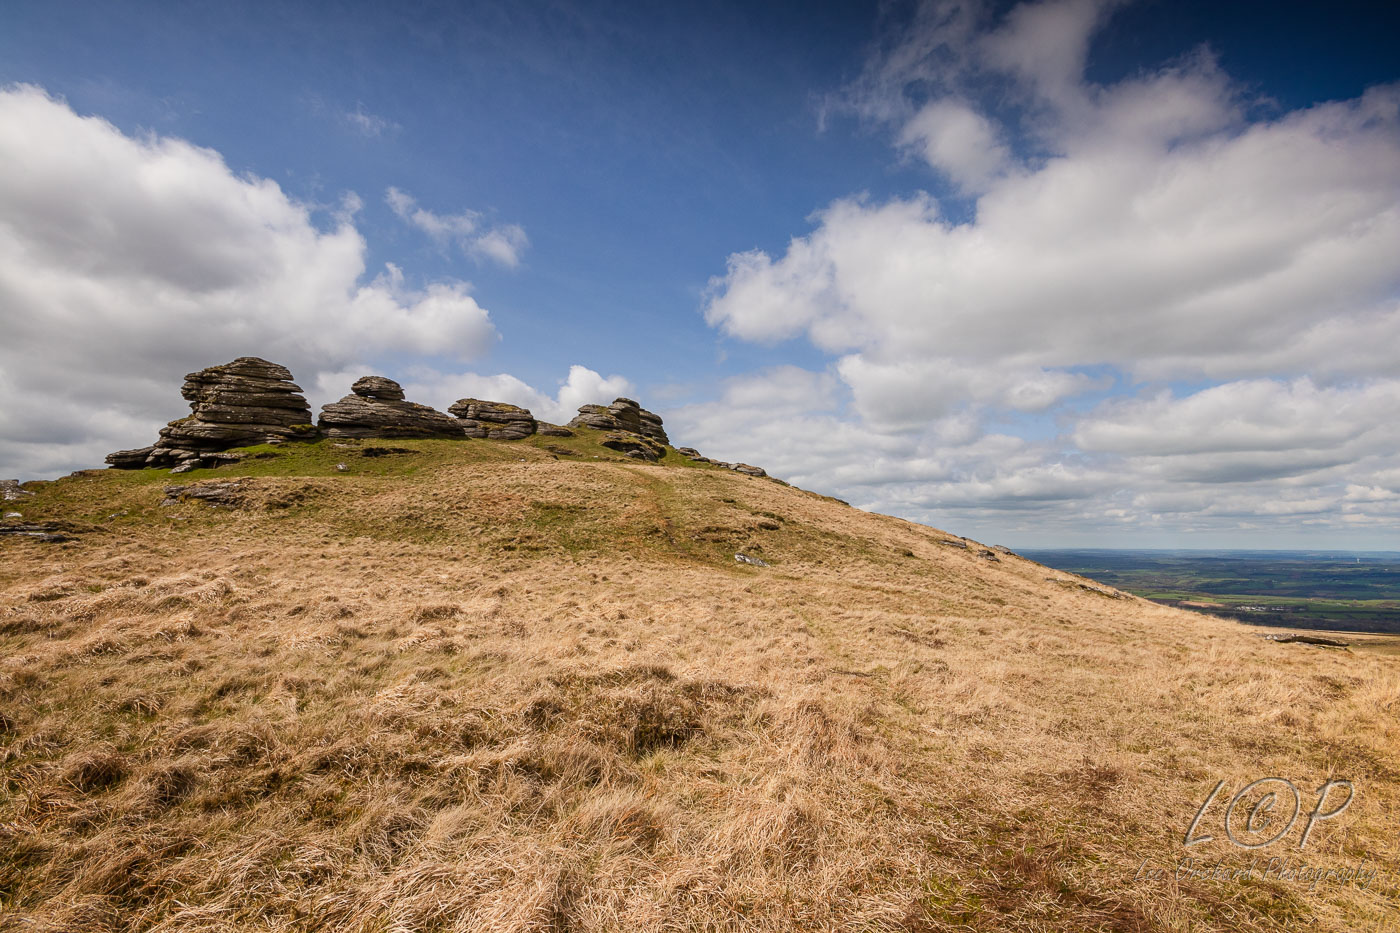
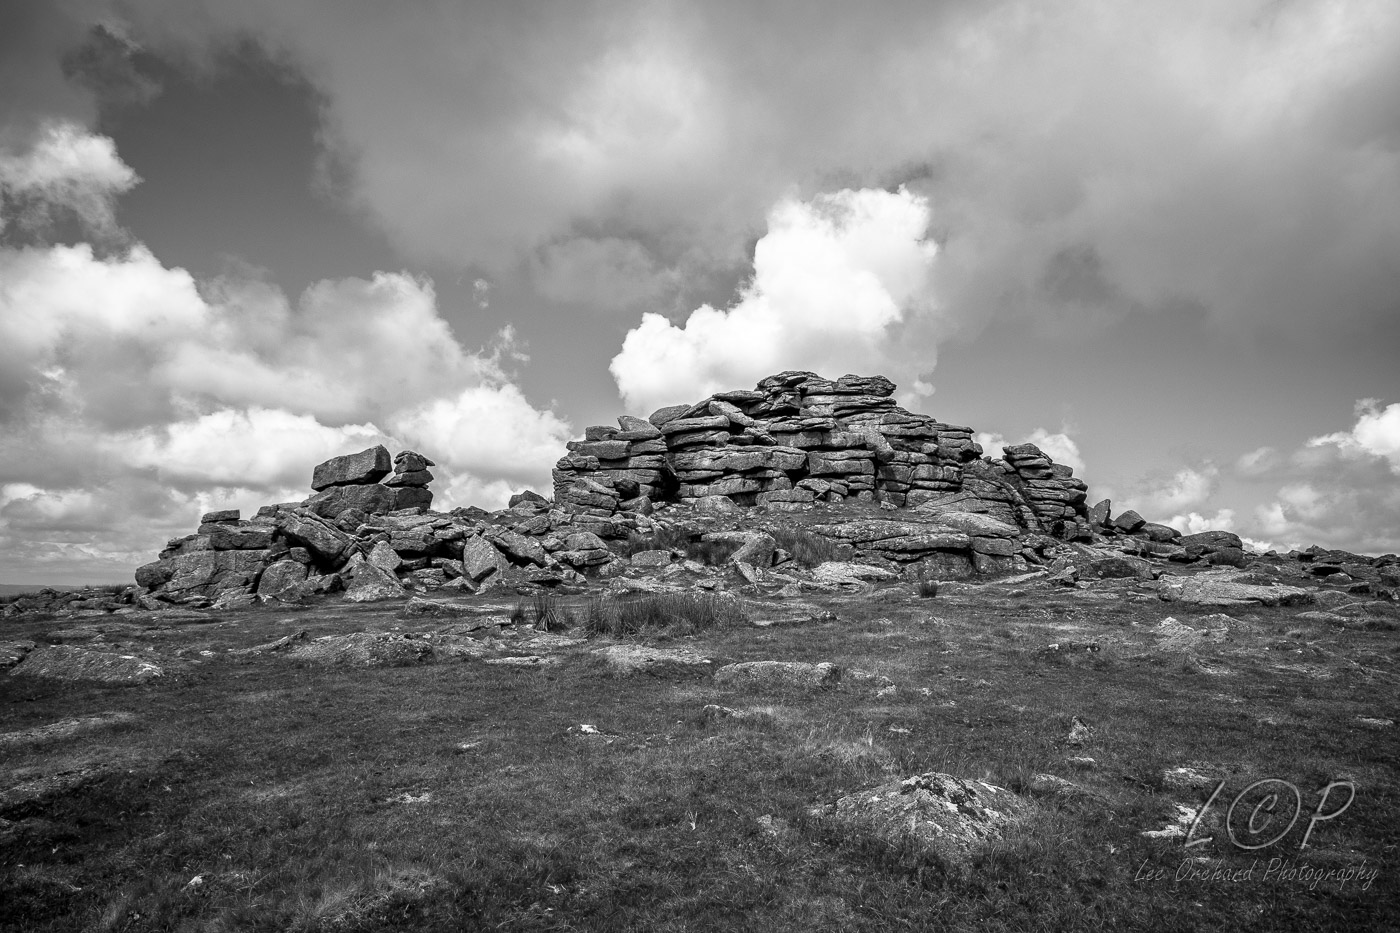
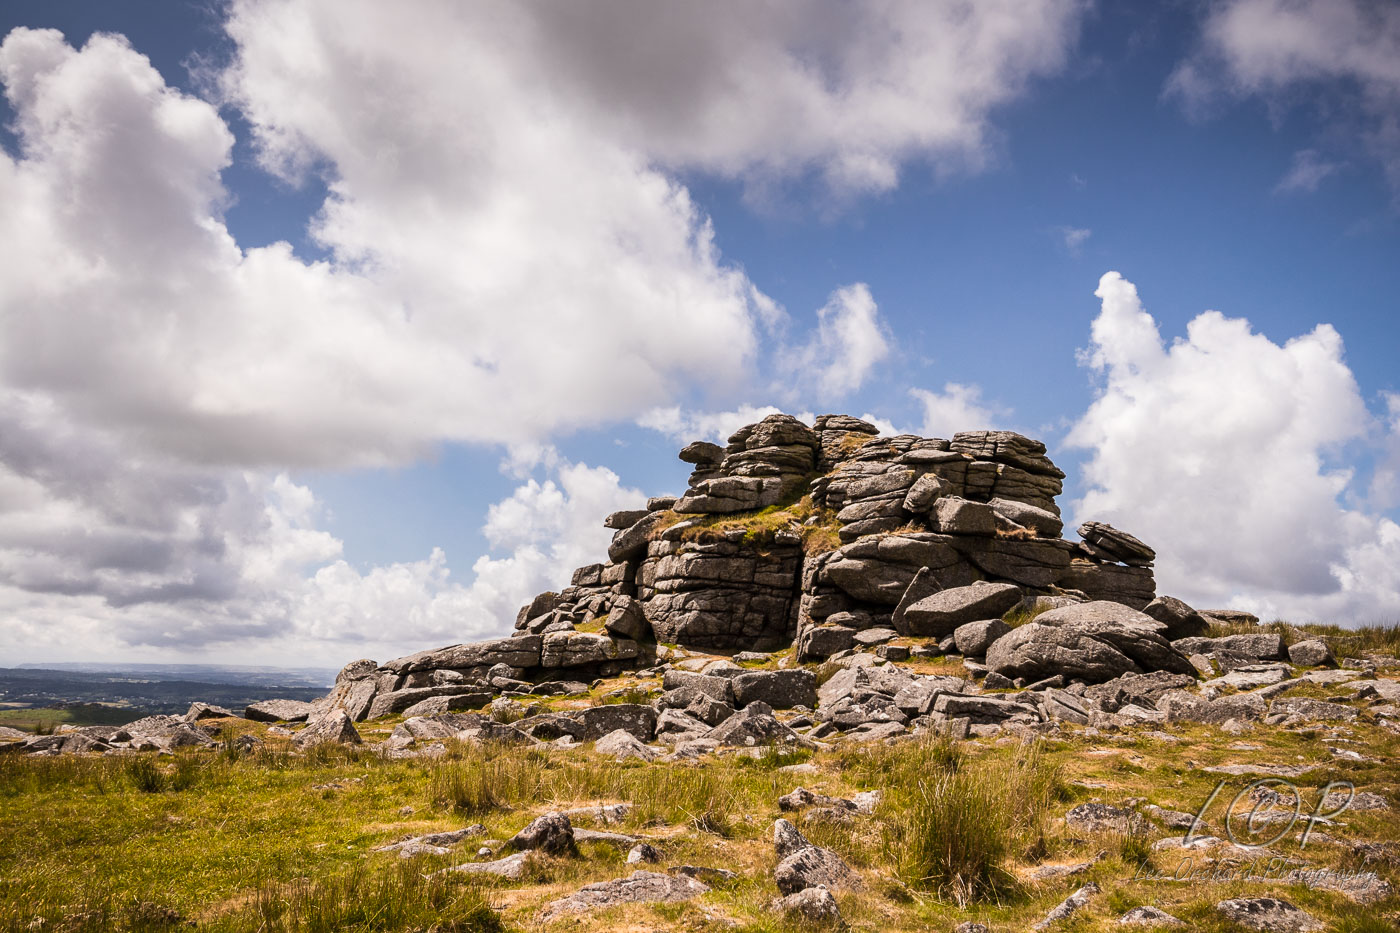
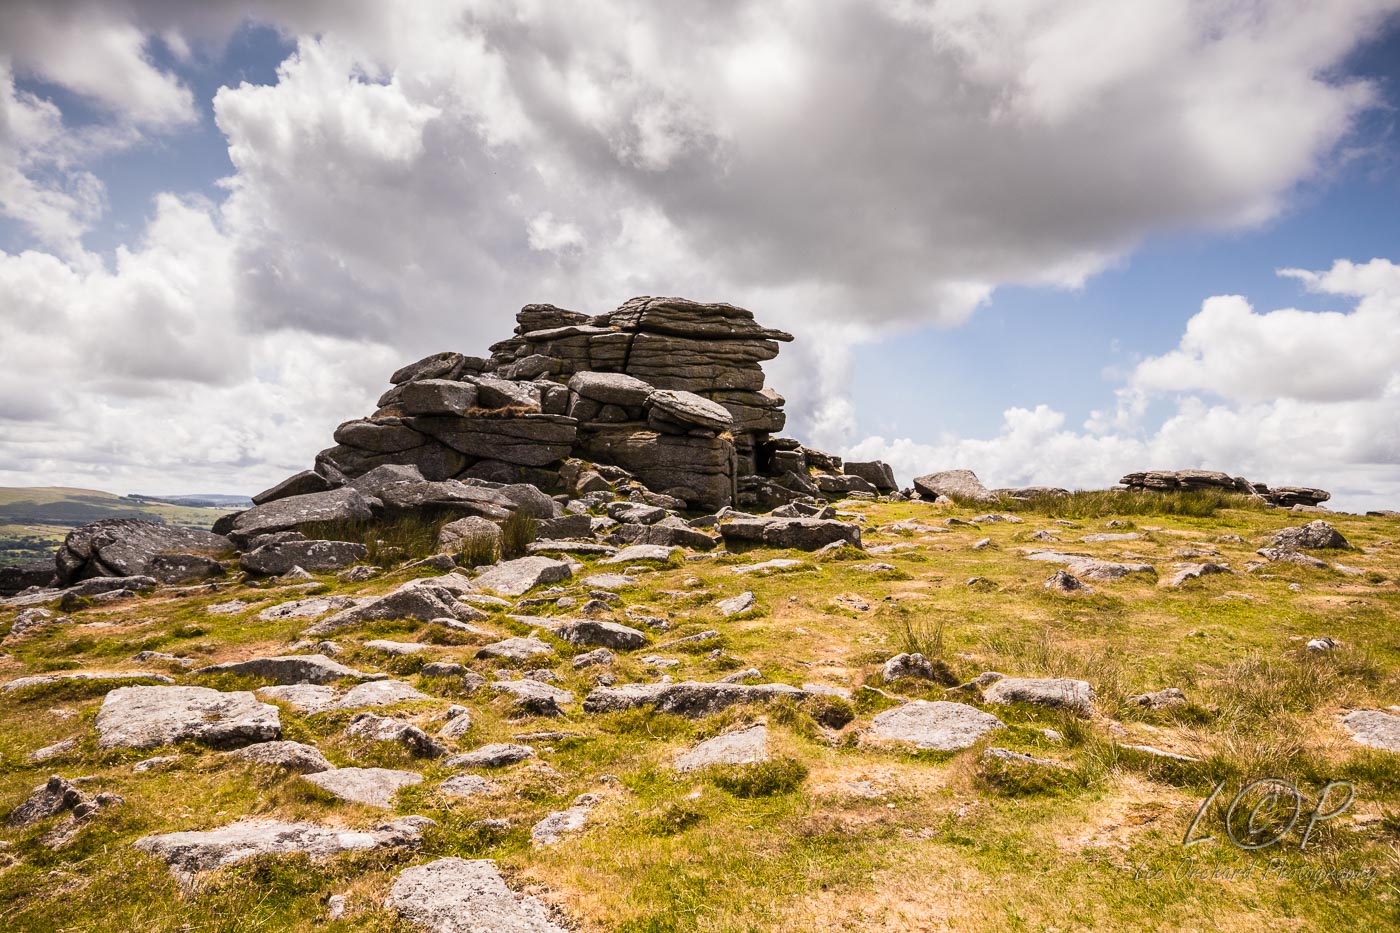
When we got to the top the view was amazing and then the sun came out and gave everything a warm feel producing some lovely photos.
The Tor itself is quite spread out and quite a dark rock, so a little light really added to the final images.
It’s also quite an easy access to get to, so well worth exploring.
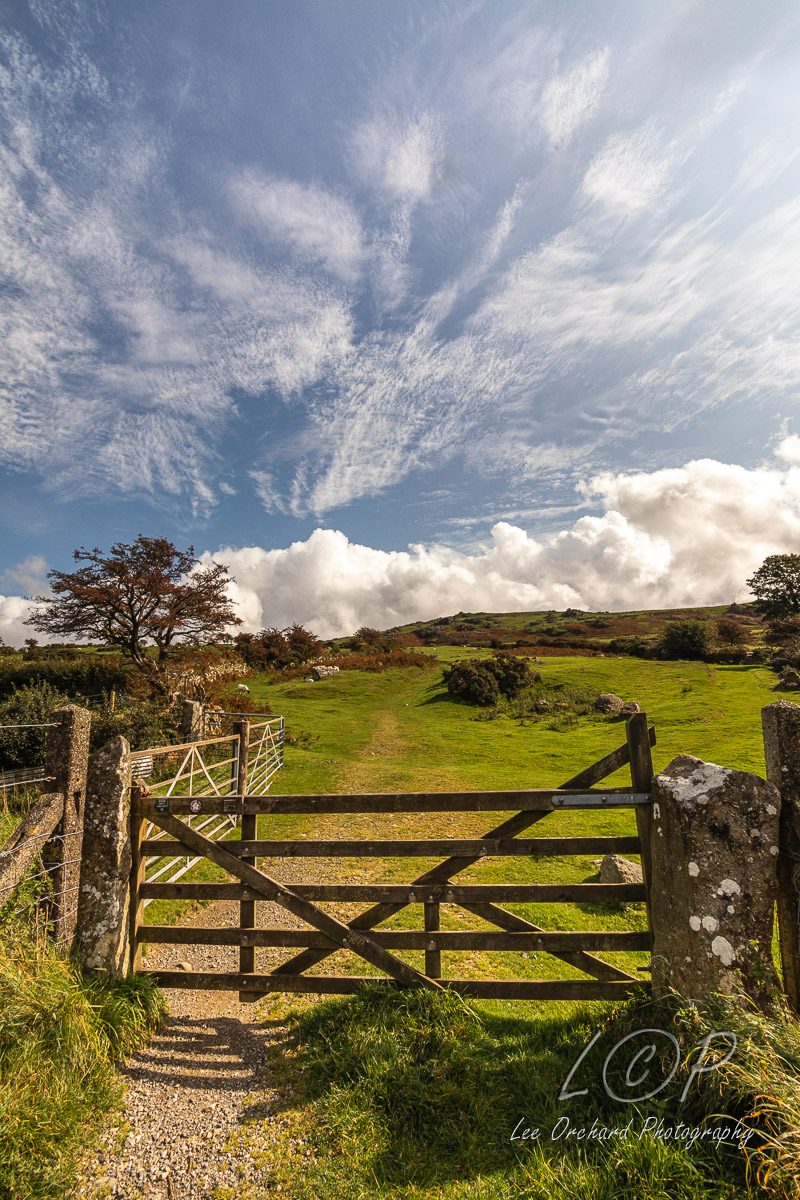
The car park is a couple of hundred yards before this gate.
I haven’t written a blog post in ages (how many times have I written that) but I really should.
I have done lots of photography, Portraits, Pirates to Body Confidence shoots, and lot exploring dartmoor and crossing off the 365 squares. So, there has been lots to blog about.
So lets try and remedy this.
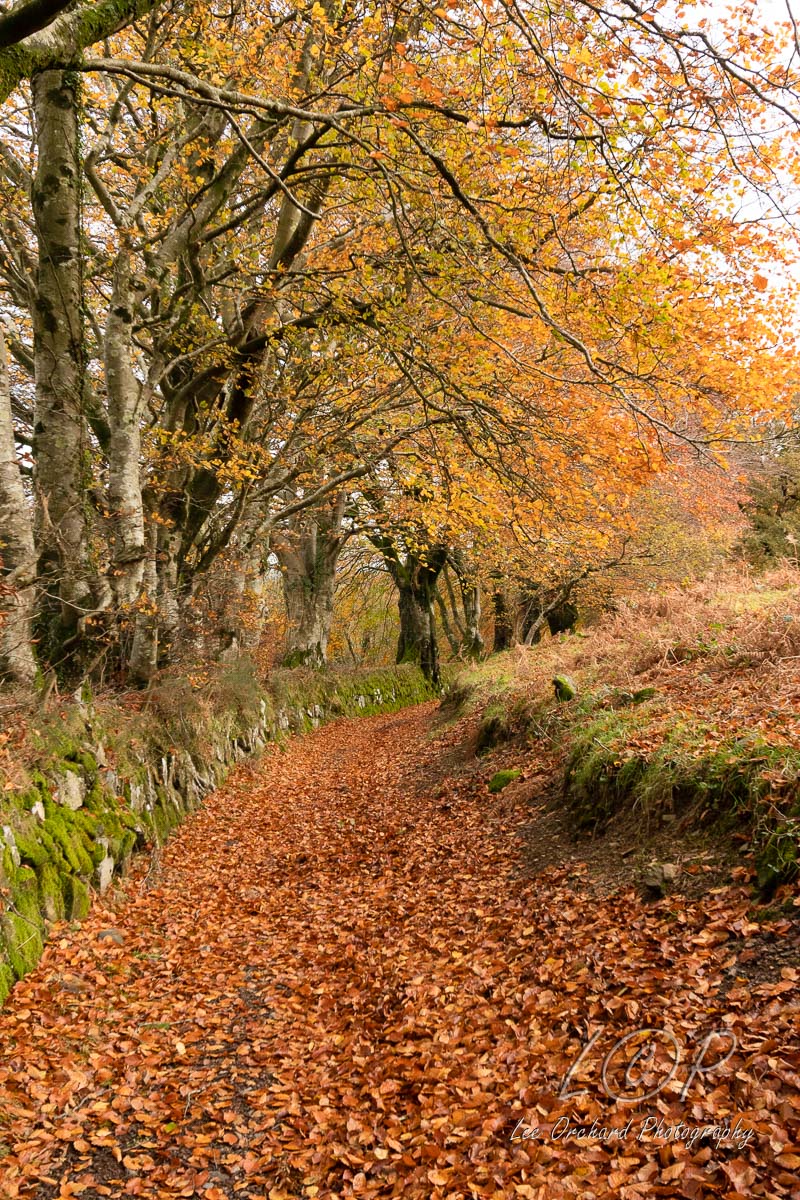
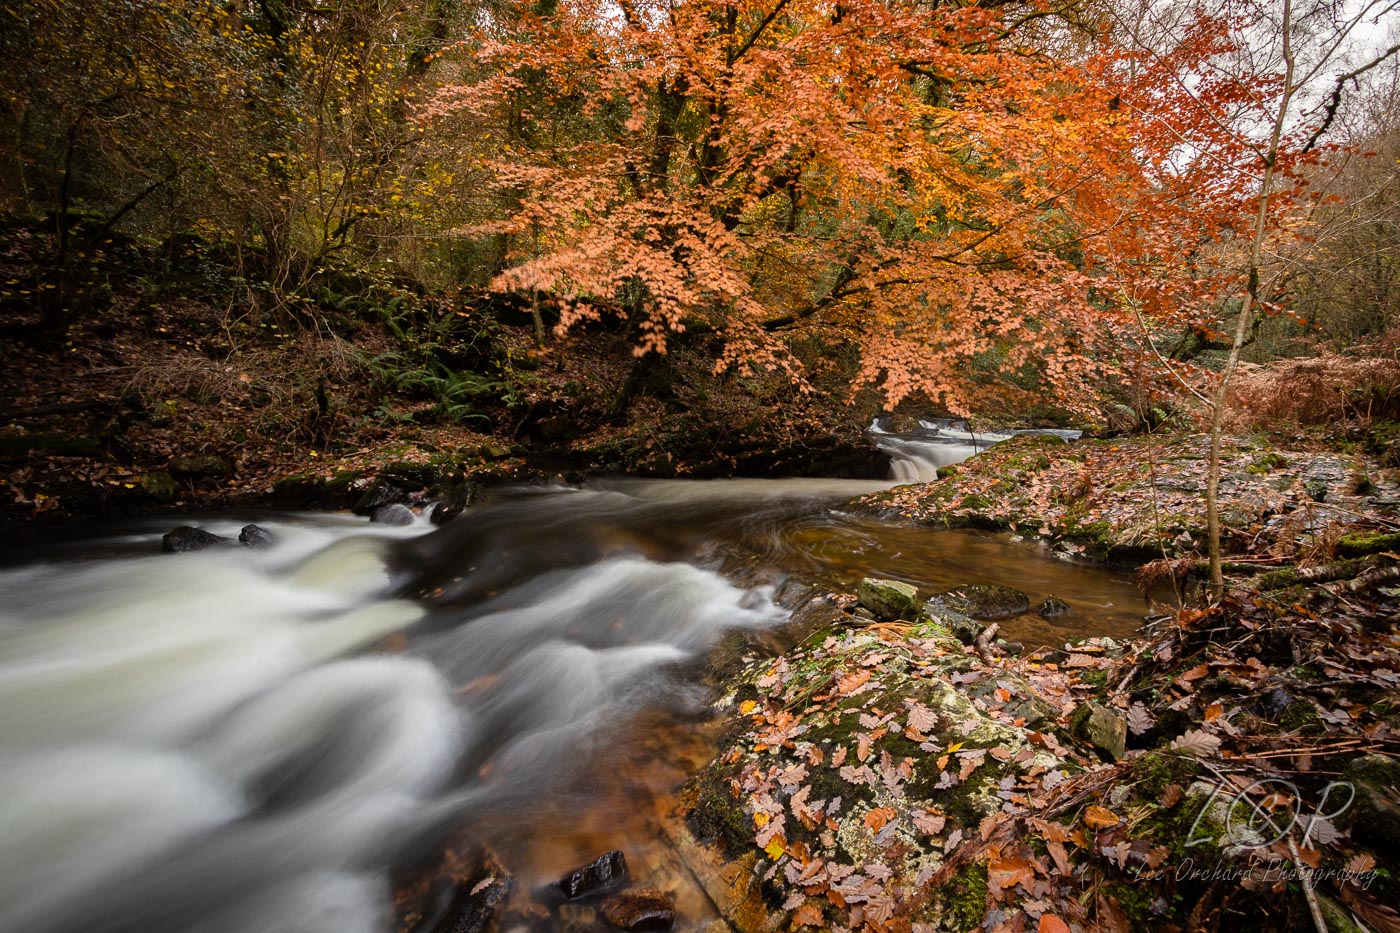
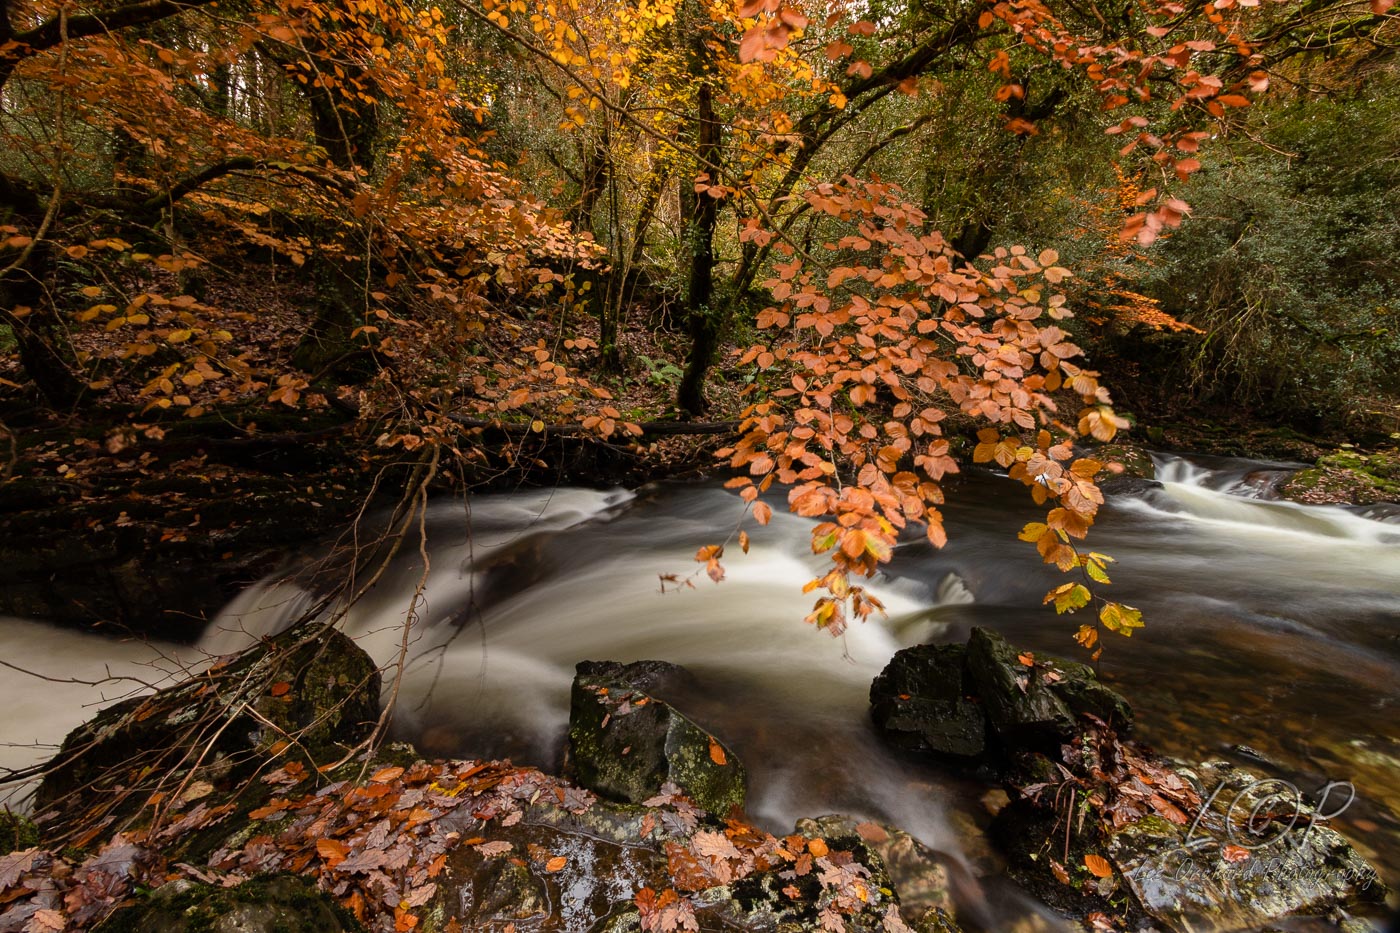
Autumn was short and wet, which meant not much time to capture the lovely colours. However as seen in ny last posts I did managed to capture some of it.
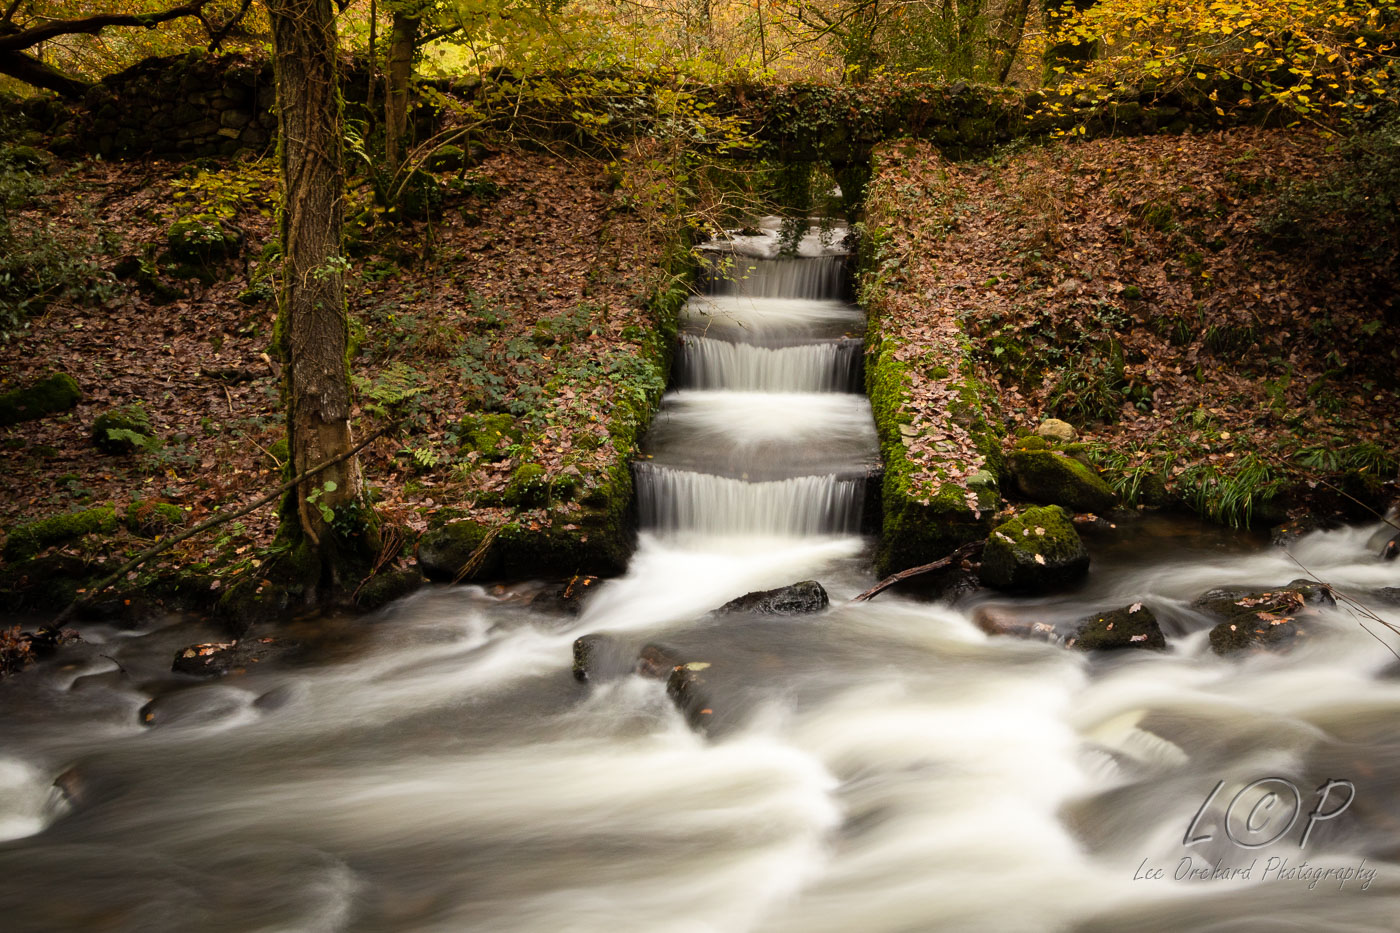
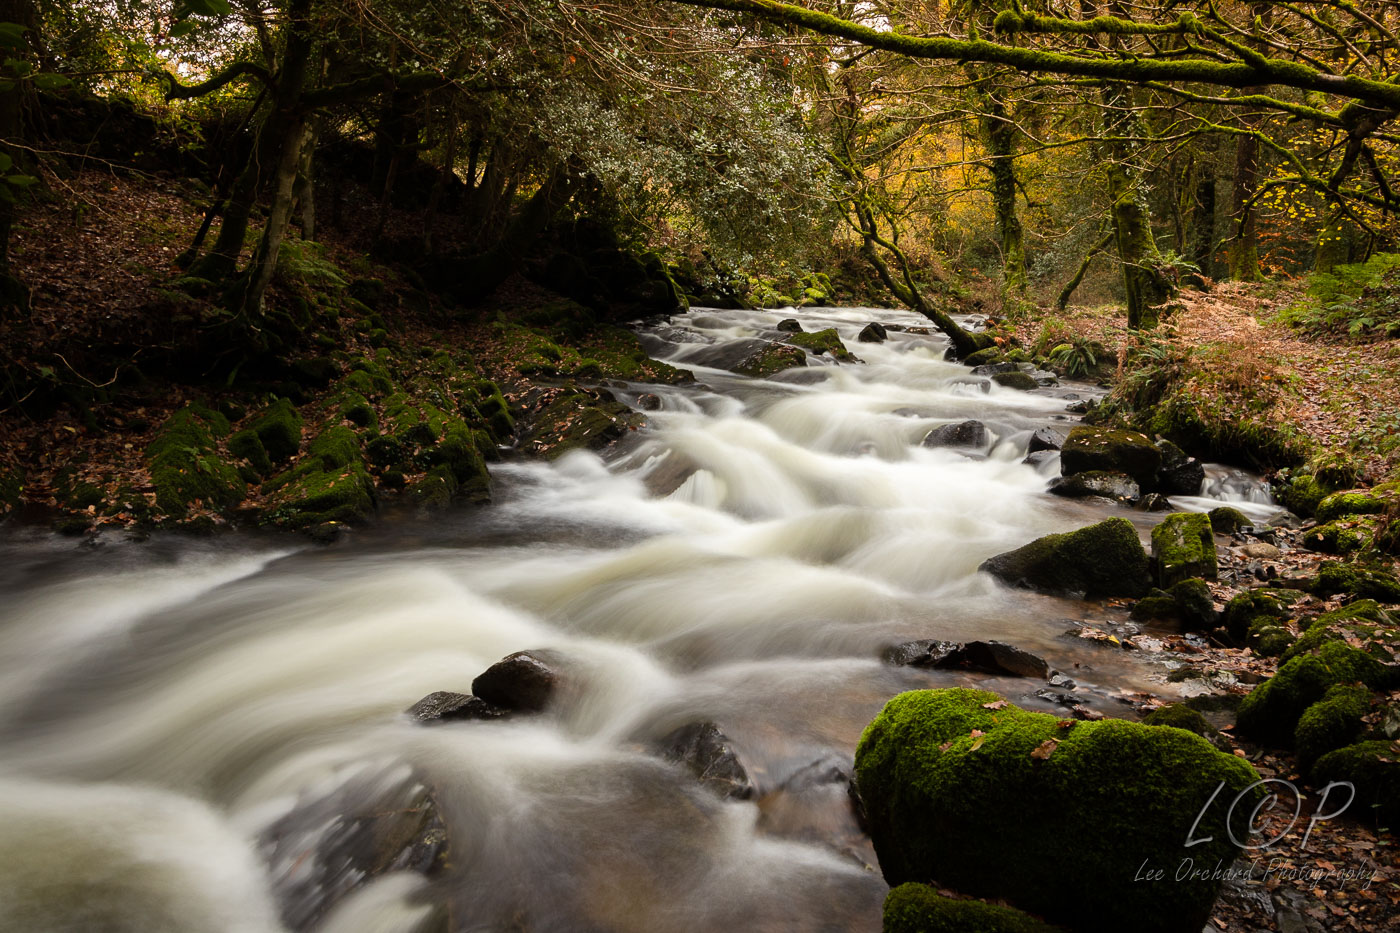
Some photos I didn’t post, were a surprise, it happened at the end of a walk and I was lucky that I had time to return to the car, and get the tripod and capture some lovely photos in the space of about 20 minutes.
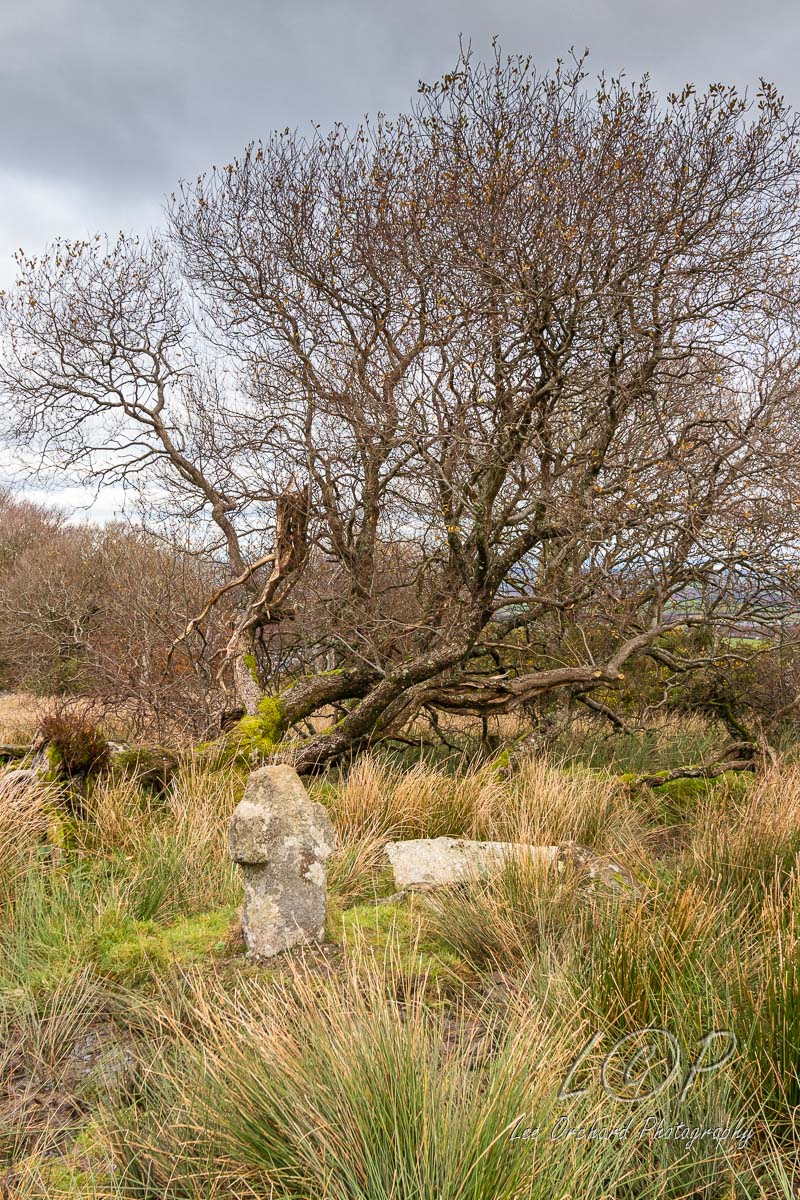
However, before that, our walk started with a search for a small cross and a long walk up a path.
This is one of the closer locations for us on dartmoor and we hadn’t visited it before. We were of course crossing off another couple of Dartmoor 365 Squares on our Map.
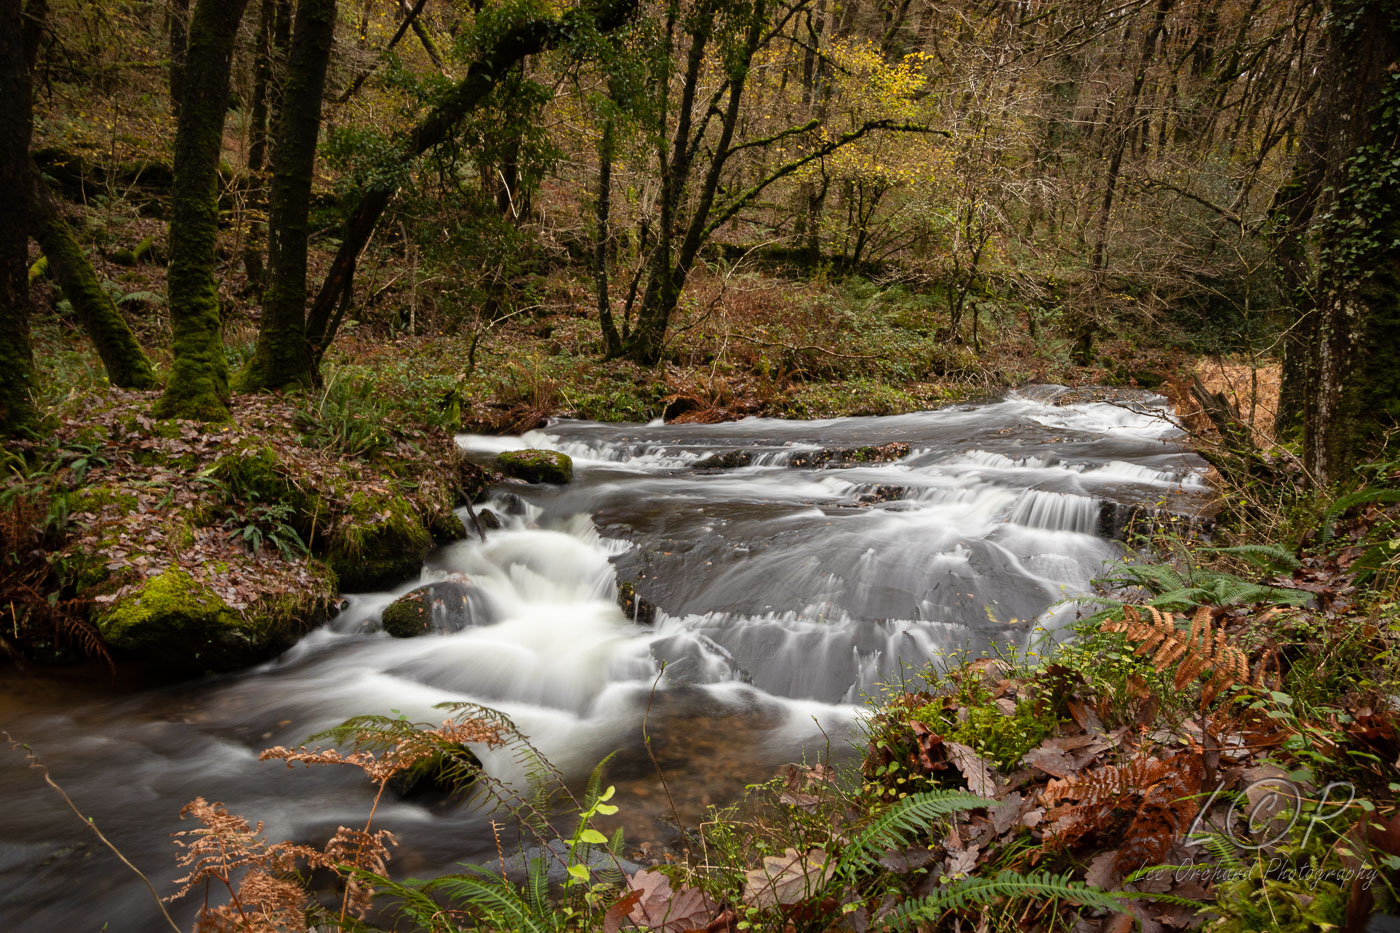
Our walk took us through fields and then followed the river. I hadn’t taken the tripod from the car and actually was glad not to be hauling it on this long walk, so I had to improvise with my method for take the longer exposure images.
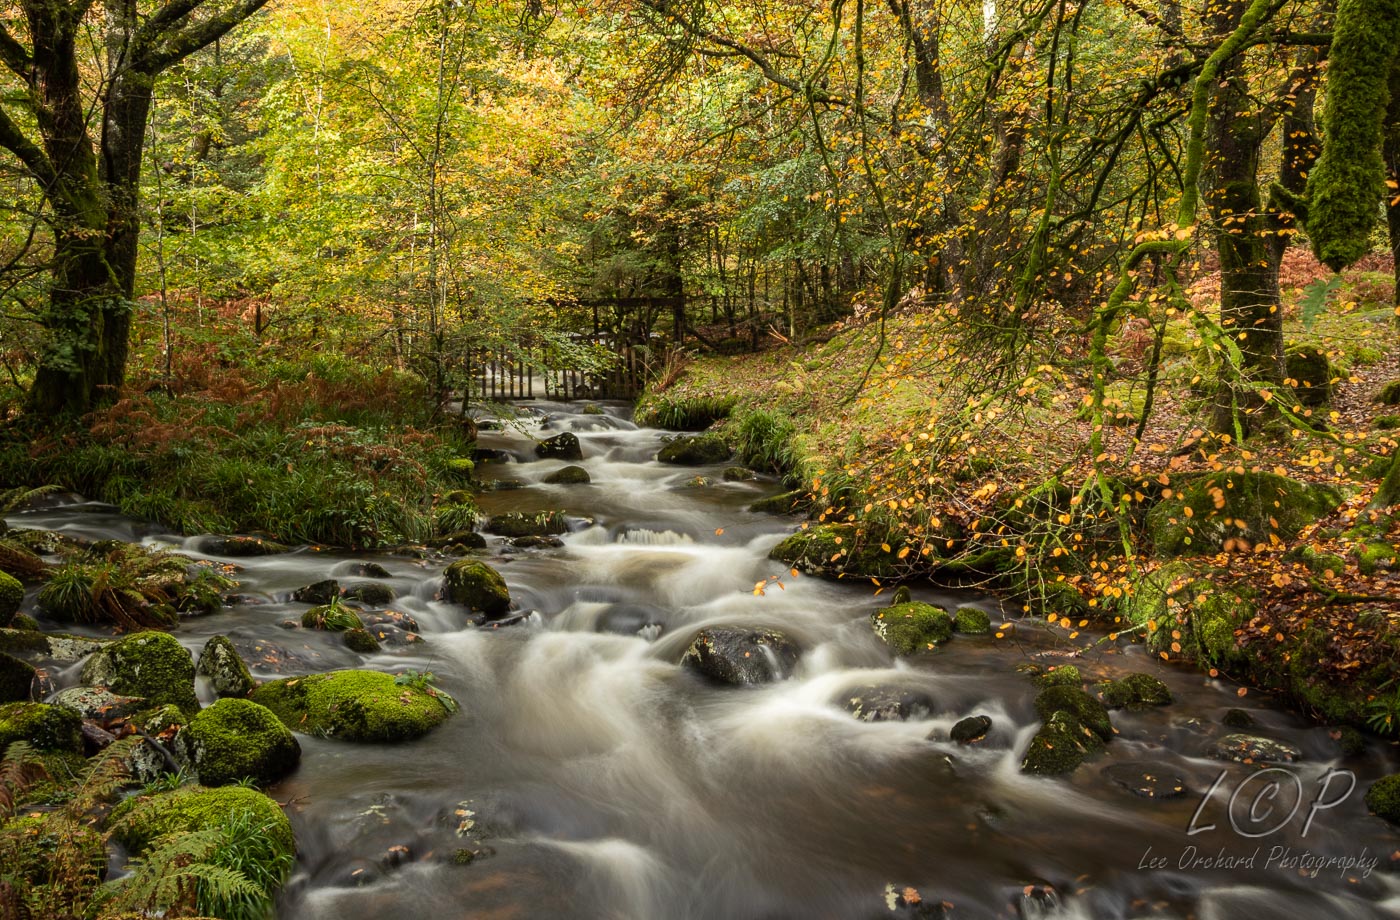
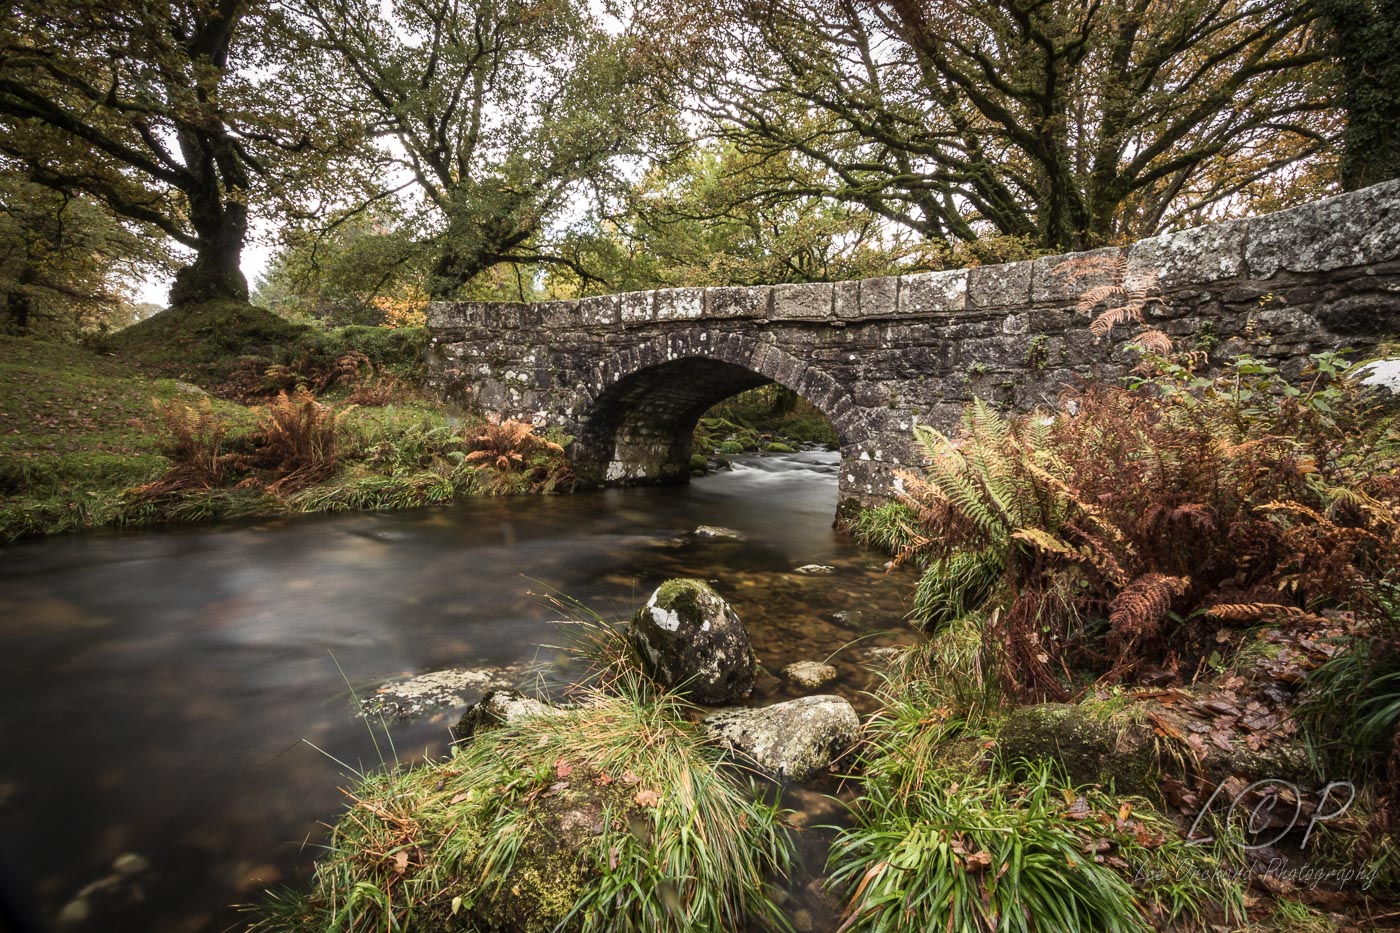
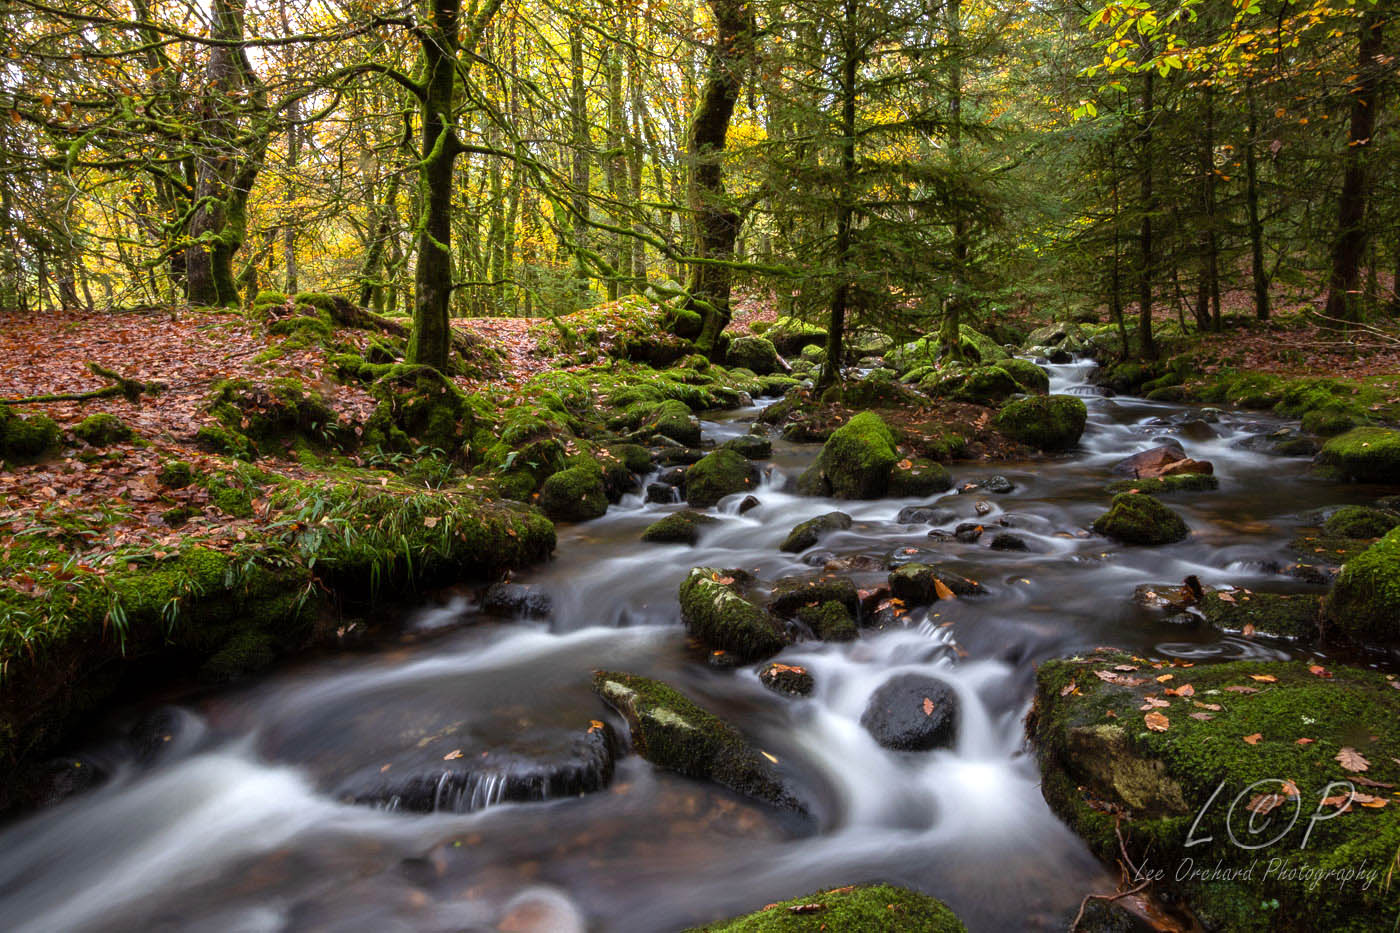
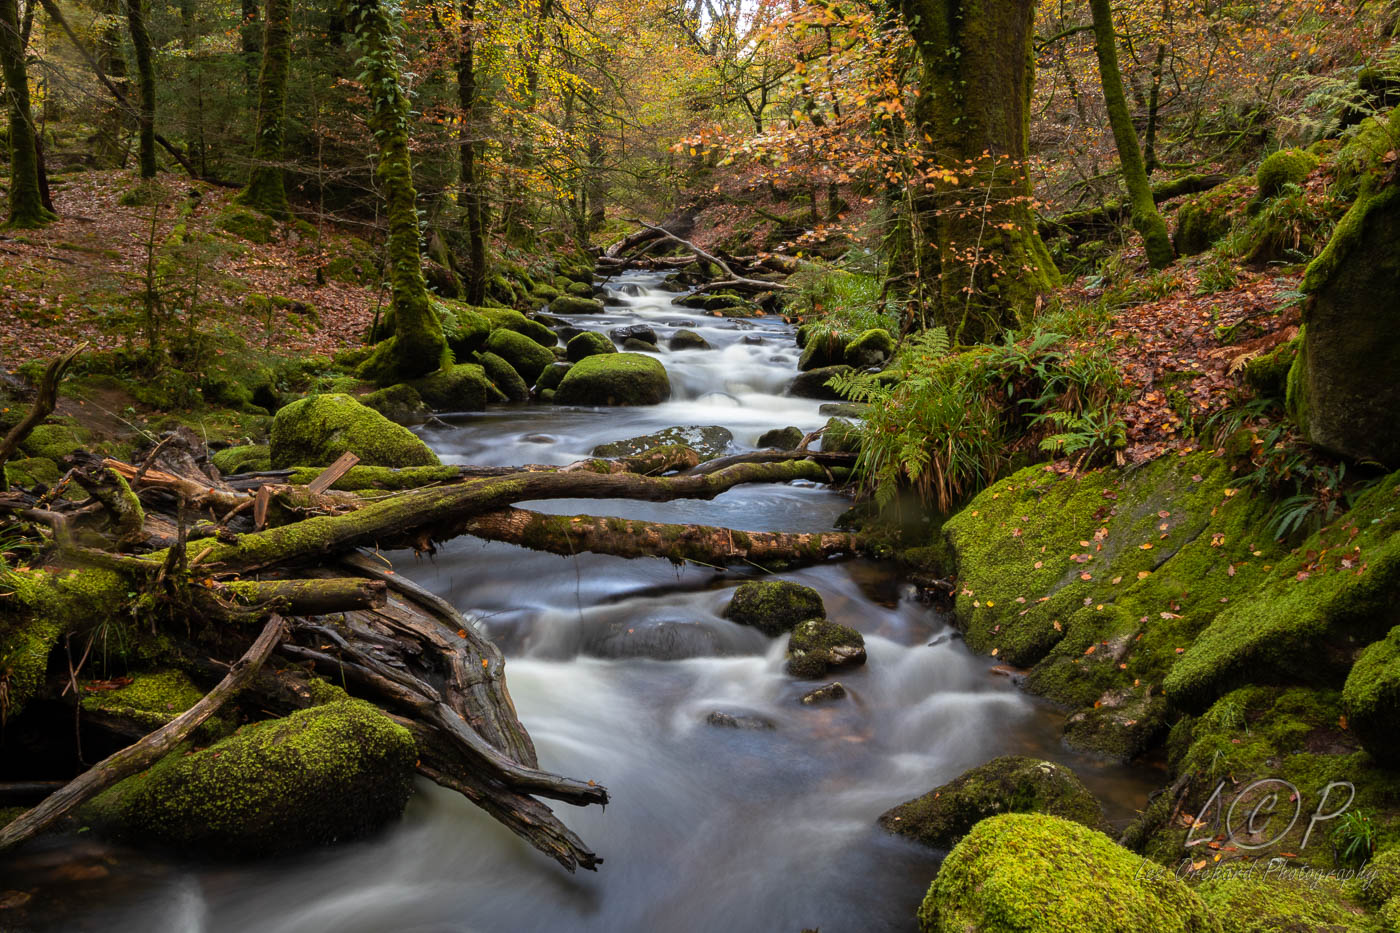
The river had some lovely locations, with little obstruction of view.
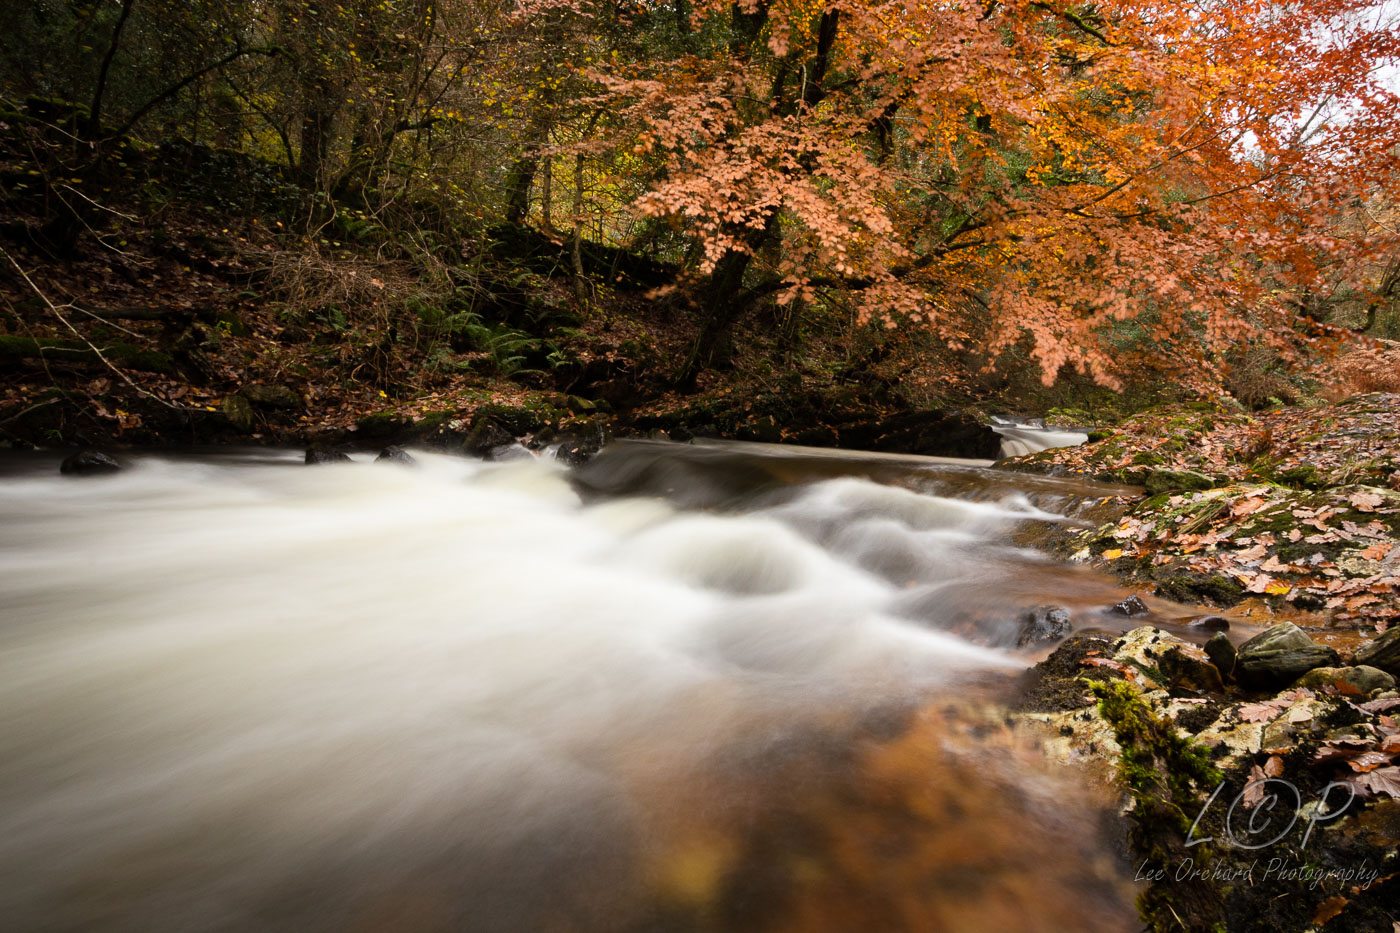
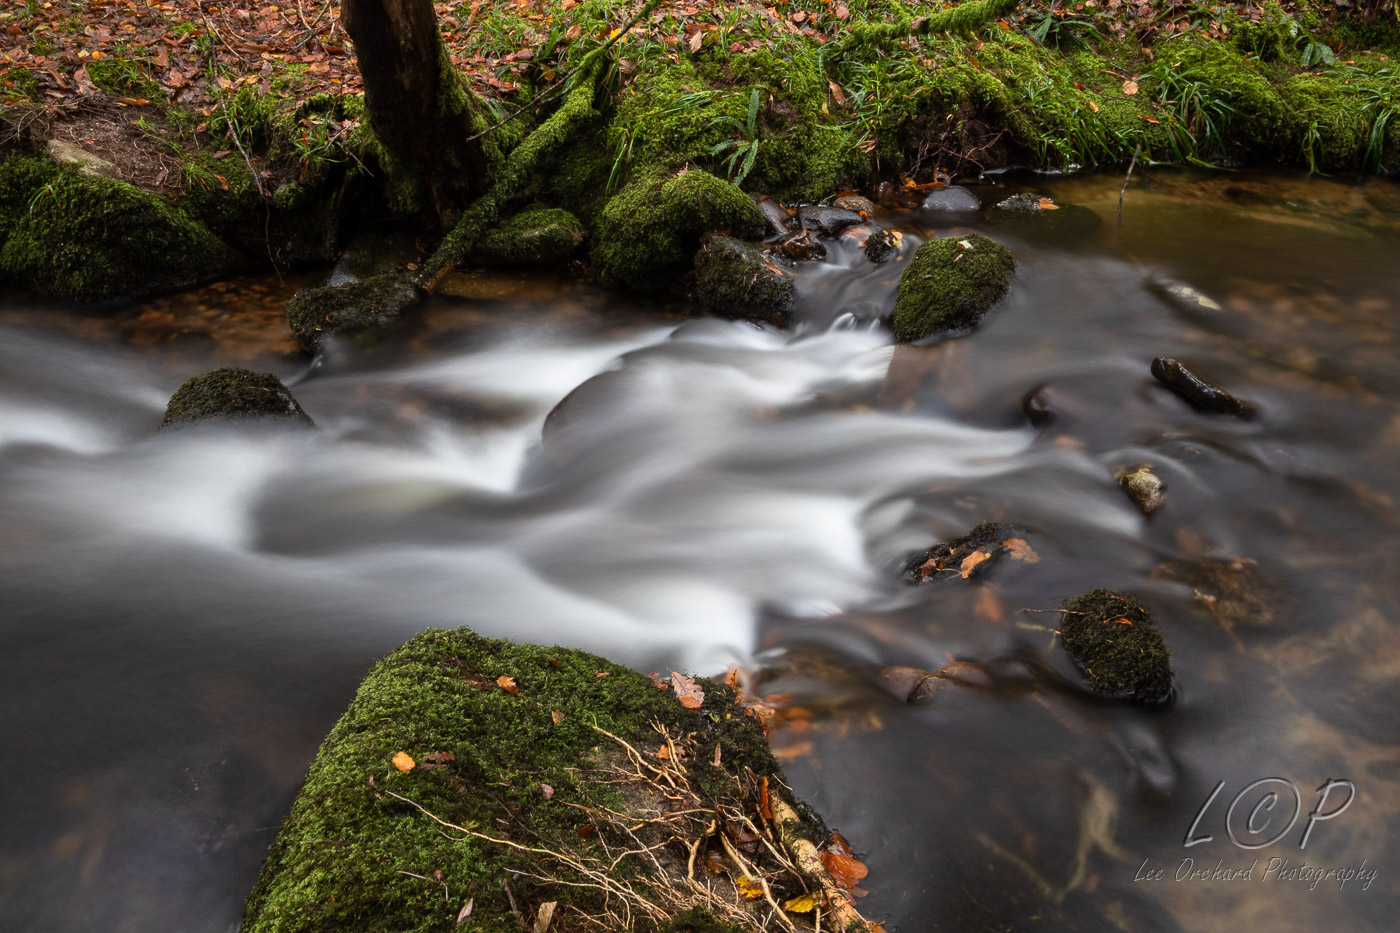
One the closing section of our walk and about half a mile from the car we came across a lovely location. This is what I mention at the start of this post and I just had to go back to the car to get the tripod to get these shots.
If you follow my posts (I hope someone does) and you know I recently visit Dartmoor, you’ll also know that at about this time last year I started exploring long exposure photography and struggled getting good result. You can read about it here > Long Exposure Photography (Part 1).
By the beginning of the year I was starting to get good results. I did a little more in the summer, but Autumn is really were this comes into its own.
I don’t tend to resist places very ofter, but whilst on a walk a couple of weeks ago, I found this lovely location. Using a Woolly Hat as a support and hoping the big tractor that past during these photos, would rattle the camera into the brook, I managed to get this lovely photo.
Now as we all know, autumn is a very short time of year, so finding good locations is a must and then hope for good weather and also hope the storms hasn’t blown the leaves off the trees!
Our recent trip to Burrator was really good weather, but after exploring the reservoir we revisited the above location, with tripod in hand for some more photos. It started raining!
So, this made photographing the river under the trees even trickier. It was darker and trying to keep the rain drops off the filter was very difficult. Needless to say, I didn’t always succeed and some photos had water droplet marks on them.
The wet conditions though did really make the colours pop!
It’s always lovely when you come home dry off the gear, download the photos and see what you have!
I’ve been out and about a lot recently on Dartmoor, taking photos as I explore and hike around.
This is great fun and gives me lots of interesting photos. The downside is so many to get on the website and highlighted for people to see.
So, I thought I’d mention my recent trip to Burrator Reservoir. I posted it on facebook and it got a lot of interest, so thought I share it here!
It was the first time I’d been there, although we had been at the far end the week before on another walk but not close to it.
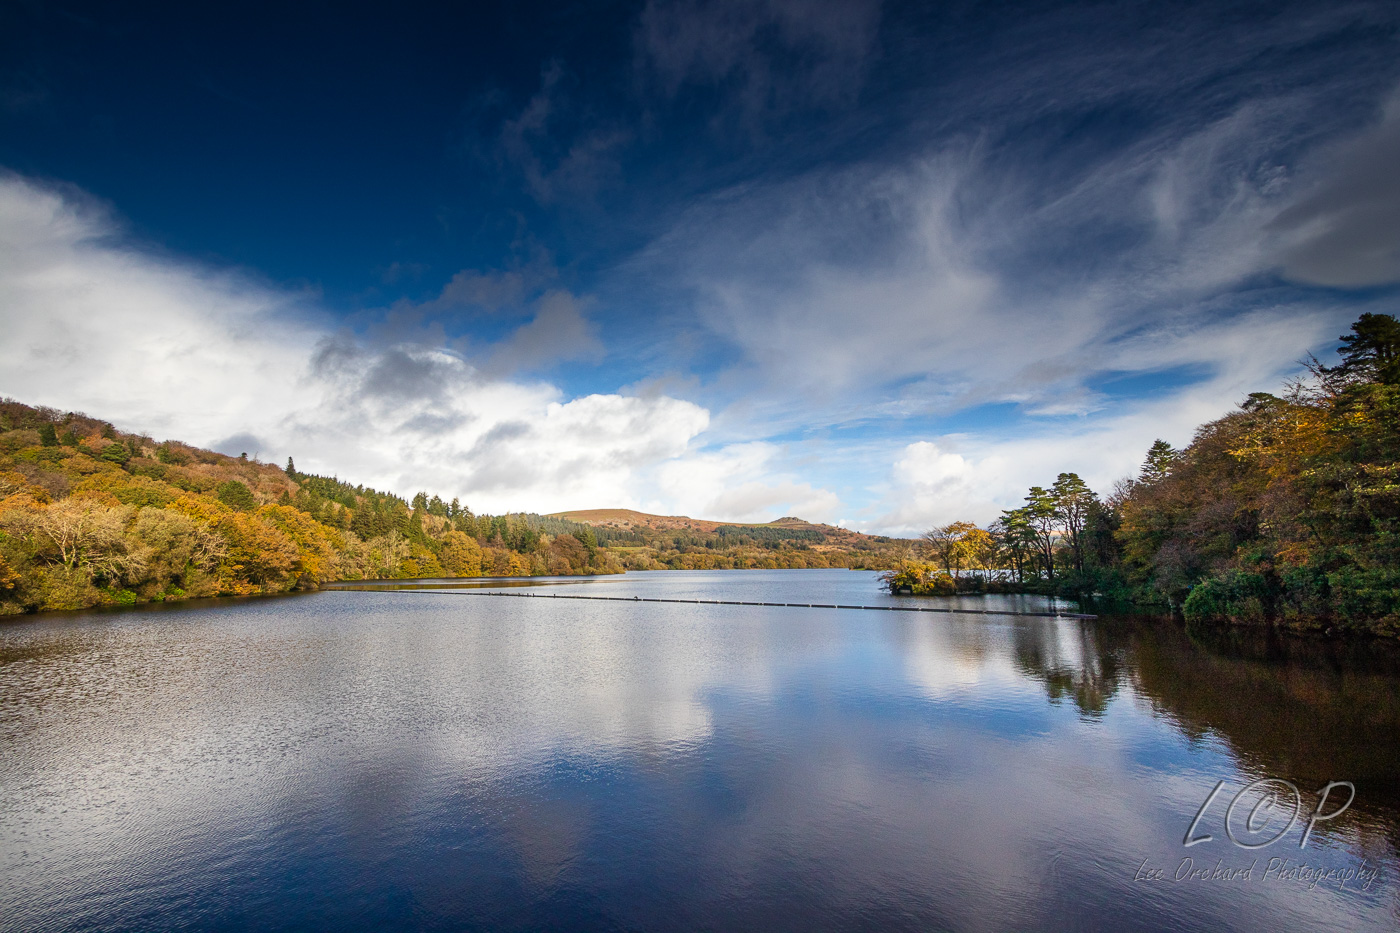
We had some great weather, to start with…
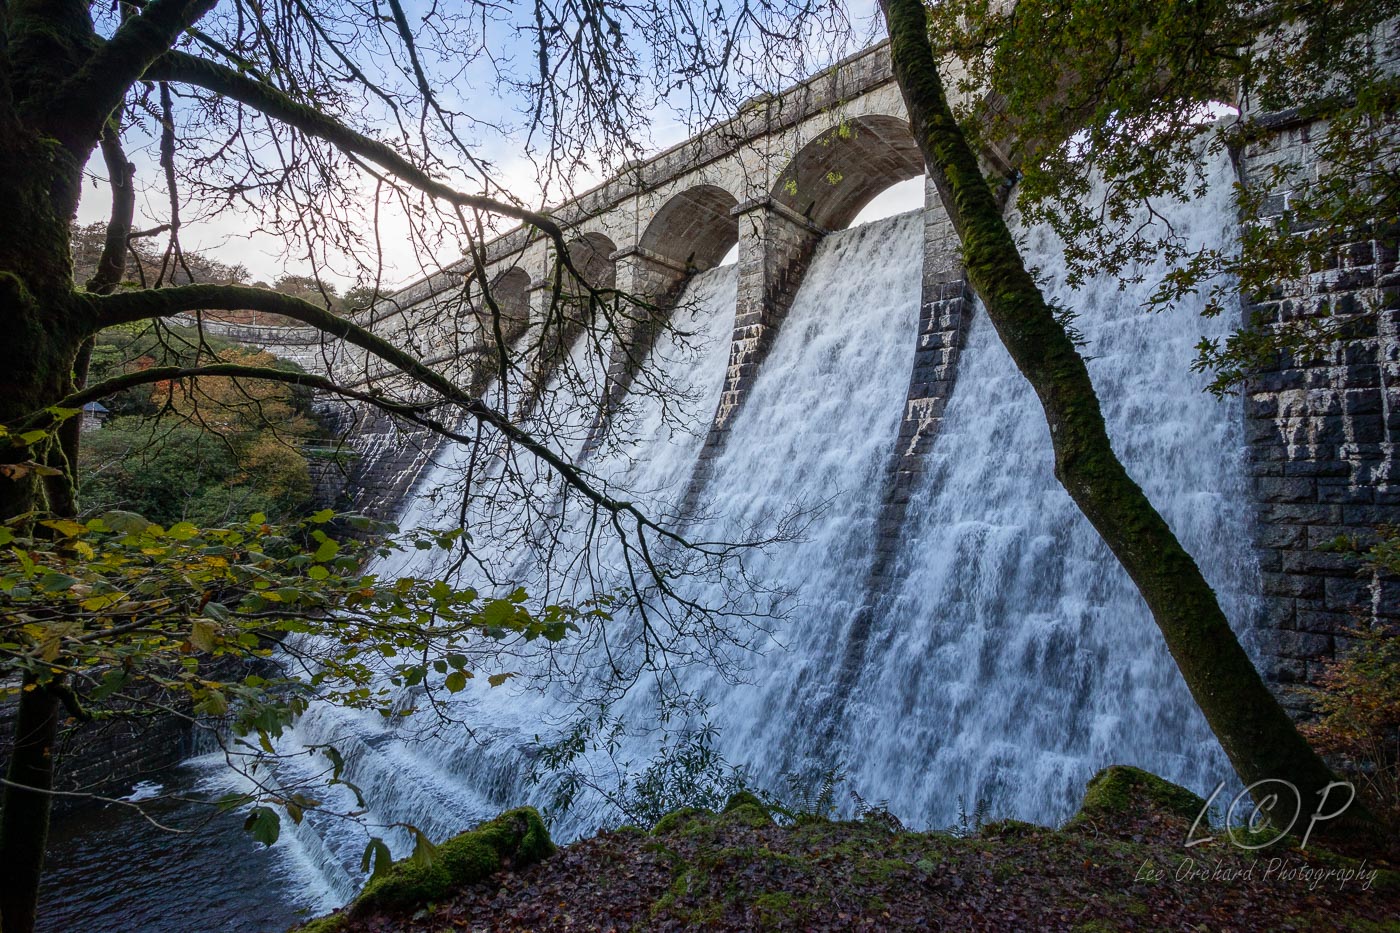
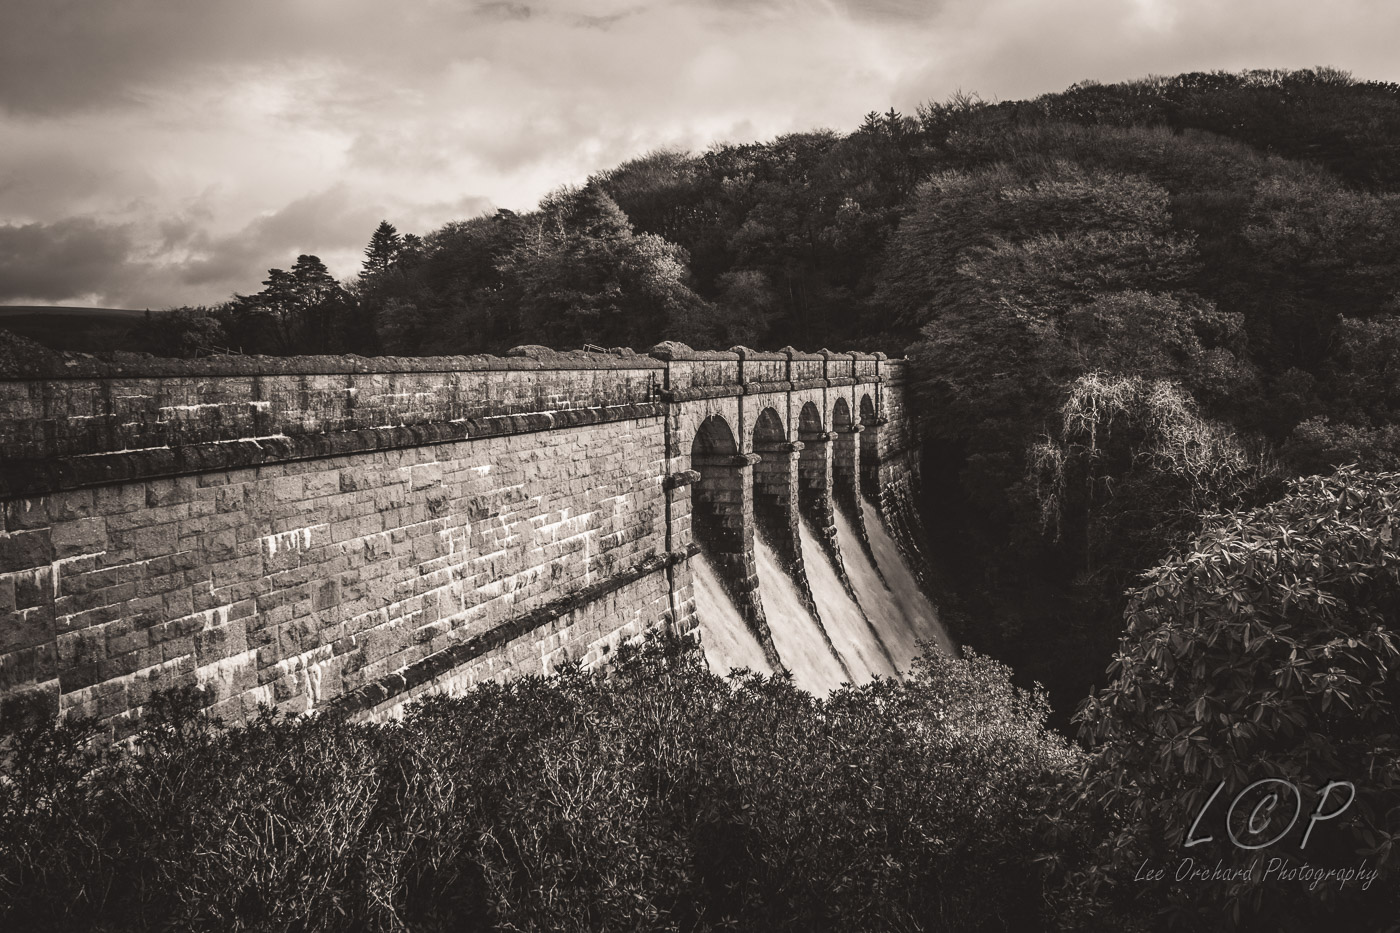
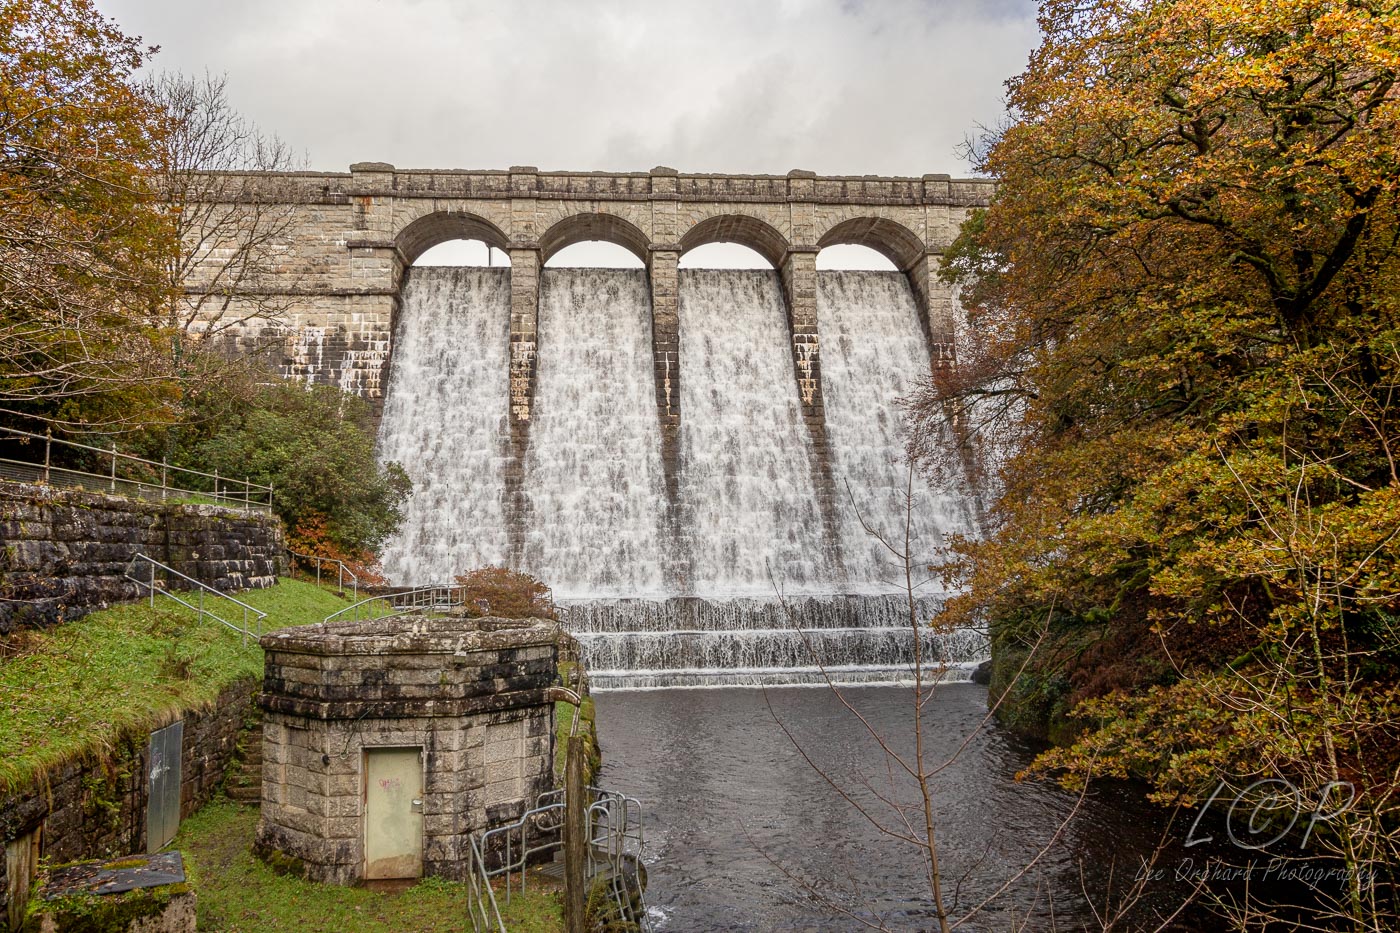
The dam itself is a really nice design and you can get quite close.
Quite a tight angle top view, but creates an interesting photo.
We also found a way to get down to get a nice front view.
There a few view points and some lovely little bit around the reservoir, however on this occasion, I had a plan in mind and drove to the other end of the reservoir, to where I need I could get some nice long exposure river photos.
I’ll put that in another post, but it was a challenge as it had started to rain!
I love exploring and regularly explore Dartmoor, finding new places and crossing off squares on my 365 page.
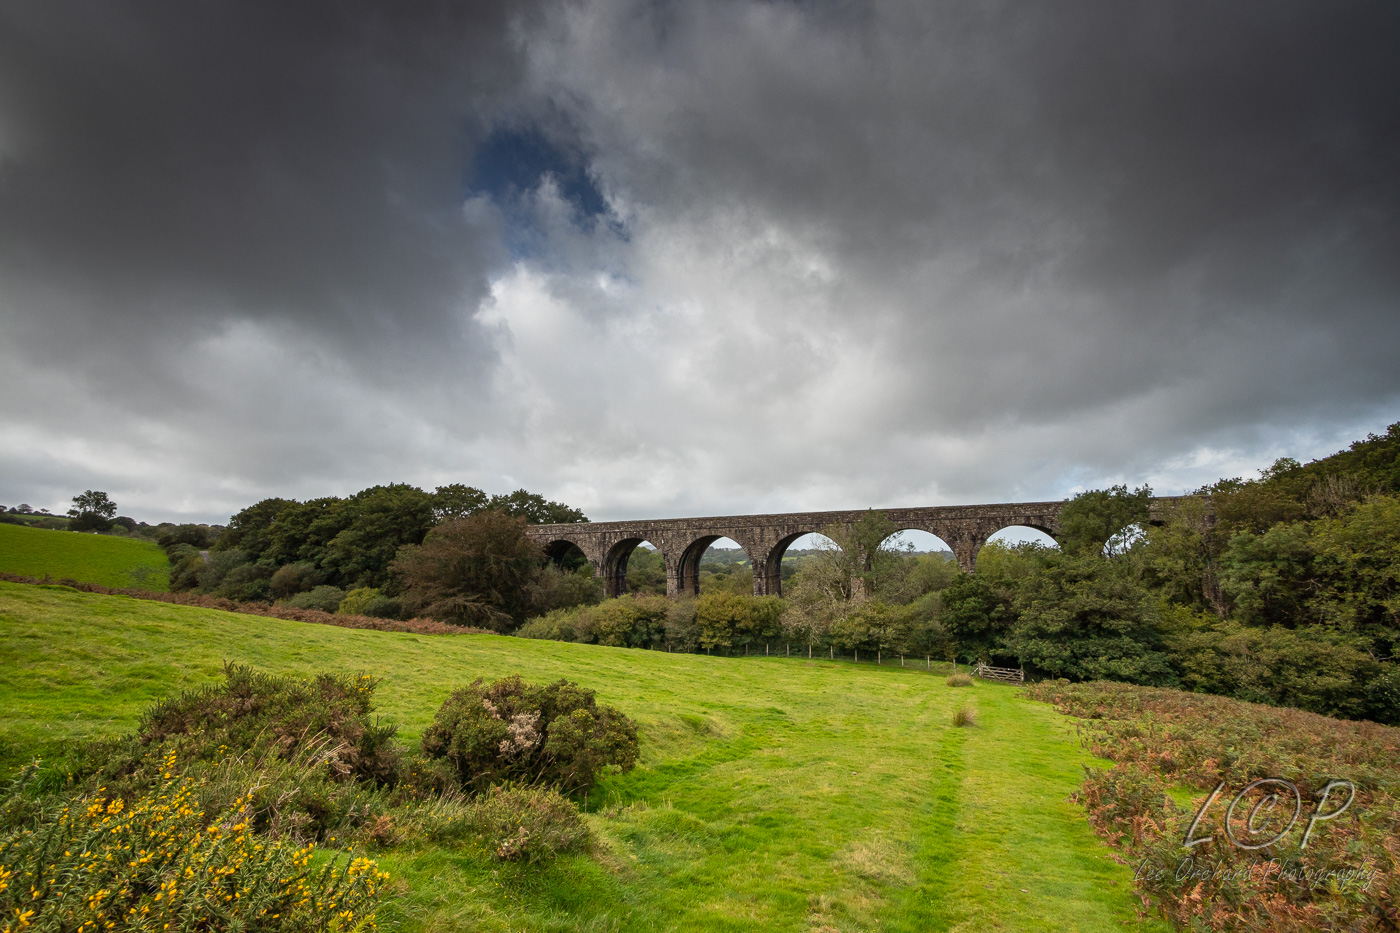
Lake Viaduct was one place that we had tried to visit earlier in the year, but had to abandon. However, this had given me a chance to review the route and when we revisited we approached from a different direction.
The descent to it was quite steep though and it disappeared from view. We eventually got down to the river and followed that towards the viaduct.
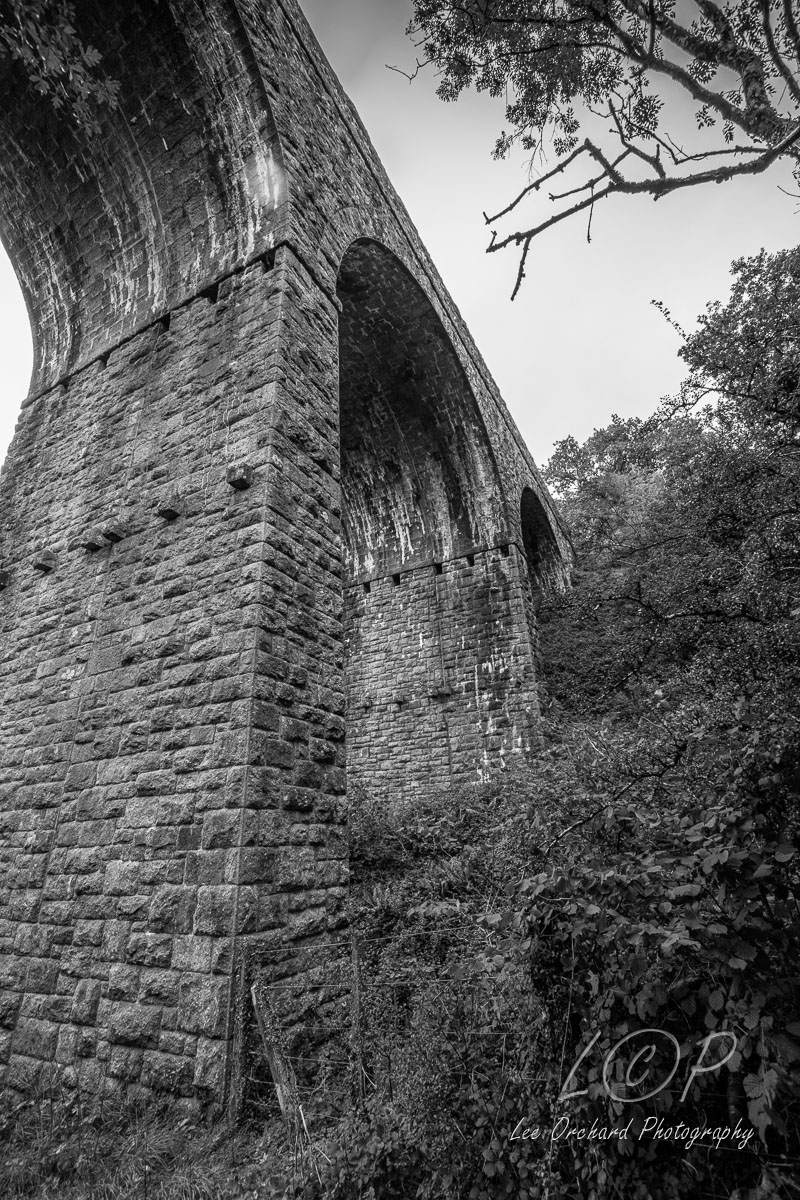
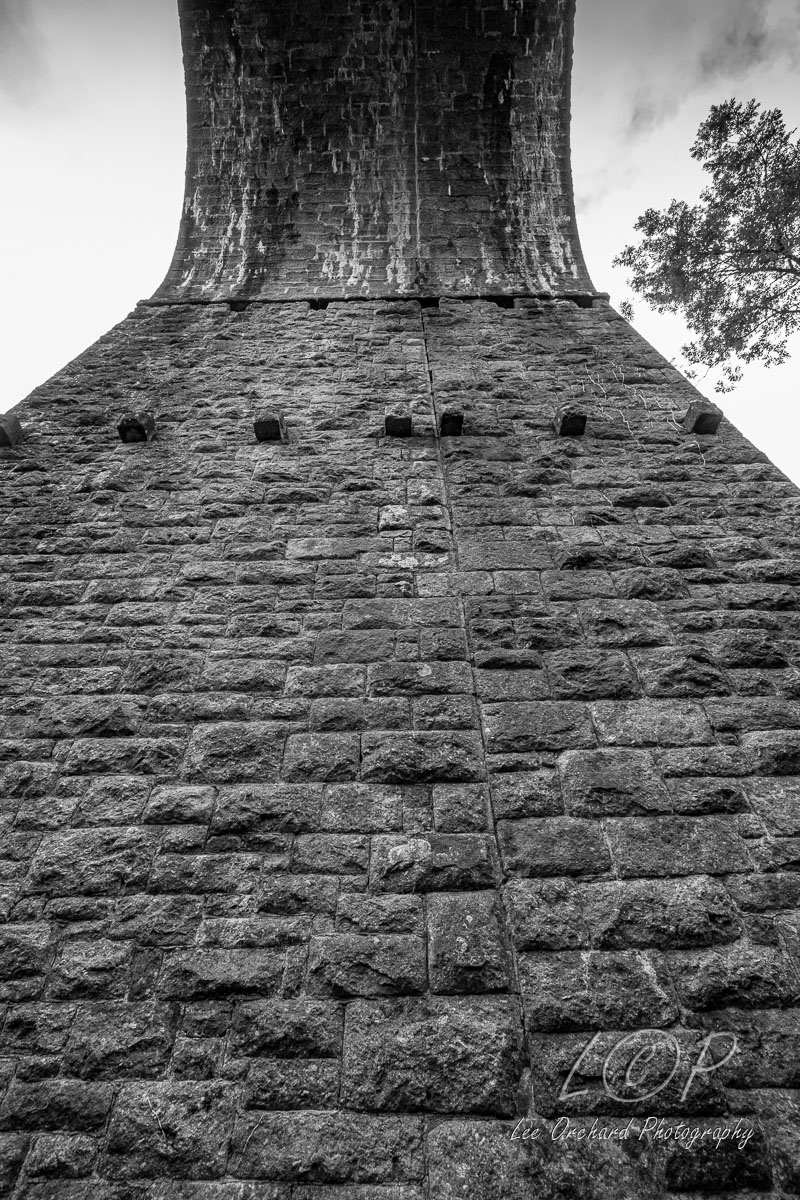
Getting up close to the viaduct, and underneath it, provided some great detailed photos.
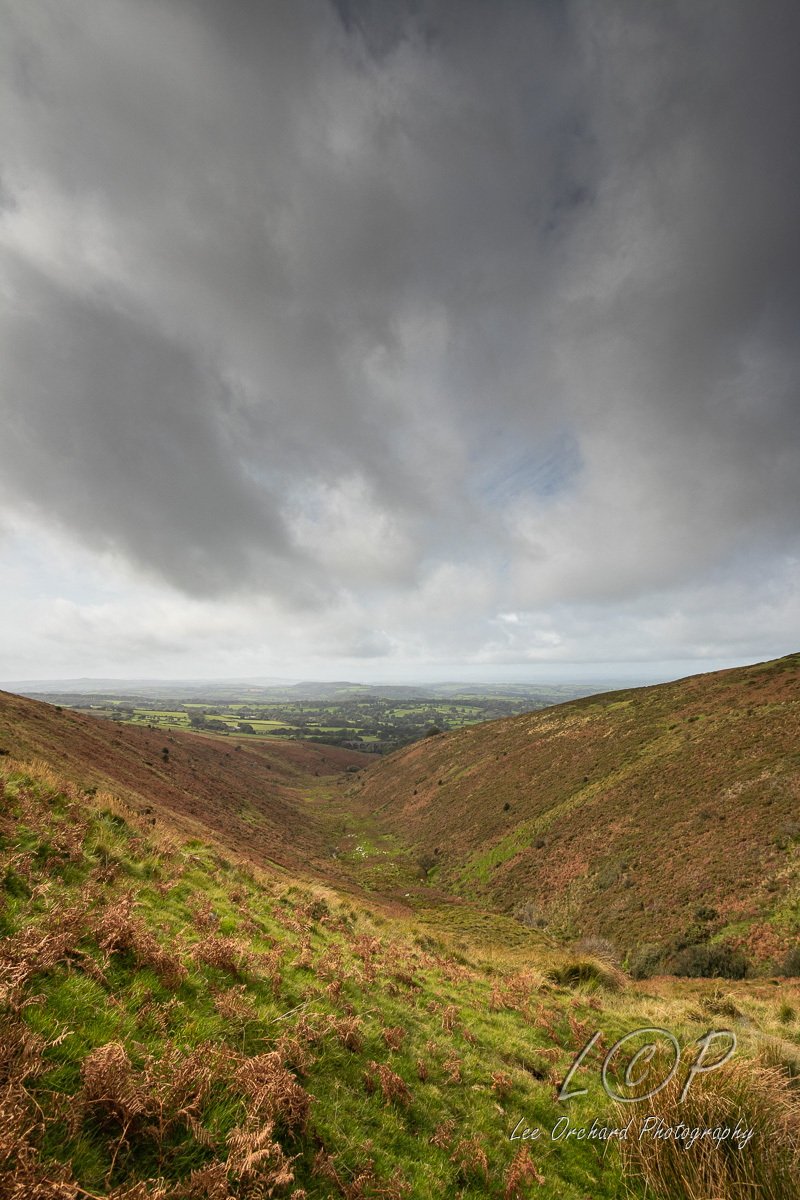
Then we decided an ‘easier’ return trip heading up the ridge of the valley to the top.
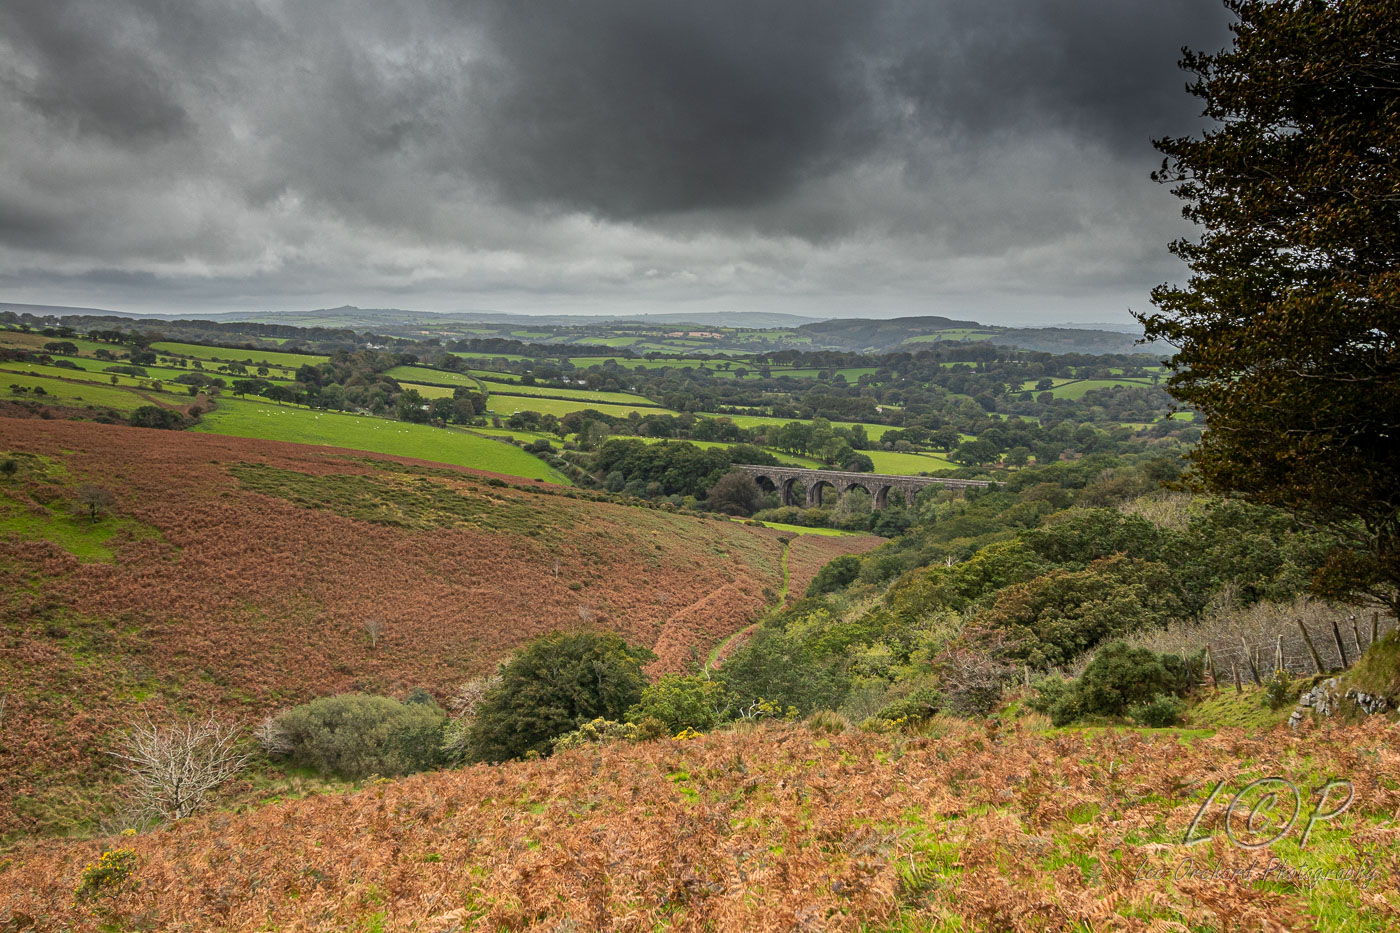
Then finding a view back down the valley with the viaduct at the end. You can barely see it in the photo.
From here, it was either towards Rattlebrook Railway, or Soutron Tors. We chose the Tors and as it turned out, I got some amazing photos… that is for another post!
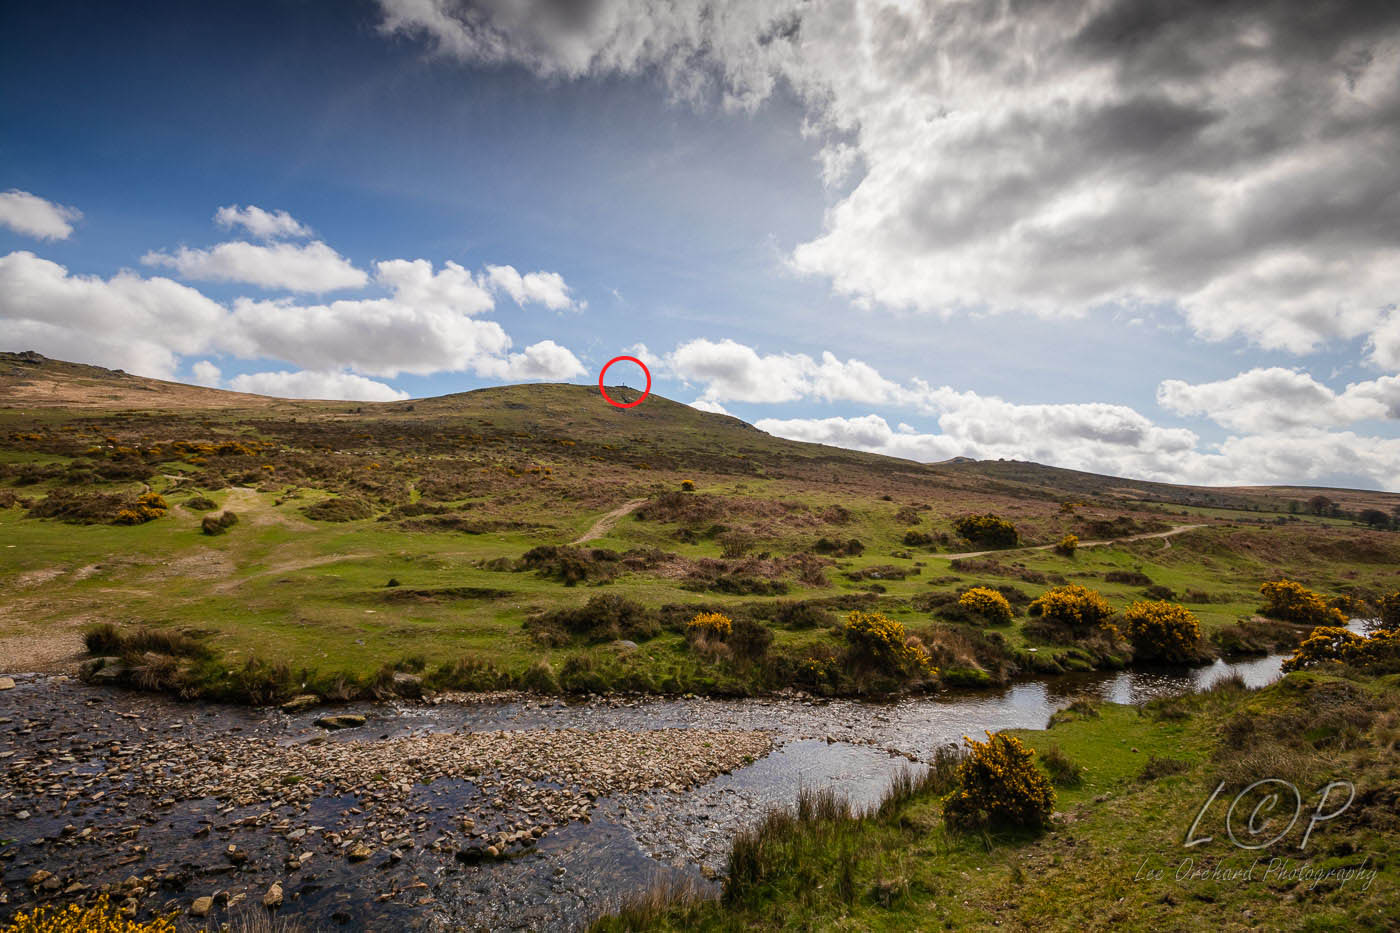
Continuing my quest for Dartmoor 365 Squares, in May we headed out out to F4, F5 and G5. Or to put it in normal language, High Down Ford, Great Links Tor and Widgery Cross.
The order as it turned out, was F4,G5,F4. As with a lot of Dartmoor it teases you and lulls you into a false sense of a ‘nice’ walk. Of course all walks on Dartmoor as ‘nice’ but some lets say, are more challenging than others.
F4, easy!
Then, ok so you want to visit G5, here is it!
The path looked straightforward and was really, but as you got further along it just got steeper and steeper.
I must add at this point. I like walking and can easily walk for hours, but I am quite ofter carrying a big heavy camera racksack on my back!
Any way, let just say, there are great views from the top and its worth the climb.
This tor is very interesting and very distinctive with the Cross on top. Created for Queen Victoria Golden Jubilee.
Turning around, we could then see Great Links Tor in the distance and as we’d ascended to a nice height of 452m, the gentle incline to 568m (see my Tor page) was easy.
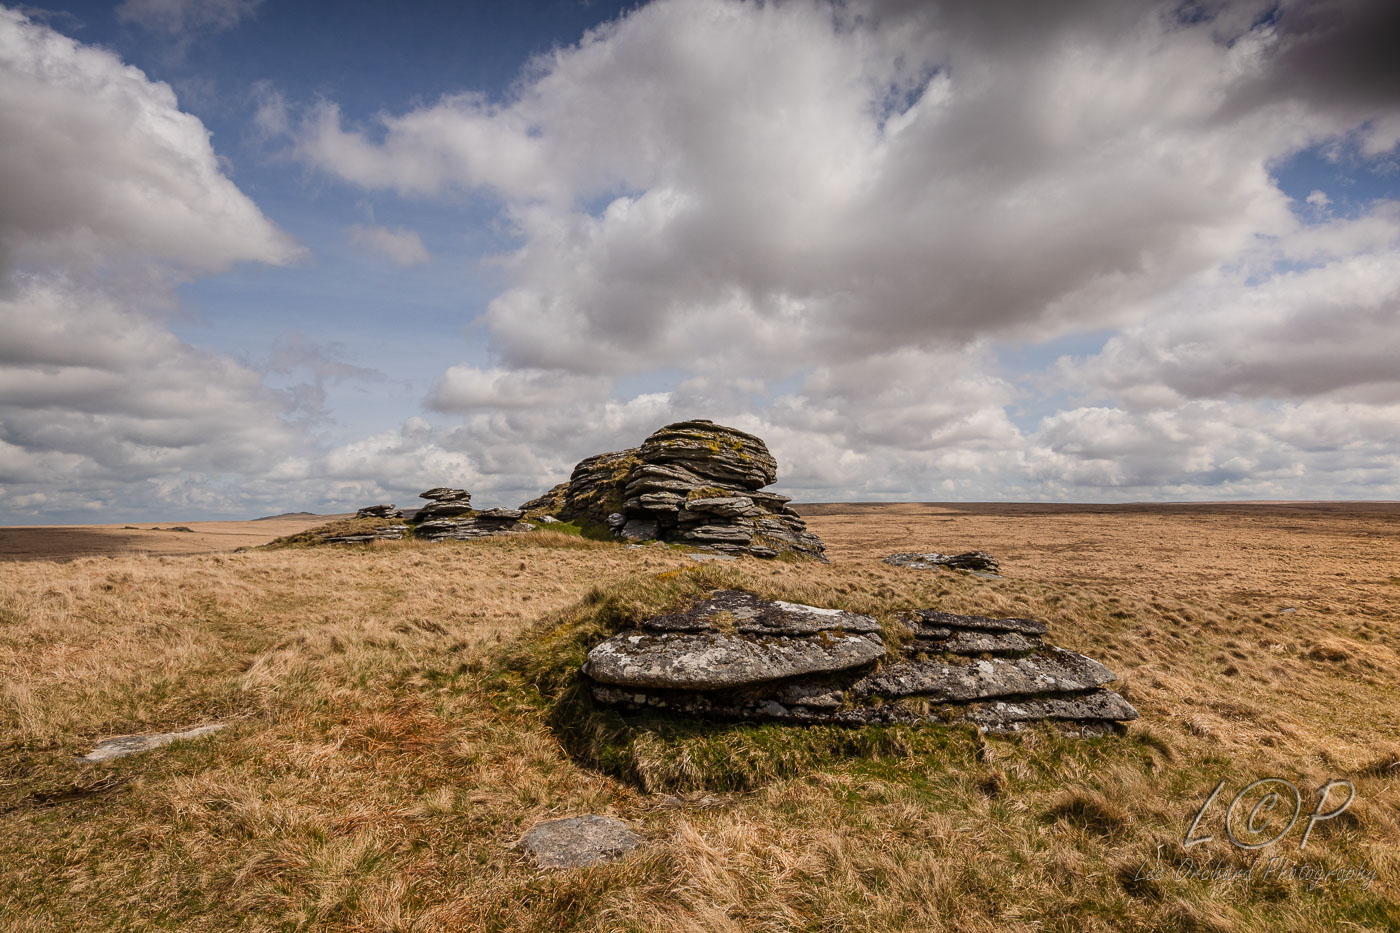
This has to be one of the most interesting tor on Dartmoor. Amazing lines in the tors, gaps to look though and around and a big valley drop of on the far side.
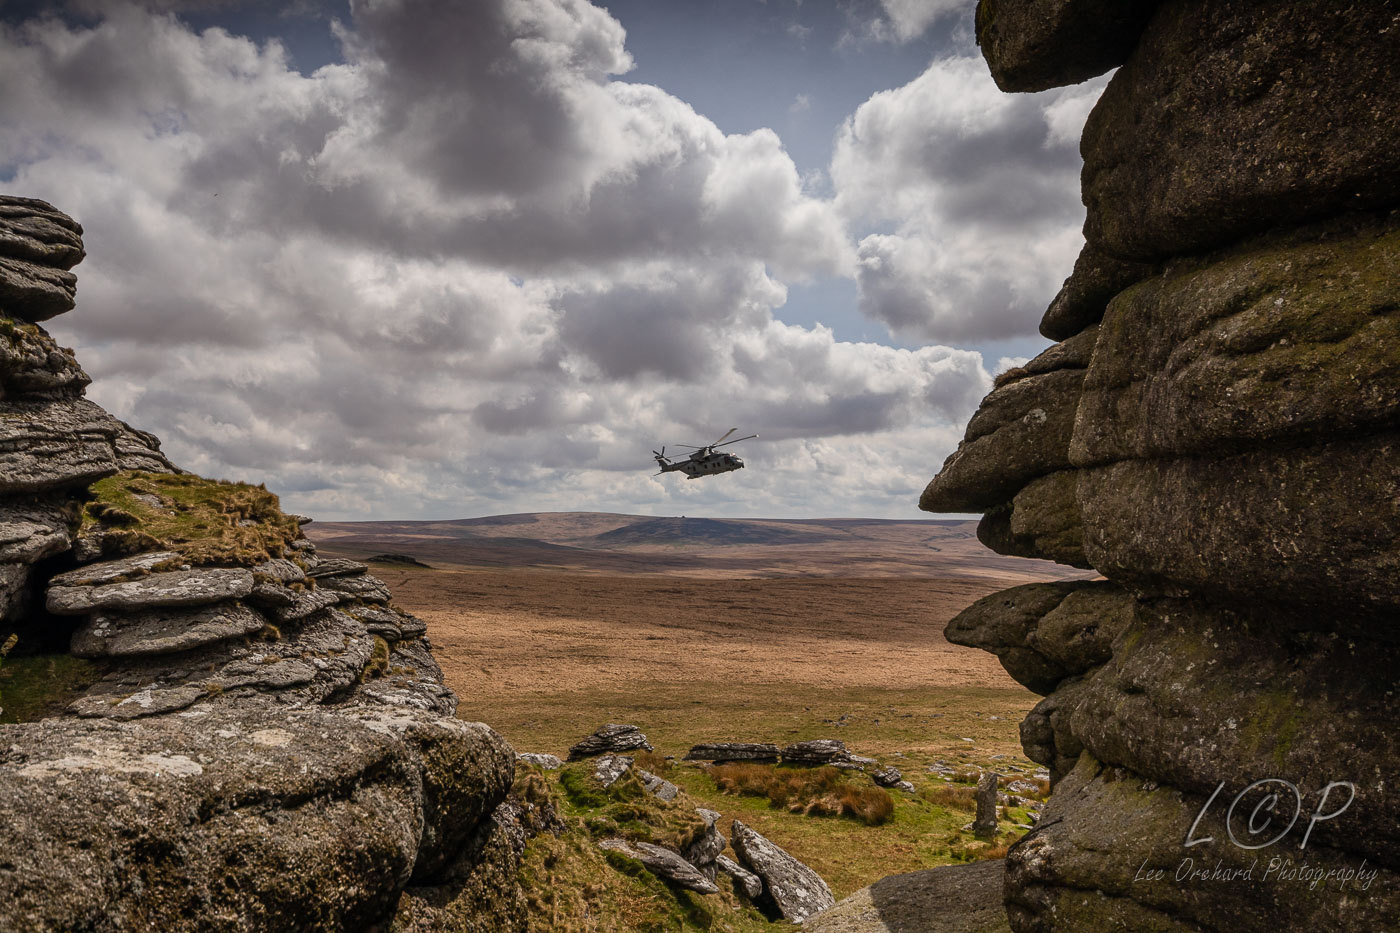
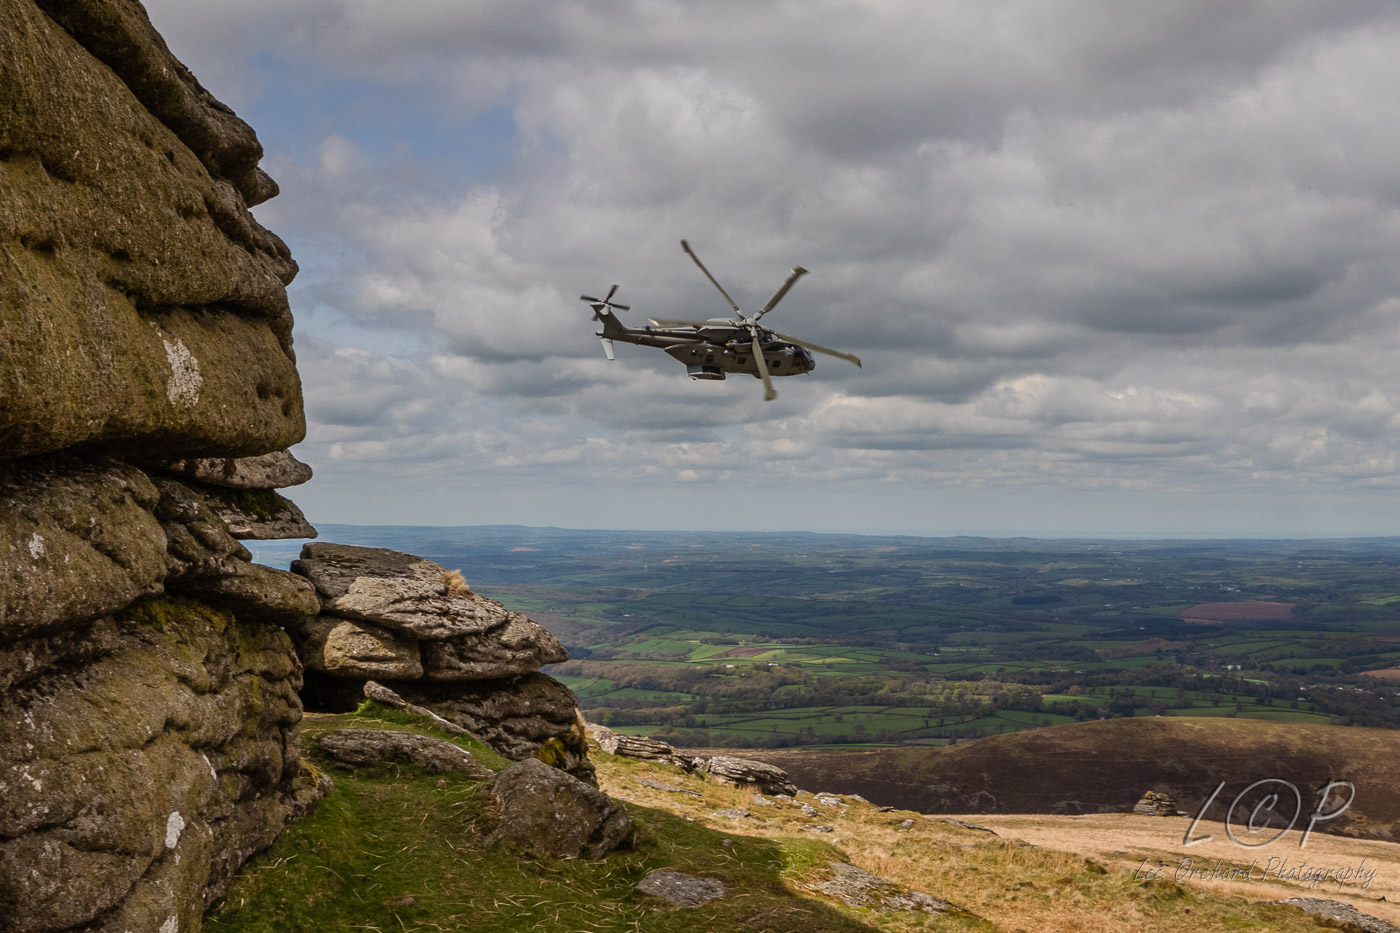
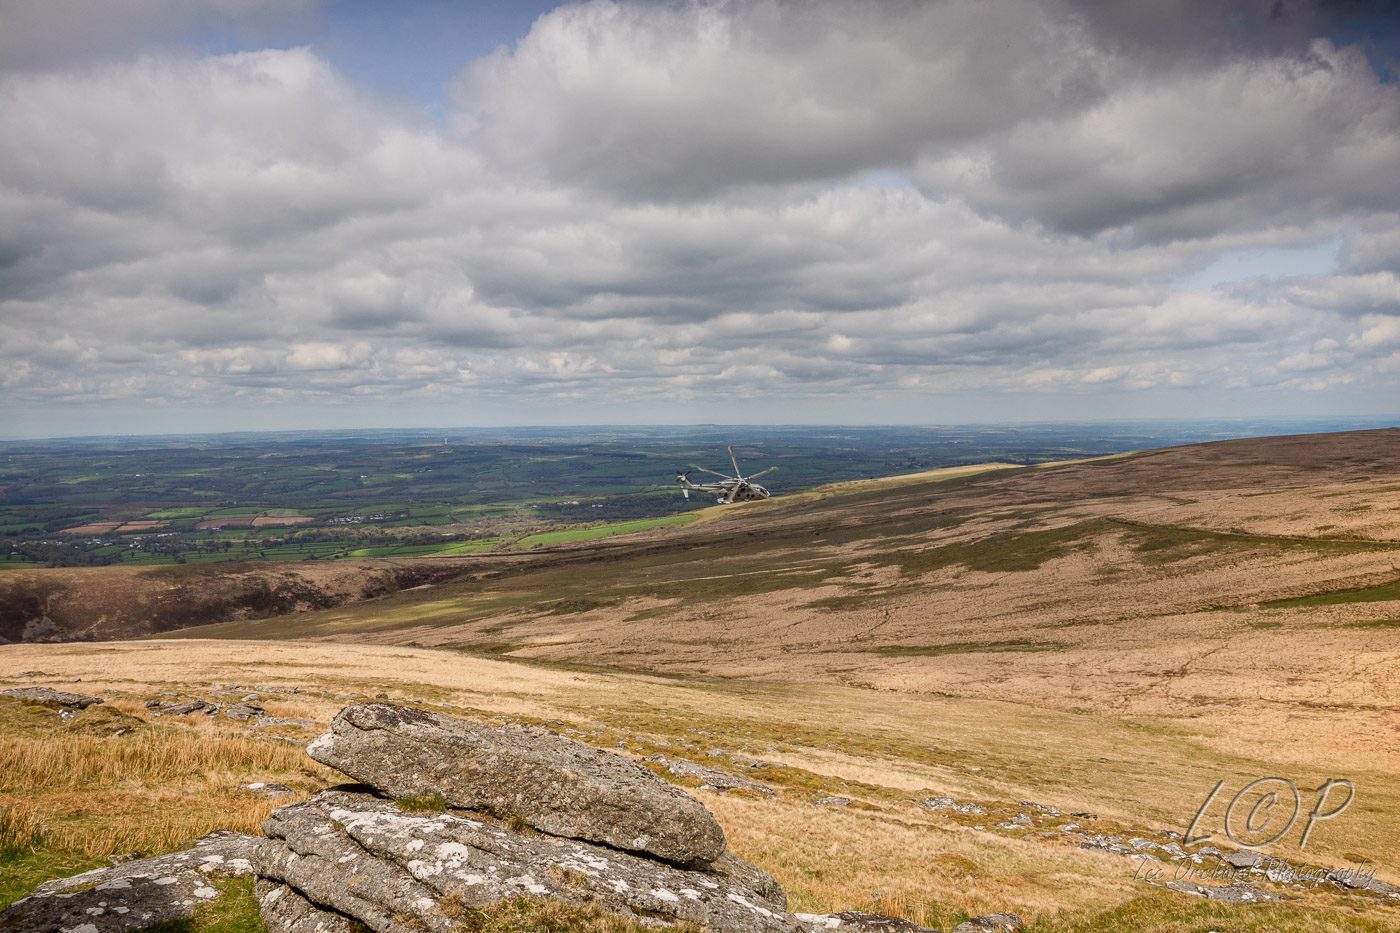
Whilst exploring, I heard a noise and immediately recognising the sound as a helicopter, it was approaching the other side of the tor.
Running to a gap I got this great photo between the rocks.
Only having a very wide angle lens, made for difficult shooting, but I’m really pleased with how these came out.
This was a great experience, which topped off a brilliant day of exploring.
On returning home, I post these to a facebook ground, and coincidentally was commented on by an ex-military photographer, how happened to know the pilot and the photos were shown to the people on board to!
Over the years I’ve been visiting Dartmoor I’ve tried to always learn about the landscape and area that I’m visiting.
One of the trickiest has been identifying tors from a distance without a grid or GPS reference.
Tors photos are all well and good, but sometimes just show the tor up close.
So, I’ve decided to make my own tor list. It is not perfect and still probably won’t help everyone, but it’s still fun to create and gets me climbing tors!
Here’s a few photos from it.
This is Links Tor, shown from different angles.
This is Middle Staple Tor
The idea is some long distance and close up photos from different angles and although I can’t cover all aspects, I’ve included Grid References and What 3 Words.
It might help a few people, if not, I’ve had fun exploring them.
The list currently has 19 Tors, so a long way to go and a lot of walking too!
If you just found this on my blog, you need to read it from Part 1 to follow to understand my difficult start to long exposure photography.
1 week after my last disaster with the ND filter, I’d bitten the bullet and purchased a LEE filter adapter and ND9 filter, albeit secondhand but in good conditions and was heading back to the same location of lovely streams on Dartmoor.
This time it had to work, it must work…
The weather was lovely again and I retraced my steps to hopefully capture what I thought I was getting last time.
I’m pleased to say it did work and these were some of my results.
This one is one of my favourites
It had even rained in-between my visits and the run offs from the hills were in full flow.
This one was quite tricky to photograph.
So what have I learnt. Well I didn’t really work out why the Cokin filter had the cast, but just knew it couldn’t be right. Don’t buy cheap, even if it says it’s a photographic filter it might be a bit of plastic! Ask for recommendations, which I did and although I’d decided which filter system to go to, it’s good to get confirmation from other photographers and other options.
Finally, keep at it, keep experimenting and with time you should get to where you want to be!
Will I keep going with long exposure photography? Oh yes! I’m am now always looking to Waterfalls and Beaches with interesting scenes to photography.
You can follow my photographic journey on my blog and see my gallery of images here.
So, following on from Part 1, I knew that to take advantage of all these lovely places I was visiting and to improve my long exposure photography, something had to change.
I’d come to the conclusion that it was my filter, so on to eBay and purchase a new darker Cokin filter.
I’d researched some places on Dartmoor to photo and thought I’d give it all another go.
Things didn’t start too bad but definitely didn’t end well. I’ll explain why…
I was right about the place it was amazing!
So I set-up and took some photos. Sun was in the wrong place causing glare and flare! So moved around the stream finding better locations.
Secondly this was the first time I’d used my tripod and the moors and I hadn’t realised just how heavy it was to carry! 2.7kgs, that’s a lot when you have a lot of gear too. Carrying that to locations and up and down steep paths and sides of hills was tricky and it just got heavier in time.
I put all that aside and walked along the lovely river taking photos as a went. All on the view finder the images looked a lot better, not blown out, no orange tint, just a little darker, which is good.
I explored all along the stream, photographing the rapids and waterfalls. Brilliant, 150 photos of this lovely location. I’ll have some lovely photos. How wrong I was!
I had 150 photos that were destined to go no further than the bin! I was worse of than before!
They had strange lines on them, blurred edges, rainbow coloured blobs. The so called filter was definitely not photographic quality and probably nothing more than a bit of plastic. The photos went in the computer bin and the filter quickly followed to the bin aswell.
So, lesson again learnt, you get what you pay for. Time to find something decent and give it all another go.
If you want to now how this turned out, Read part 3!
Where I live, I have the best of both worlds, halfway between the coast and the moors. This does mean though that when we got snow on the moors I have to make sure I can get there and get back!
So, when it snowed for the second time recently, I gave it a fews days until I knew the roads around Dartmoor were passable and with a few hours to spare I headed to one of my nearest Dartmoor walking areas, Belstone.
I only have to walk to the end of my road where I live to see Dartmoor in the distance, so I knew there was plenty of snow to still photograph. On the road into Belstone I could still see the big drifts along the edges. Parking up in the village car park and walking the 500m or so to get to the moors, builds the excitement of seeing the snow cap hills just beyond.
The pathway opens out and gives you a good view of the north end of Cosdon Hill.
Entering on Belstone Common, we were amongst the sheep again eating the grass between the patchy snow.
The path here is a bit of a gully and was non existent, as it had been filled with snow, upto 3ft in places!
You had a choice, follow the tops of the path, or on the path at the edge of the drift and hope you could easy cross it when that edge disappeared!
I wanted to get to the views of Steeperton Tor and Irishman’s wall, but was pushed for time and there were so many good views to photograph.
As you get closer, you a teased with the view of Steeperton Tor in the distance.
But, I made it in time. It’s always are great view!
And it deserves a panorama image!
Having reached my target with just enough time to spare I turned around to get one more panorama, Irishman’s Wall and Belstone Tor.
Backtracking along the path to the edge of the common I was met by more sheep!
The rest of the trip was a gently downhill walk back to the car.
This is quite a straight forward walk of about 3 miles from the car park to the wall and back without much incline change.
My walks are difficult to judge in time as I’m constantly stopping to take photos or have kids in tow. But this was 2 hours from start to finish.